本指南说明如何在Windows 10或11(32位/64位)上安装Trendz Analytics。
Windows安装前重要说明
Trendz Analytics的部分功能(如predictions、metric explorations和Python calculation fields)依赖Python executor。
Python executor仅能通过Docker运行。即使在Windows上,也要使用Docker才能完整使用Trendz。 建议遵循Docker (Windows) 安装指南,采用Docker安装而非Windows。
仅在有充分理由使用Windows + Docker组合方案时再继续阅读本文。
Prerequisites
Hardware Requirements
取决于分析数据量与接入系统的设备数量。 单机运行 Trendz Analytics 至少需要 1GB 可用内存。
中小型部署中,Trendz 可与 ThingsBoard 安装在同一台服务器上。
Software Requirements
- 已安装 Docker CE。安装方法见此处
-
已安装 Docker Compose。安装方法见此处
- ThingsBoard 版本 4.3.0 或更高。若使用 4.2.1 或更早版本,请参阅此指南将 Trendz 连接到 ThingsBoard。
- 已激活的 Trendz Analytics 插件。激活方法请参阅此指南。
Installation Steps
Step 1. Install Java 17 (OpenJDK)
ThingsBoard 服务运行于 Java 17。请按以下说明安装 OpenJDK 17。
- 访问 Open JDK 下载页。进入 “Other platforms and versions”,选择 “Operating System” 为 “Windows”、”Architecture” 为 “x64”、”Version” 为 “17 - LTS”,下载 JDK .msi 安装包。
- 运行下载的 MSI 安装包并按照提示操作。 确保将 “Add to PATH” 和 “Set JAVA_HOME variable” 选项设为 “Will be installed on local hard drive”。
- 访问 PostgreSQL JDBC 下载页 下载 PostgreSQL JDBC Driver。选择最新可用版本。
- 创建文件夹 C:\Program Files\JDBC 并将下载的文件复制到其中。然后添加新的全局变量——以管理员身份运行 PowerShell 并执行以下命令。请勿忘记将命令中的 “postgresql-42.2.18.jar” 替换为下载的版本名称。
1
[System.Environment]::SetEnvironmentVariable("CLASSPATH", '.;"C:\Program Files\JDBC\postgresql-42.2.18.jar"', [System.EnvironmentVariableTarget]::Machine)
可使用以下命令(在命令提示符中)检查安装:
1
java -version
预期命令输出为:
1
2
3
4
C:\Users\User>java -version
openjdk version "17.x.xx"
OpenJDK Runtime Environment Temurin-17.x.xx (...)
OpenJDK 64-Bit Server VM Temurin-17.x.xx (...)
Step 2. Trendz Analytics service installation
下载并解压安装包。
1
https://dist.thingsboard.io/trendz-windows-1.15.0.4.zip
注意: 假设Trendz解压到默认路径:C:\Program Files (x86)\trendz
Step 3. Configure Trendz database
Trendz使用PostgreSQL作为数据库。可在同一服务器为Trendz安装PostgreSQL,或使用云商的托管PostgreSQL服务。
- PostgreSQL Installation
在此处下载安装文件(PostgreSQL 12.17或更新版本)并按照说明安装。
安装PostgreSQL时会提示设置superuser(postgres)密码。 请记住该密码,后续将使用。为简化说明,下例以”postgres”代替。
- Create Database for Trendz
安装完成后,启动”pgAdmin”并以superuser(postgres)登录。 打开服务器并创建owner为”postgres”的”trendz”数据库。
- Configure database connection for Trendz
以管理员身份打开记事本或其他编辑器(右键应用图标选择”以管理员身份运行”)。 打开并编辑以下文件(在文件选择对话框中选”所有文件”而非”文本文档”,编码为UTF-8):
1
C:\Program Files (x86)\trendz\conf\trendz.yml
定位到”datasource”块。将SPRING_DATASOURCE_URL、SPRING_DATASOURCE_USERNAME和SPRING_DATASOURCE_PASSWORD 替换为有效值。勿忘将”postgres”替换为真实的postgres密码:
1
2
3
4
5
6
7
datasource:
    driverClassName: "${SPRING_DRIVER_CLASS_NAME:org.postgresql.Driver}"
    url: "${SPRING_DATASOURCE_URL:jdbc:postgresql://localhost:5432/trendz}"
    username: "${SPRING_DATASOURCE_USERNAME:postgres}"
    password: "${SPRING_DATASOURCE_PASSWORD:postgres}"
    hikari:
      maximumPoolSize: "${SPRING_DATASOURCE_MAXIMUM_POOL_SIZE:5}"
Step 4. Run installation script
以管理员身份打开Windows shell(命令提示符)。切换到Trendz安装目录。
执行install.bat脚本,将Trendz安装为Windows服务。 即系统启动时自动运行。 同理,uninstall.bat可从Windows服务中移除Trendz。 输出应类似:
1
2
3
4
5
6
7
C:\Program Files (x86)\trendz>install.bat
Detecting Java version installed.
CurrentVersion 11
Java 11 found!
Installing Trendz Analytics...
...
Trendz Analytics installed successfully!
Step 5. Start Trendz service
启动Trendz服务。 以管理员身份打开命令提示符,执行:
1
net start trendz
预期输出:
1
2
The Trendz Analytics service is starting.
The Trendz Analytics service was started successfully.
重启Trendz服务可执行:
1
2
net stop trendz
net start trendz
Step 6. Sync ThingsBoard With Trendz
最后一步是确认 ThingsBoard 已与 Trendz 同步。操作如下:
- 以 Sysadmin 身份登录 ThingsBoard。
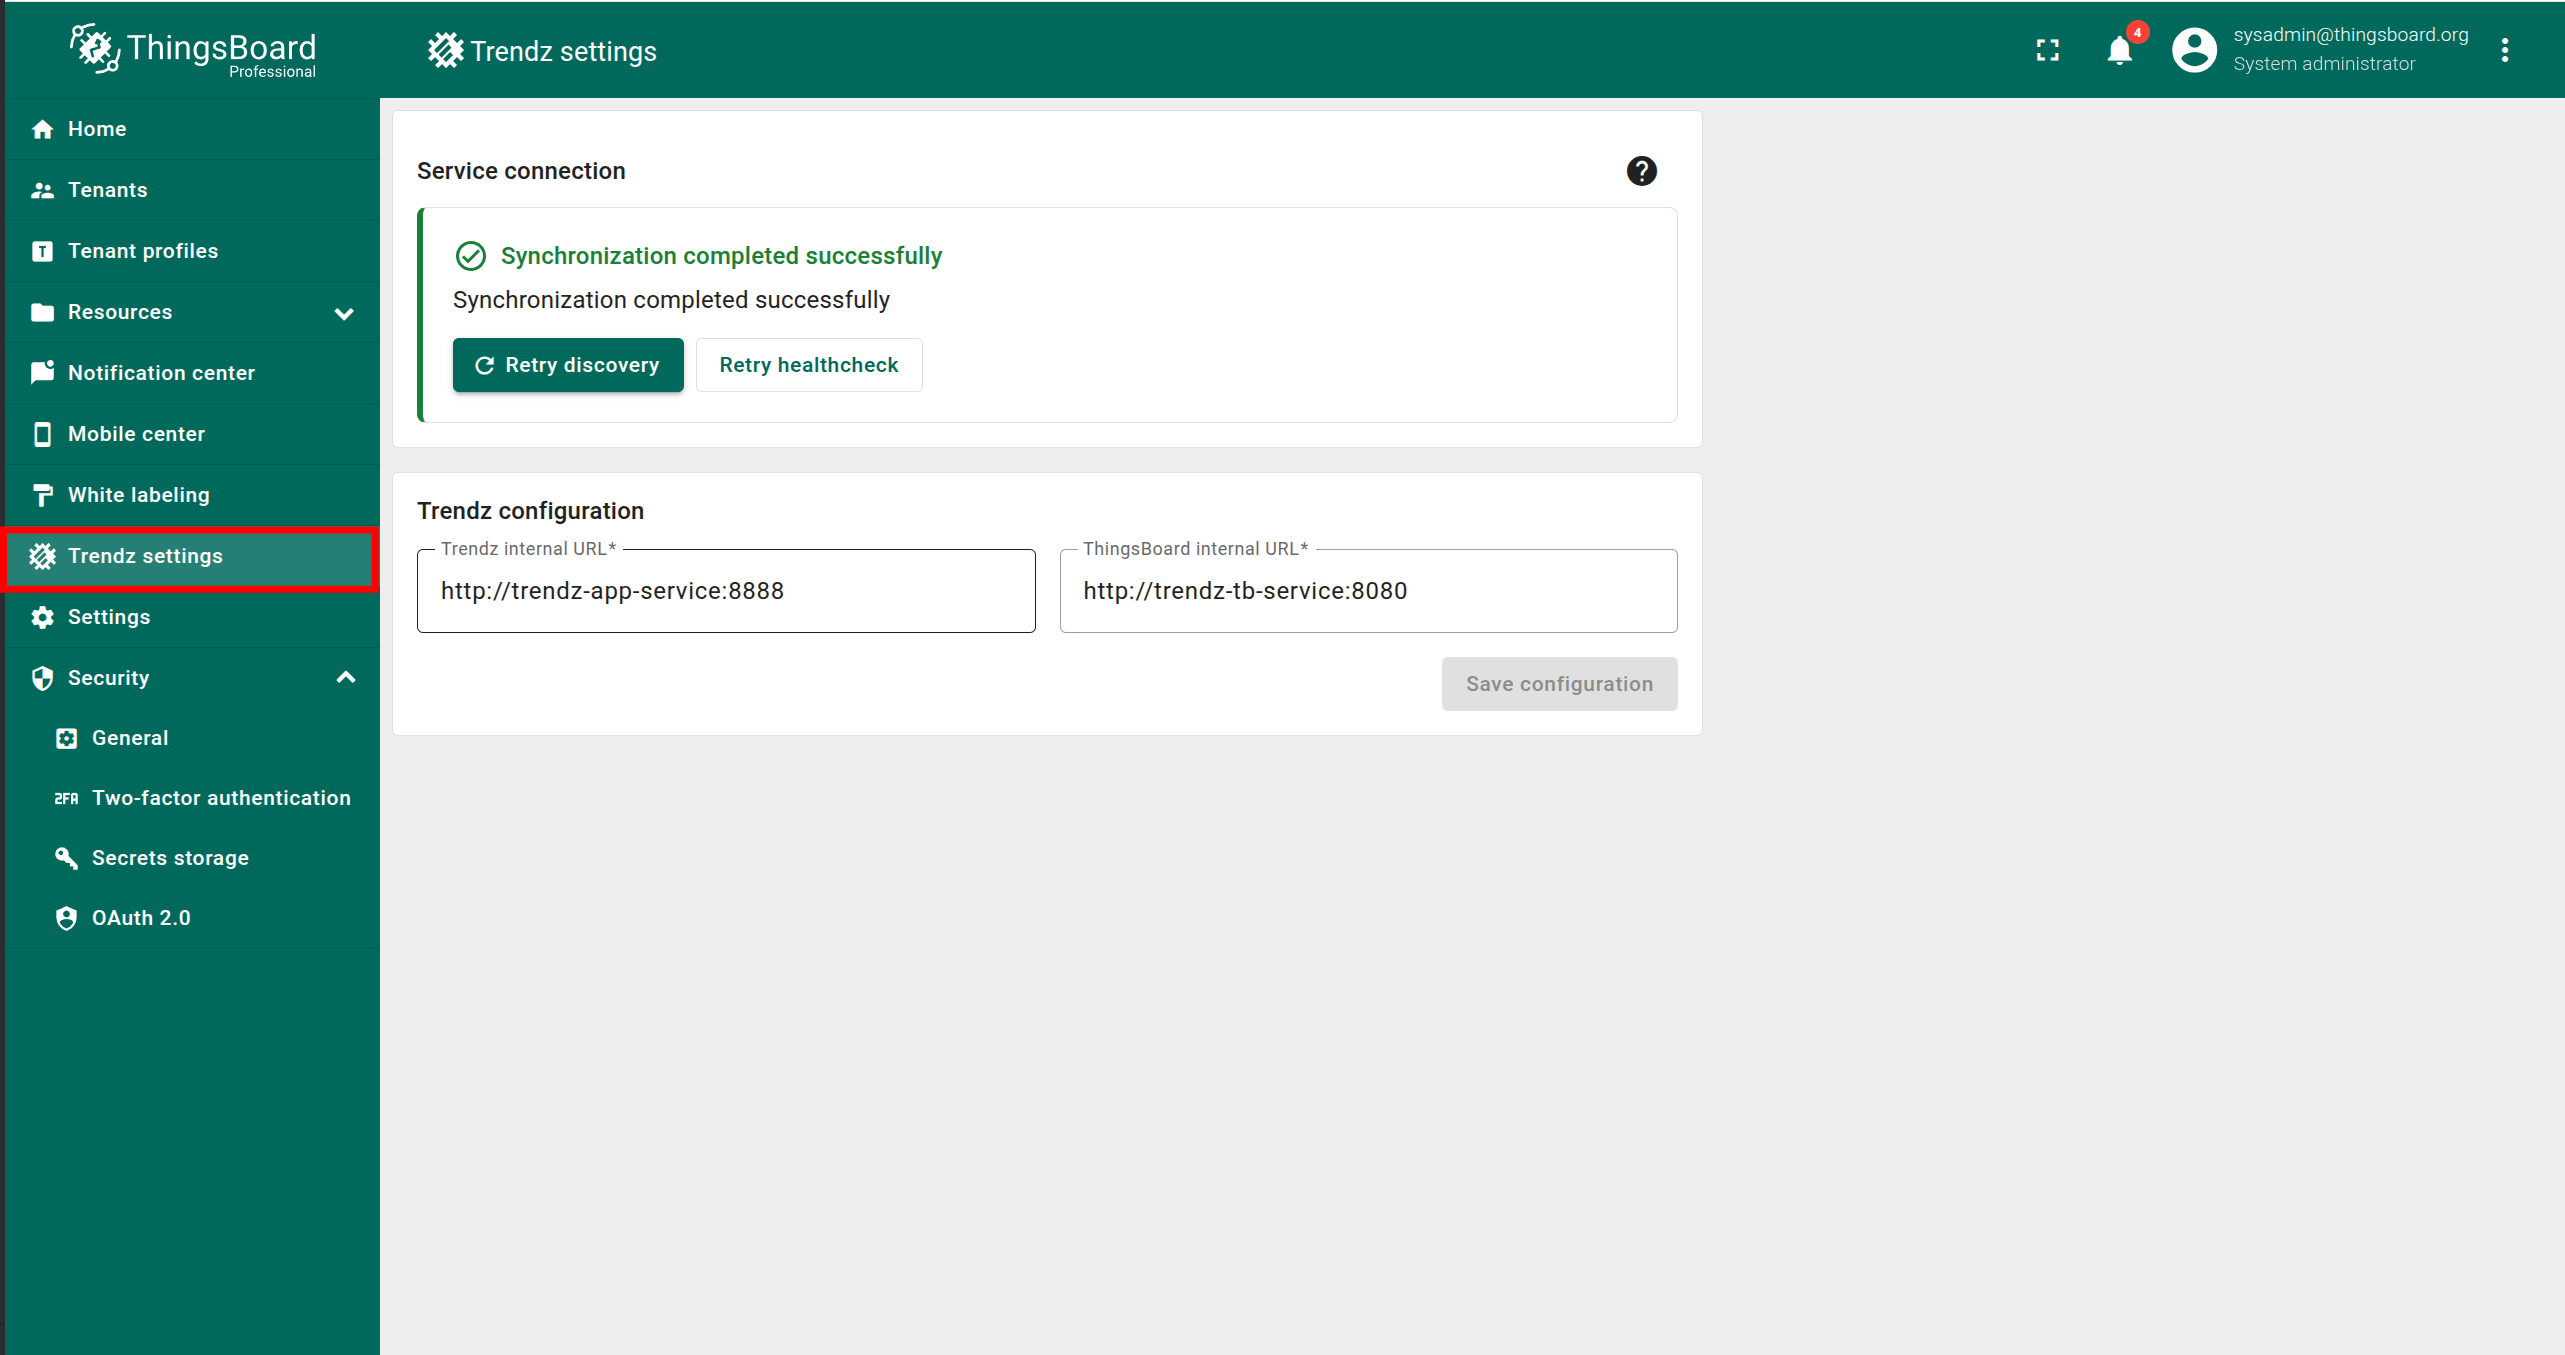
- 打开 Trendz Settings 页面。
若看到 “Synchronization completed successfully” 提示,说明同步已自动完成,无需进一步操作。

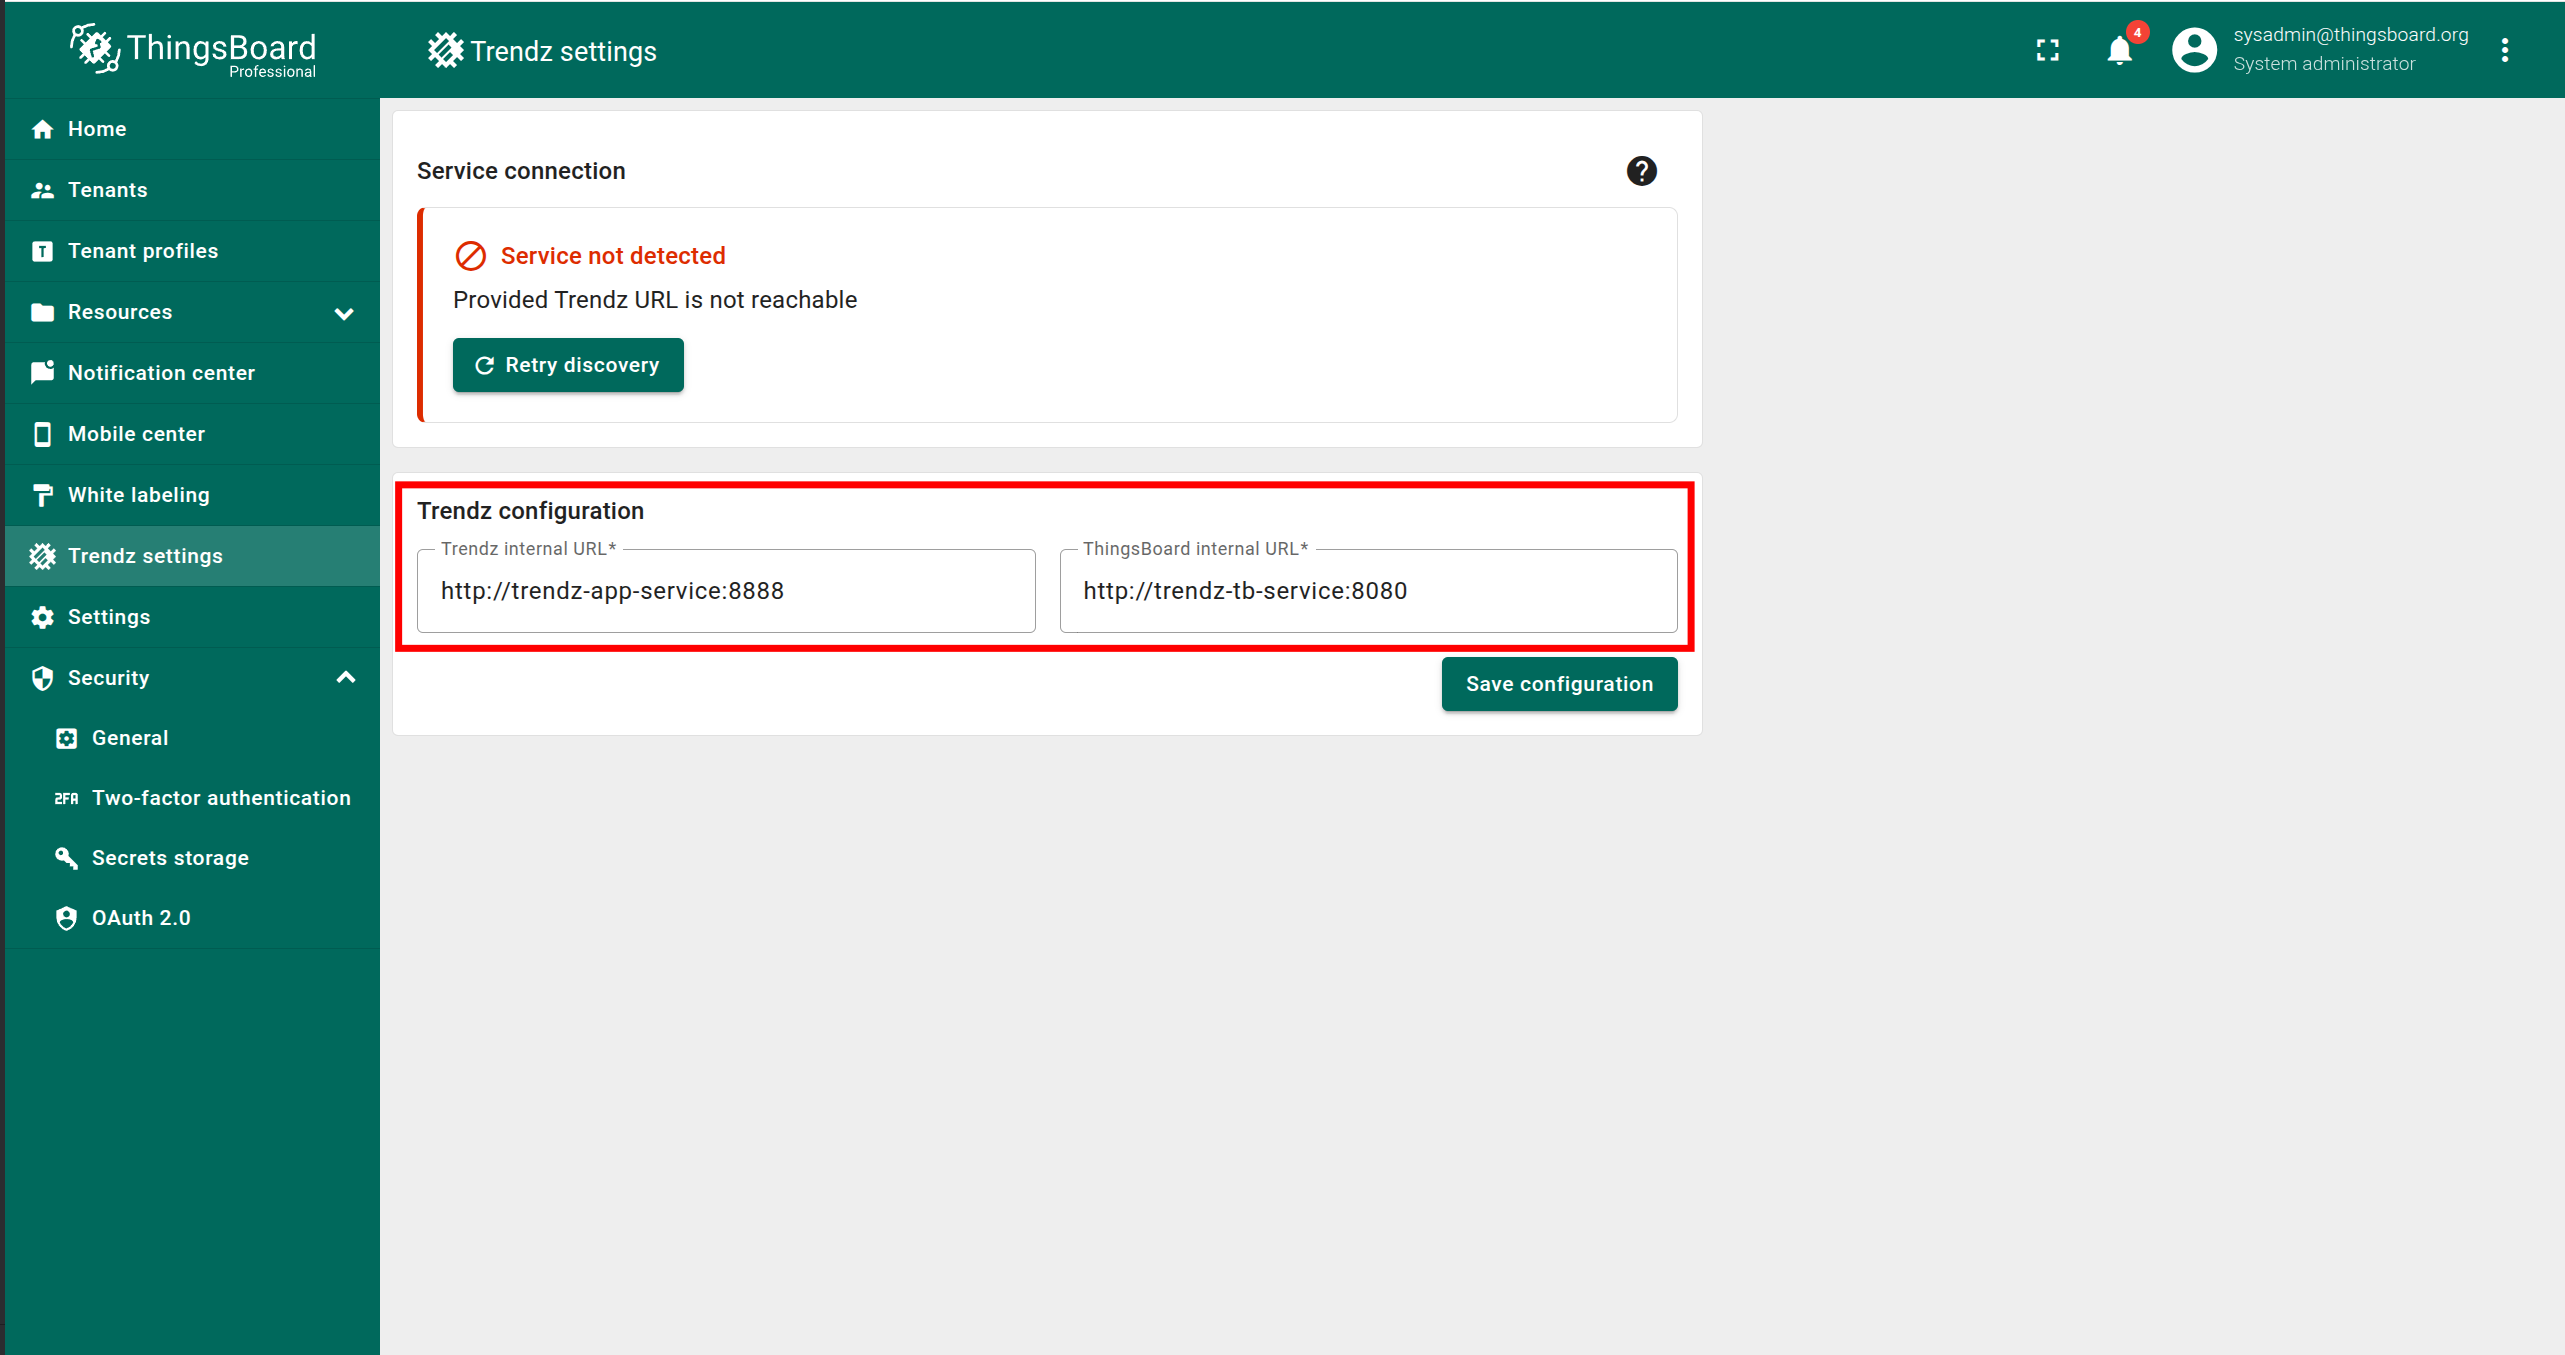
若出现错误提示,请按以下步骤排查:
- 确认 Trendz 正在运行。
- 填写正确的 Trendz internal URL,且 ThingsBoard 服务可访问。
- 填写正确的 ThingsBoard internal URL,且 Trendz 服务可访问。
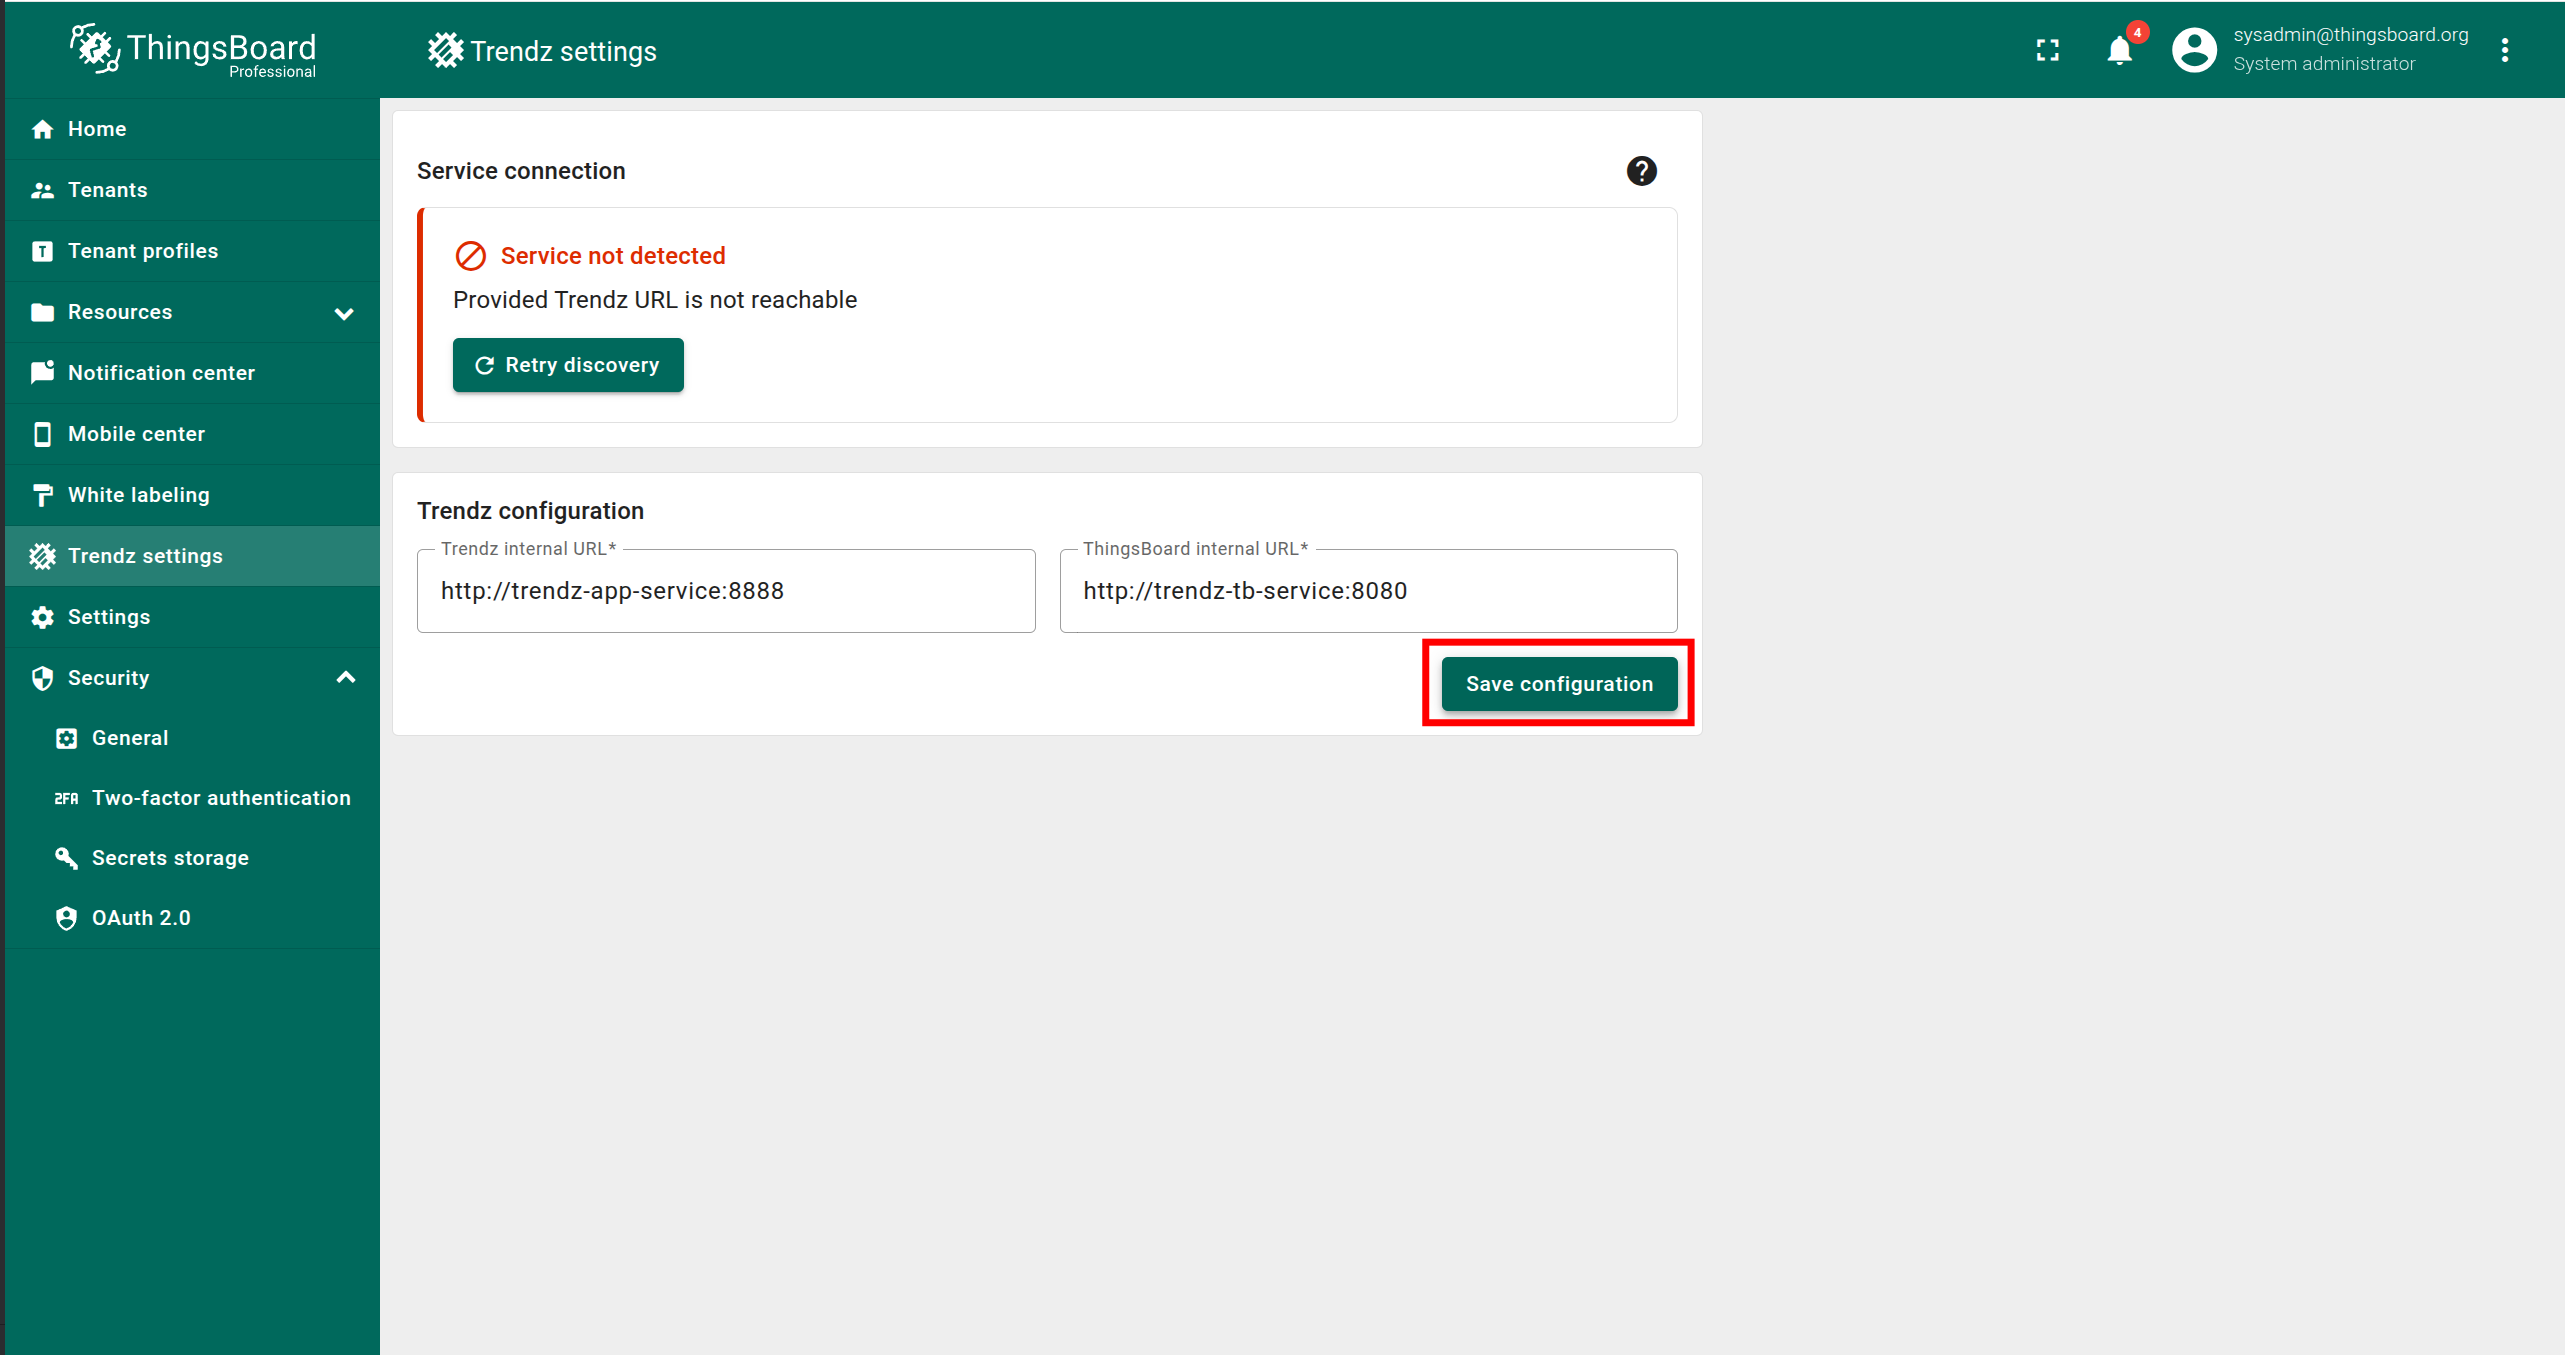
- 点击 Save configuration。
- 点击 Retry discovery。
当出现 “Synchronization completed successfully” 后,同步即完成。


Step 7. Install Trendz Python Executor
要使用Trendz Python Calculation Fields或Prediction Models等全部Trendz能力, 需安装Trendz Python Executor——该服务可安全运行Python代码。
安装方法见。
Authentication
默认可在 http://localhost:8888 访问 Trendz UI。
Trendz 使用 ThingsBoard 作为认证服务,首次认证需使用 ThingsBoard 中的 Tenant Administrator 凭证。
Topology Discovery
首次登录 Trendz 后,需发现拓扑以使 Trendz 识别资产、设备、其配置与关系:
- 点击 Discover Topology 按钮开始拓扑发现。
- 等待拓扑发现完成。
- 点击 Finish 按钮关闭拓扑发现页面并解锁 Trendz 主要功能。
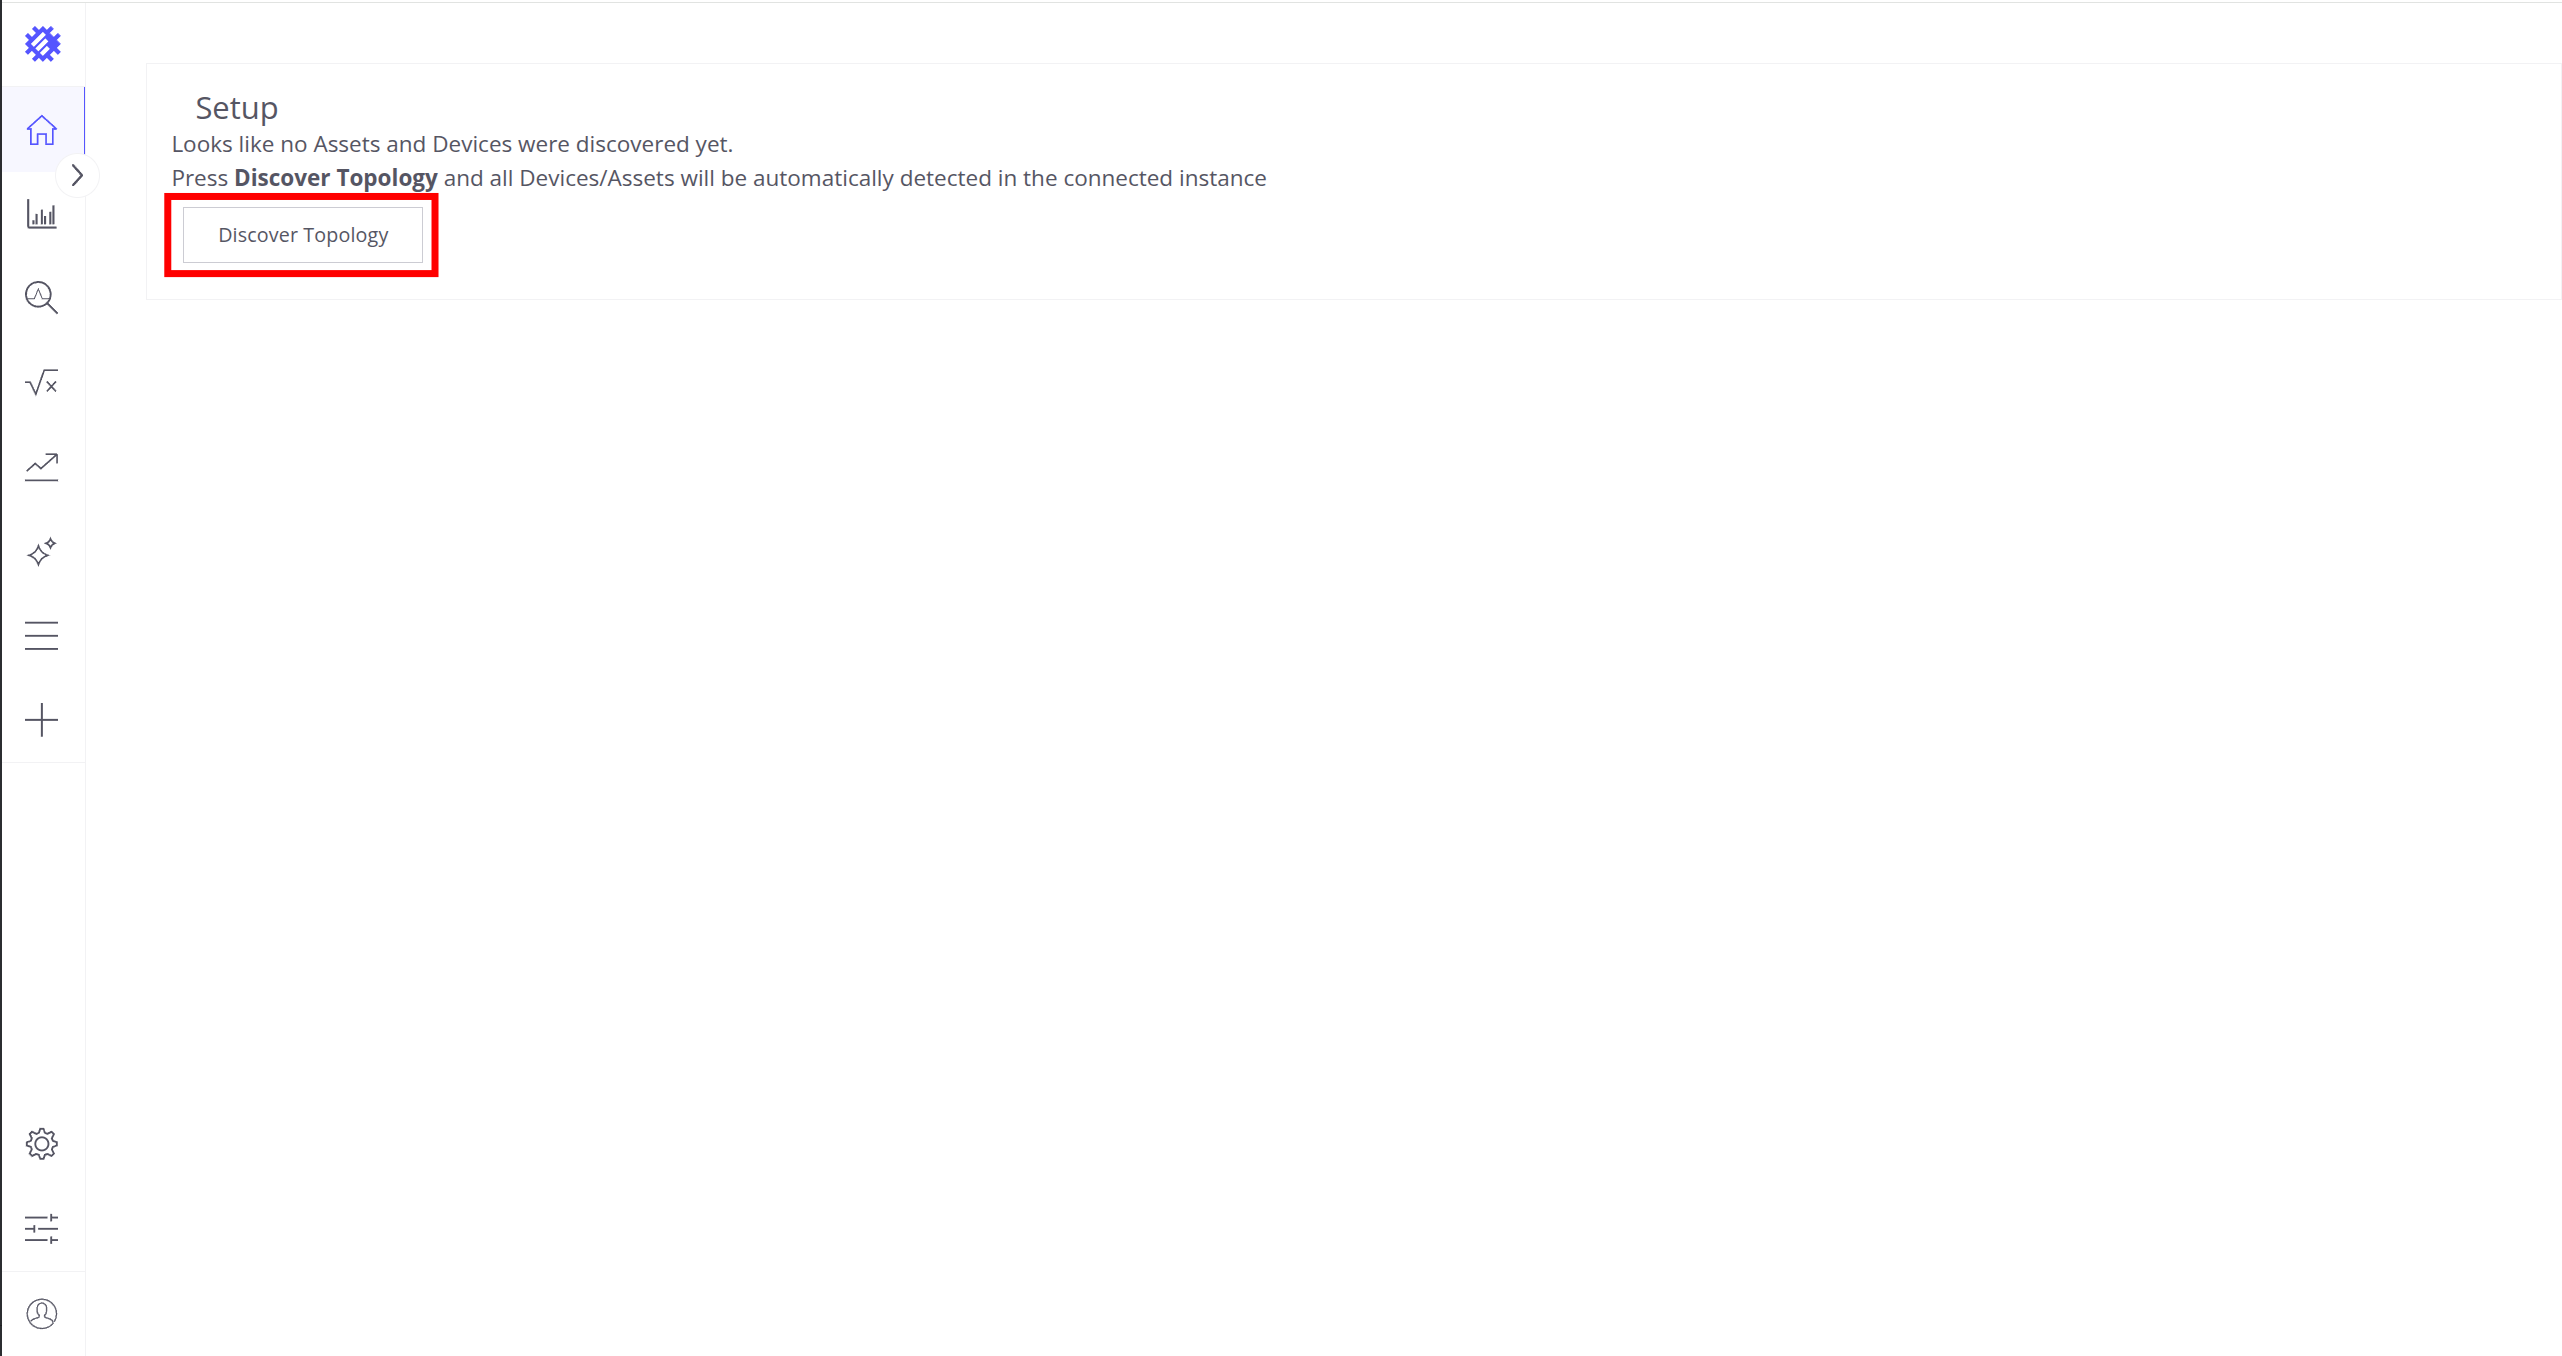
点击 Discover Topology 按钮开始拓扑发现。
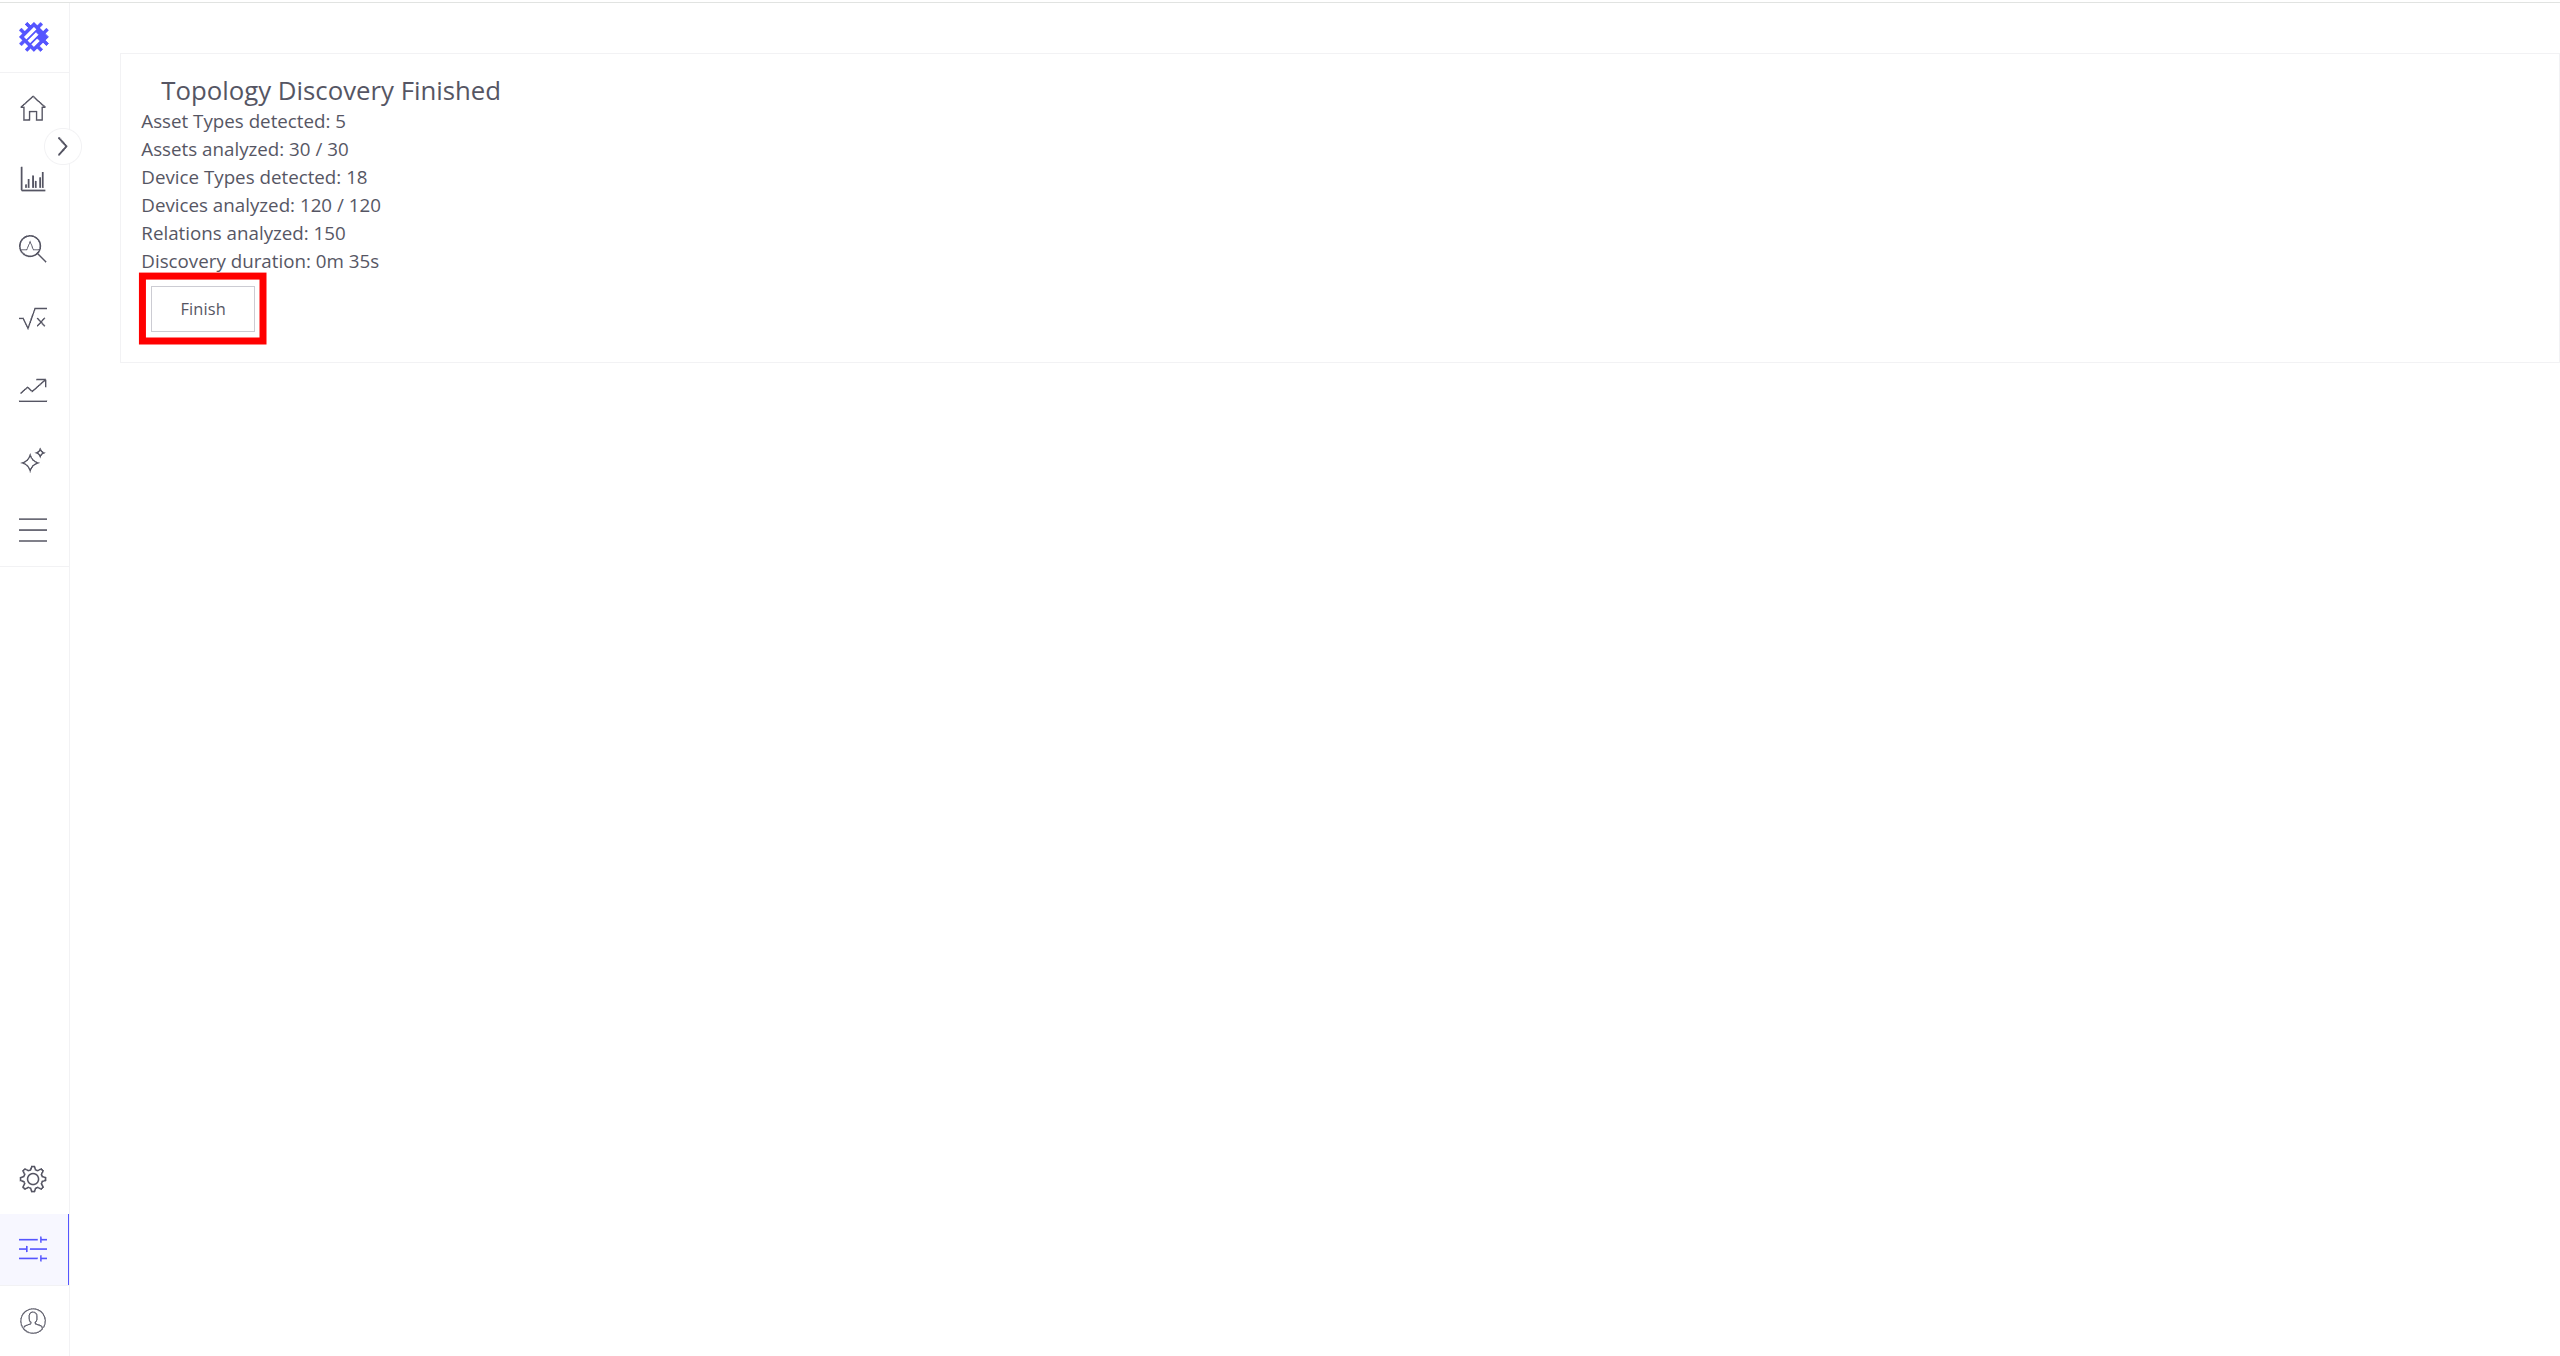
点击 Finish 按钮关闭拓扑发现页面并解锁 Trendz 主要功能。
更多关于 Trendz 如何使用拓扑的信息,请参阅此处。
Troubleshooting
日志文件位于logs文件夹(本例为”C:\Program Files (x86)\trendz\logs”)。
trendz.log中应包含:
1
YYYY-MM-DD HH:mm:ss,sss [main] INFO  o.t.t.TrendzApplication - Started TrendzApplication in x.xxx seconds (JVM running for x.xxx)
如有不明错误,可参考通用troubleshooting指南或联系我们。
Windows firewall settings
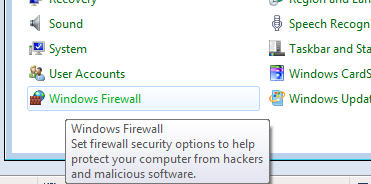
若需从外部访问Trendz Web UI, 需在Windows Firewall with Advanced Security中创建新的入站规则。
- 从”控制面板”打开”Windows Firewall”:
- 点击左侧”Advanced settings”:
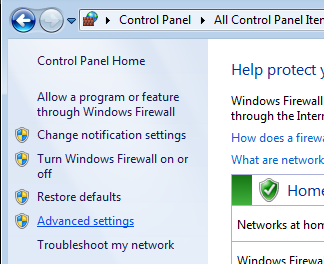
- 在左侧选择”Inbound Rules”,然后点击右侧”Actions”面板的”New Rule…“:

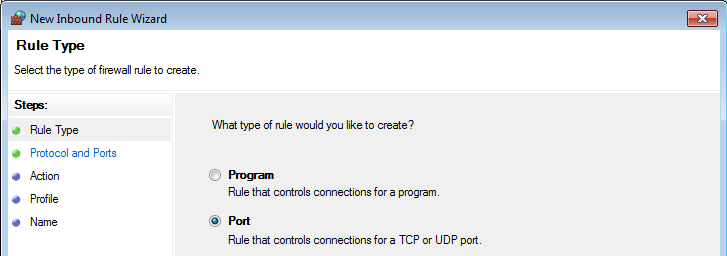
- 打开”New Inbound Rule Wizard”。第一步”Rule Type”选择”Port”:
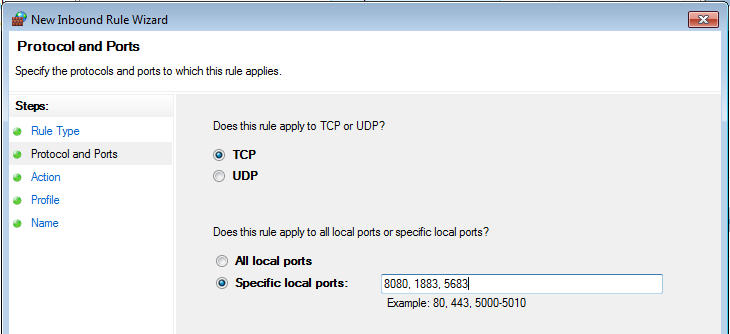
- 在”Protocol and Ports”步骤选择”TCP”协议,在”Specific local ports”中输入端口8888:
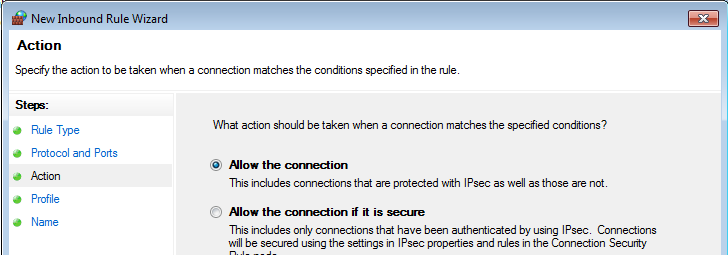
- 在”Action”步骤保持”Allow the connection”:
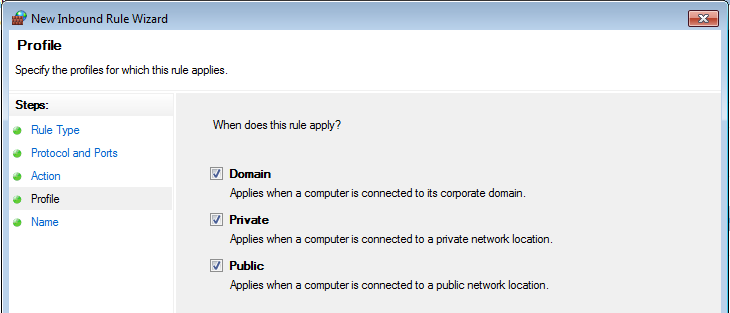
- 在”Profile”步骤选择应用此规则的Windows网络配置文件:
- 最后为规则命名(如”Trendz Service Networking”)并点击”Finish”。

下一步
-
快速入门指南 - 快速了解 Trendz 主要功能。
-
指标探索器 - 学习使用 Trendz Metric Explorer 探索和创建指标。
-
异常检测 - 学习识别数据中的异常。
-
字段计算 - 了解字段计算及使用方法。
-
状态 - 学习基于原始遥测定义和分析资产状态。
-
预测 - 学习进行预测及遥测行为预测。
-
筛选器 - 学习在分析中筛选数据集。
-
可用可视化部件 - 了解 Trendz 中可用的可视化部件及配置方法。
-
分享与嵌入可视化 - 学习将 Trendz 可视化添加到 ThingsBoard 仪表盘或第三方网页。
-
AI 助手 - 学习使用 Trendz AI 功能。