本指南介绍如何从Azure应用市场安装ThingsBoard专业版。 按照本指南,您将安装产品的BYOL版本。 您直接从ThingsBoard, Inc获取许可证,但从Azure购买相应的服务器实例和基础设施。
- 前置条件
- 步骤1. 订阅ThingsBoard PE BYOL
- 步骤2. 常规配置
- 步骤3. 查看已创建的资源
- 步骤4. 获取许可证密钥
- 步骤5. 配置许可证密钥
- 步骤6. 启动ThingsBoard服务
- 步骤7. 连接到ThingsBoard UI
- 安装后步骤
- 下一步
前置条件
- 有效的Microsoft Azure账户。
步骤1. 订阅ThingsBoard PE BYOL
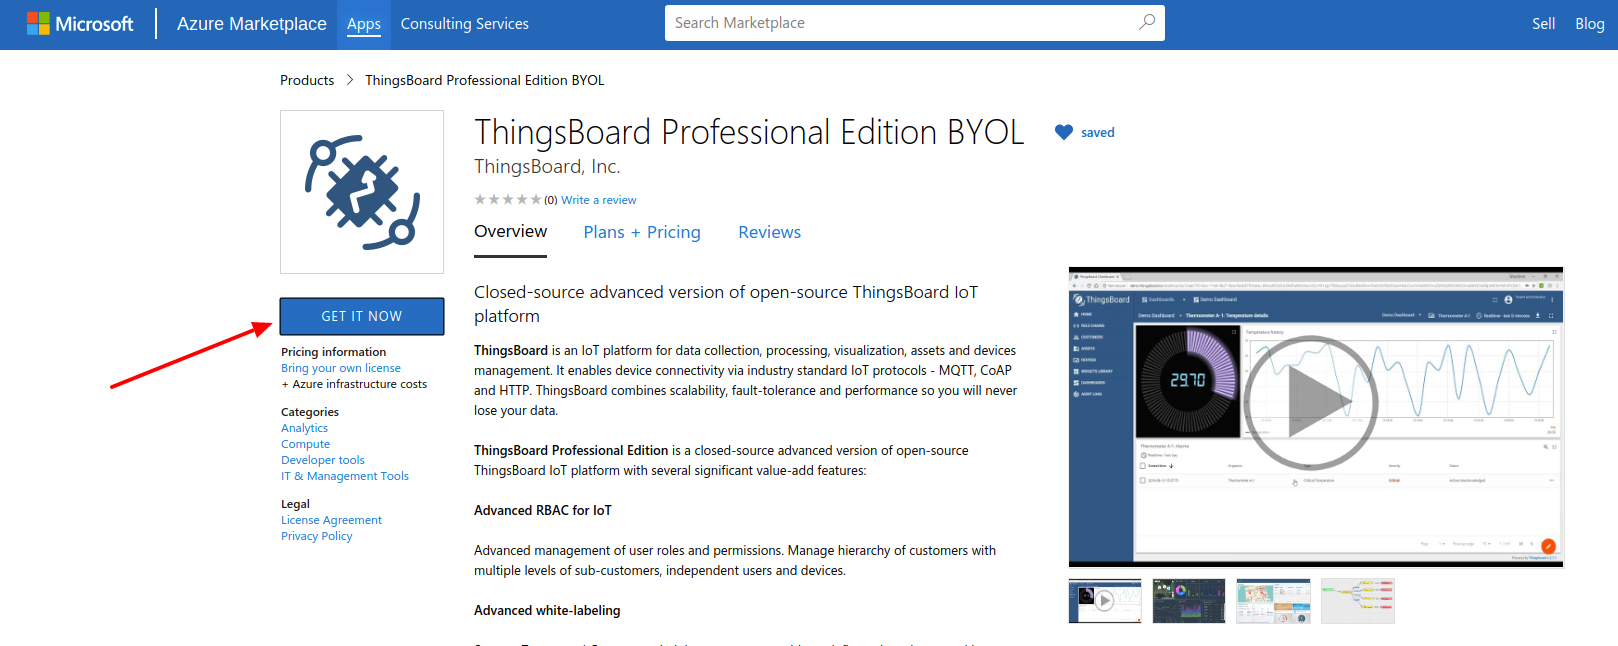
从Azure应用市场打开ThingsBoard Professional Edition BYOL产品页面。
- 点击 GET IT NOW 按钮
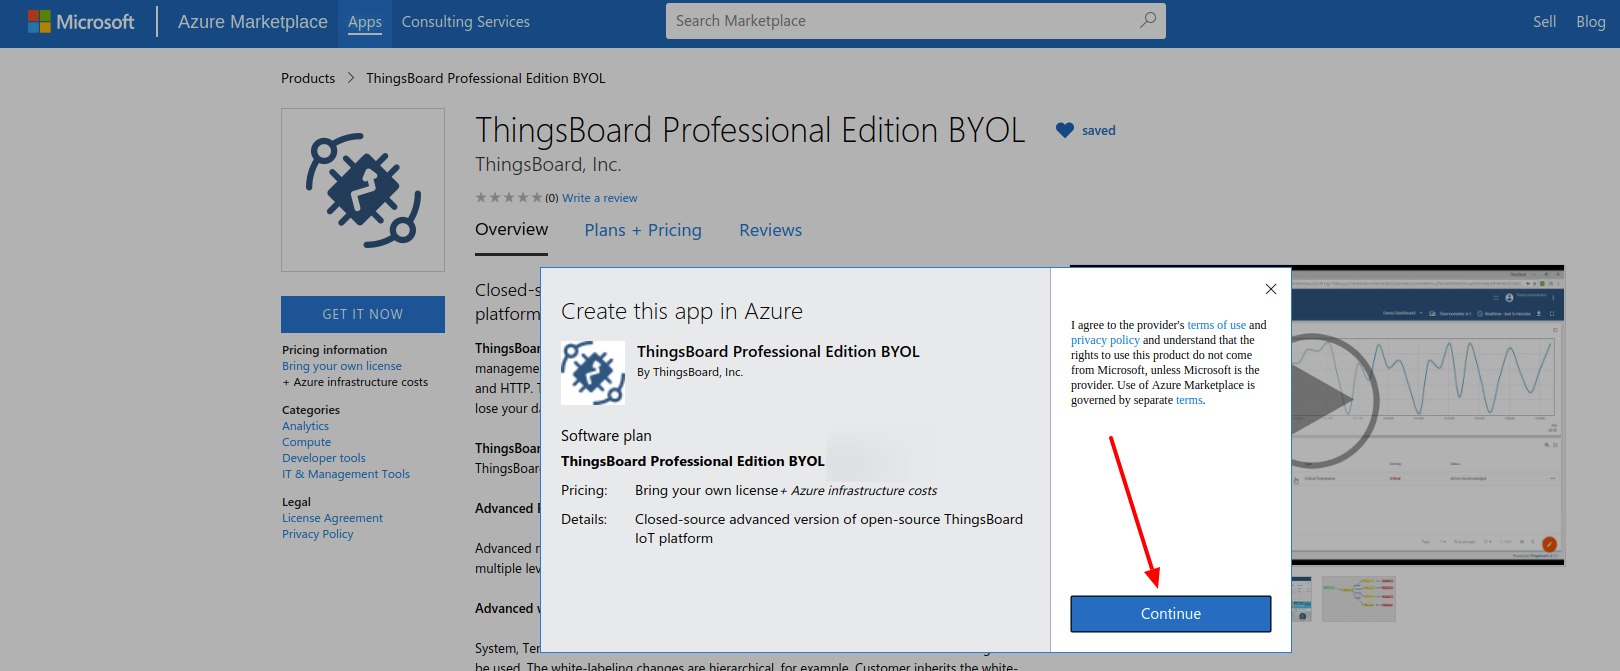
- 查看并接受使用条款和隐私政策。点击”Continue”按钮。
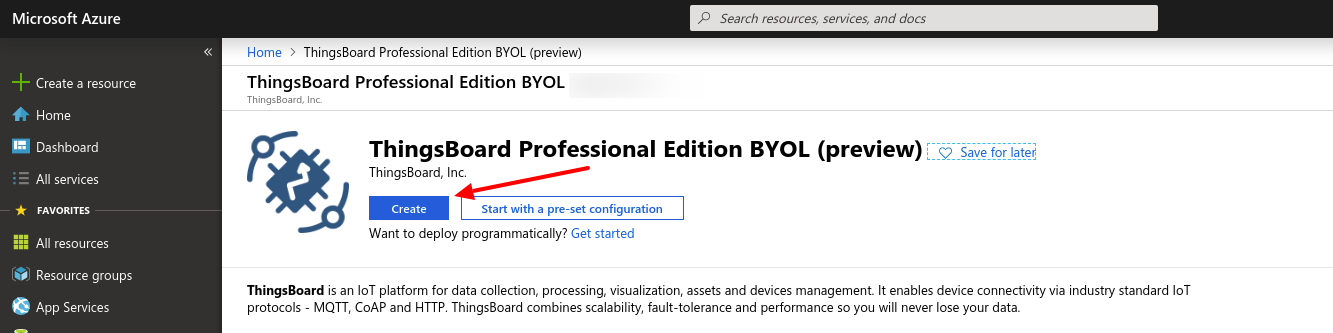
- 您将被重定向到Azure门户。点击”Create”按钮来部署您的实例。
步骤2. 常规配置
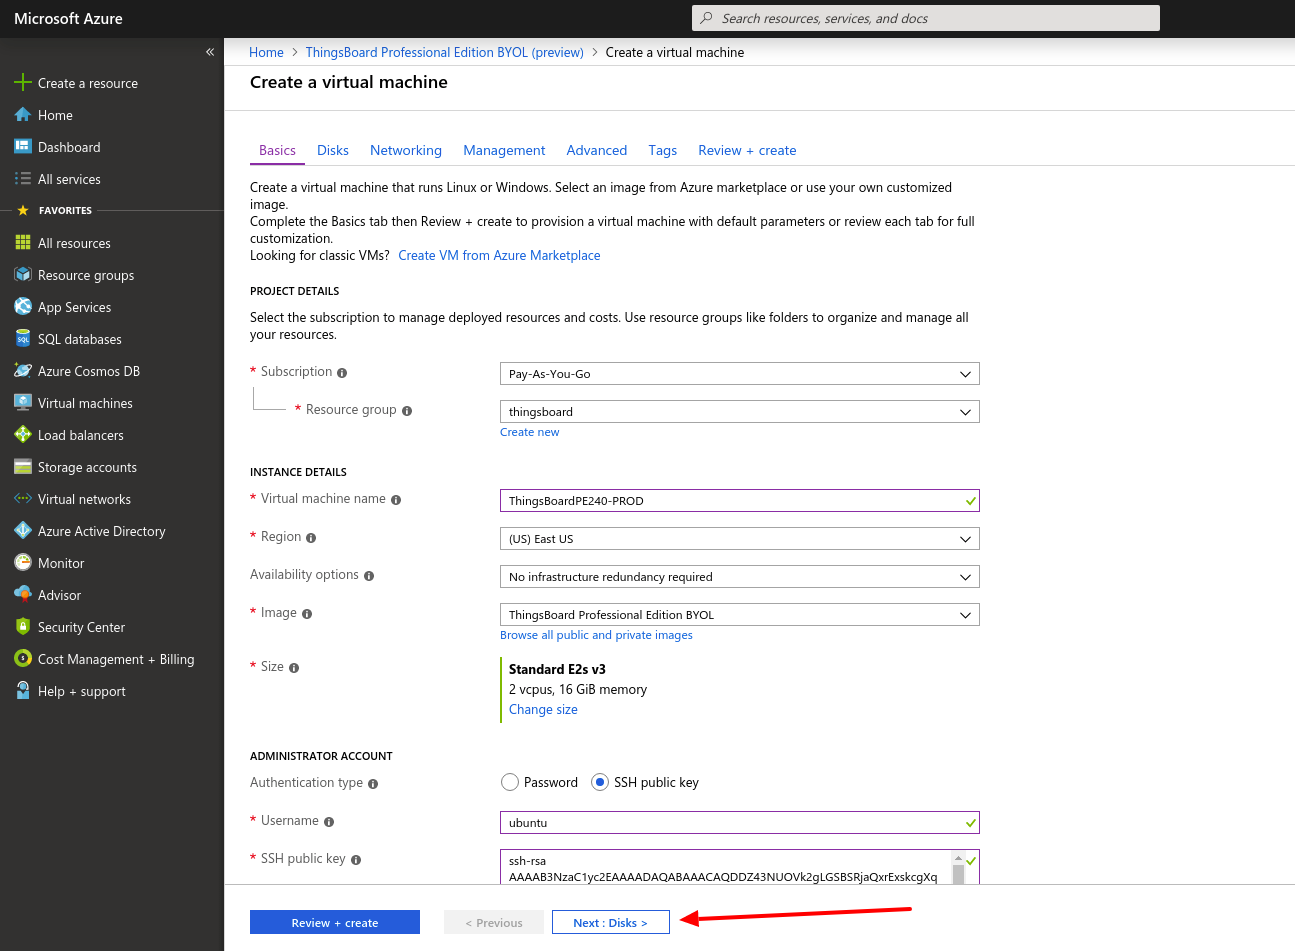
- 您将被重定向到”创建虚拟机”对话框,其中有大量设置。 不用担心,我们将大部分保持默认值即可。
步骤2.1 基本配置
- 创建新的”资源组”,例如”thingsboard”;
- 添加可识别的虚拟机名称,例如”ThingsBoardPE-PROD”;
- 从可用区域列表中选择区域;
- 将”管理员账户”配置为”SSH公钥”。用户名必须为ubuntu;参见Azure官方文档了解如何生成密钥。
- 点击”Next: Disks”按钮。
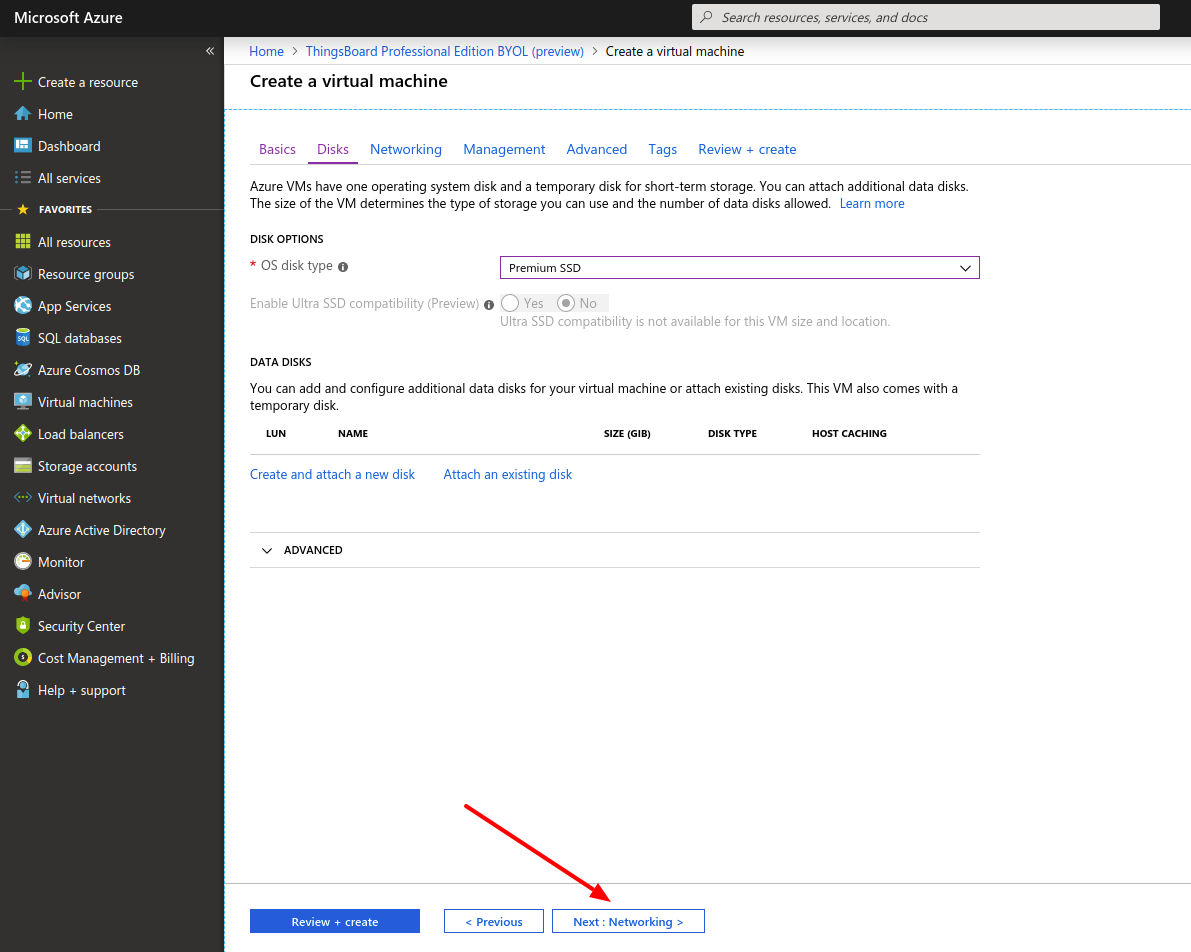
步骤2.2 磁盘
- 建议保持默认设置,但您可以在此选择添加新磁盘;
- 点击”Next: Networking”按钮。
步骤2.3 网络
- 保持所有设置不变;
- 确保此虚拟机使用预配置的网络安全组;
- 点击”Next: Management”按钮。

步骤2.3 管理、高级、标签
- 在所有三个选项卡上保持默认设置;
- 点击”Next”按钮直到到达”Review + create”选项卡。
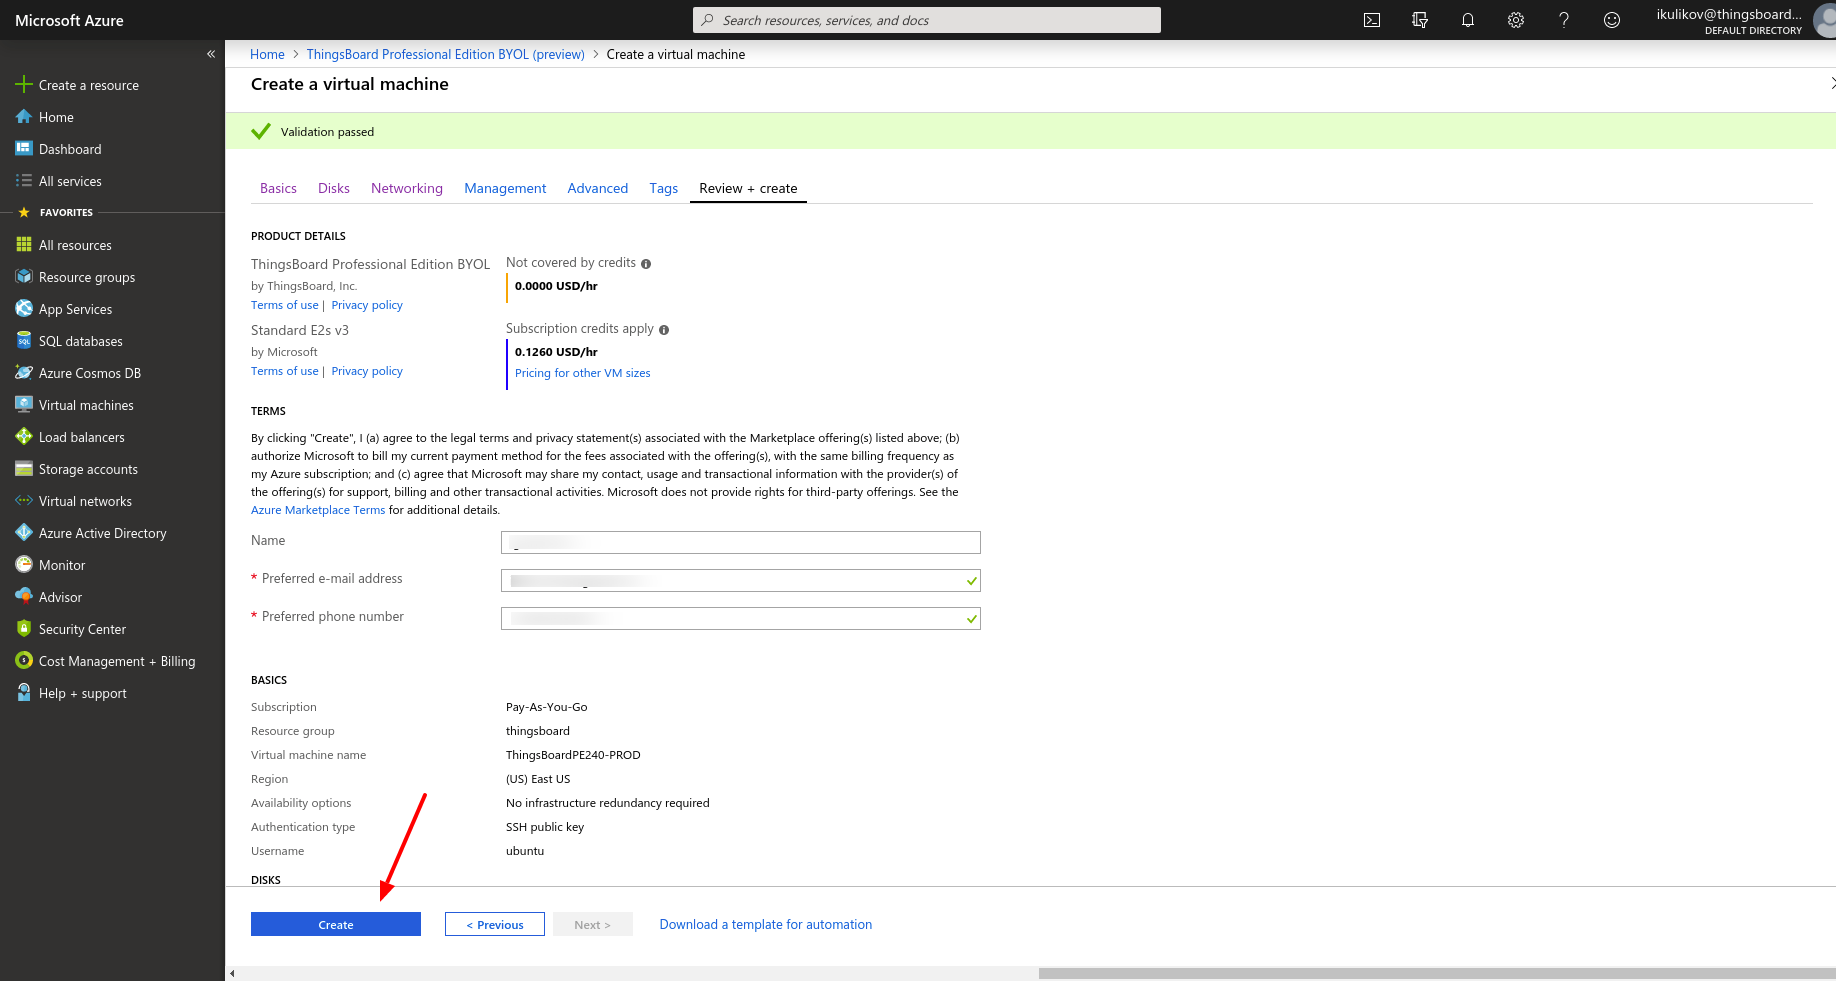
步骤2.4 审核 + 创建
- 审核最终产品详情;
- 确保您的姓名、电子邮件地址和电话号码正确;
- 点击”Create”按钮开始部署。
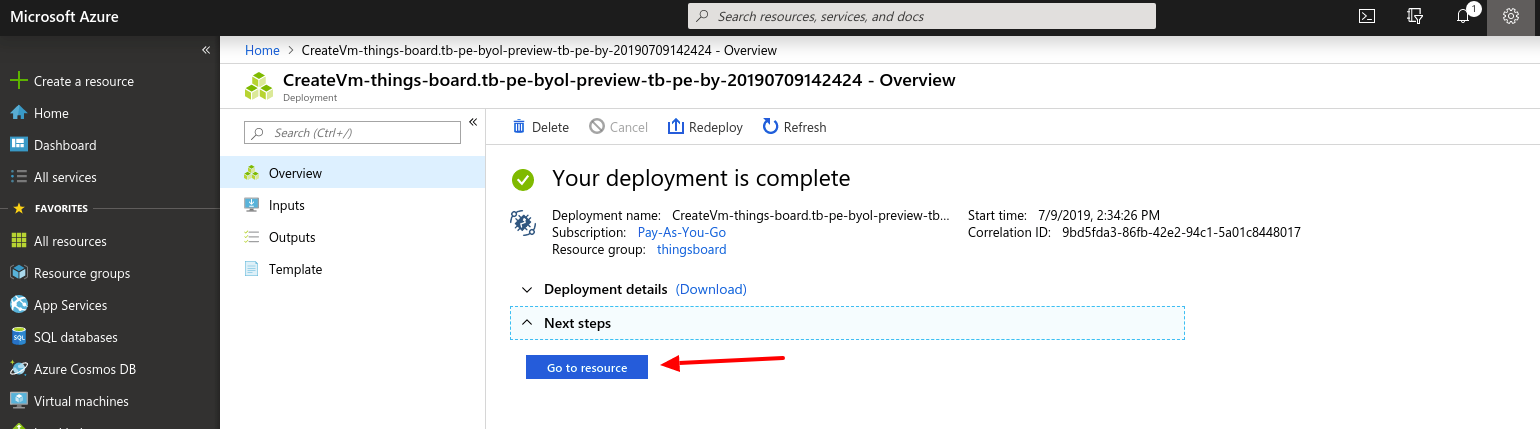
- 部署开始后可能需要最多30分钟(但通常不到5分钟)完成;
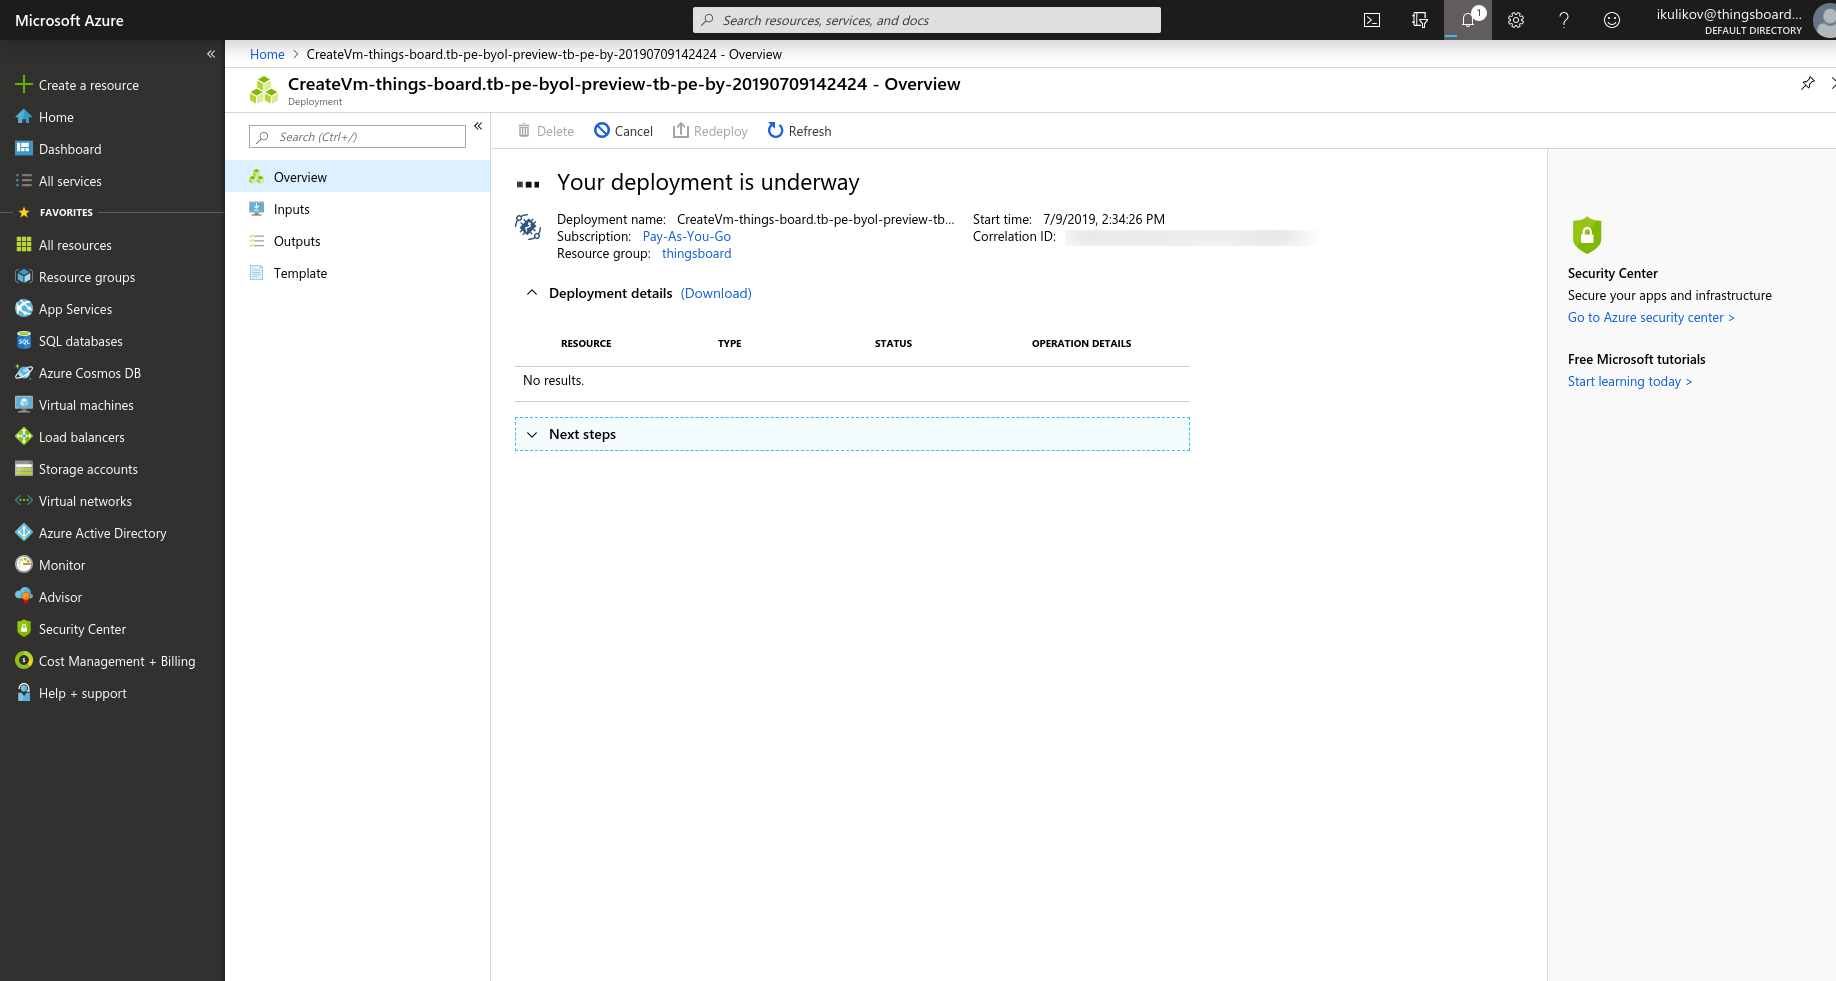
- 部署完成后,点击”Go to resource”按钮。
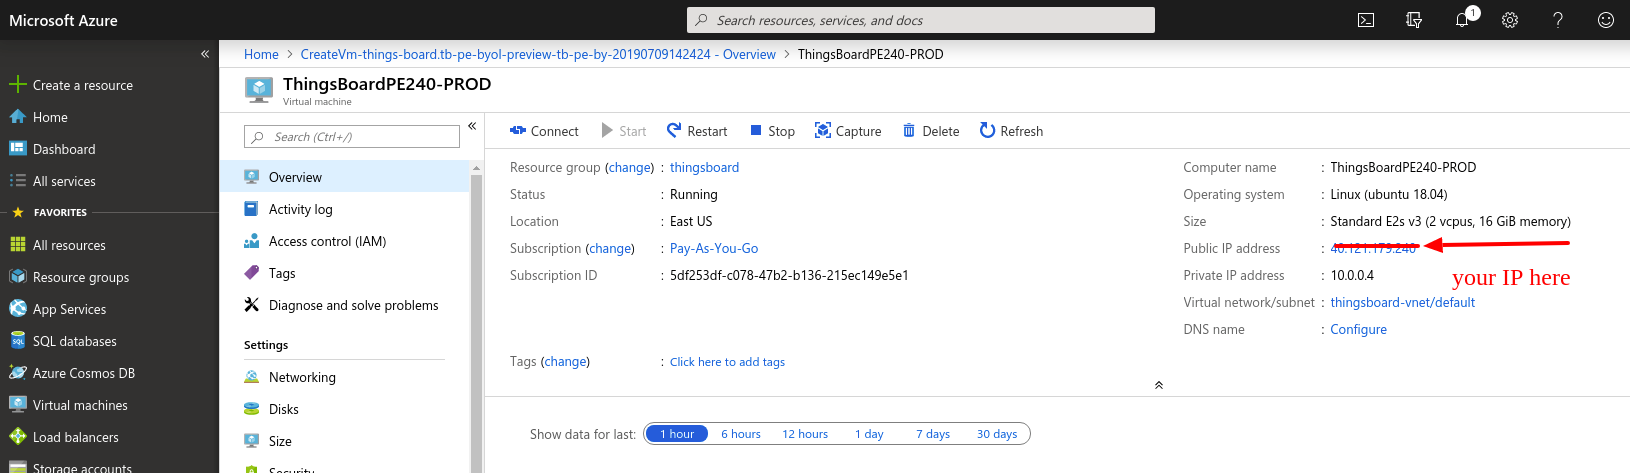
步骤3. 查看已创建的资源
您将跳转到资源概览页面。 我们需要在此页面复制实例的外部IP地址。 请将此IP地址保存到安全的地方。 我们将在后续步骤中使用它。
例如,在下图中,IP地址被高亮显示为”40.121.179.240”
步骤4. 获取许可证密钥
要激活您的ThingsBoard实例,您需要获取许可证密钥。 ThingsBoard许可证由ThingsBoard License Portal管理。
请在ThingsBoard License Portal注册以获取许可证。 详情请参阅如何获取按需订阅或如何获取永久许可证。
请将许可证密钥保存到安全的地方,我们将在本指南后续步骤中使用。
步骤5. 配置许可证密钥
获取许可证密钥后,需要将其写入ThingsBoard配置文件。
步骤5.1. 通过SSH连接到ThingsBoard实例
请参阅Azure官方指南了解如何使用SSH密钥连接Azure虚拟机。
注意:您需要使用实例的公共IP(参见步骤3)和密钥文件(参见步骤2.1)
步骤5.2. 将许可证密钥写入ThingsBoard配置文件
使用以下命令打开文件进行编辑:
1
sudo nano /etc/thingsboard/conf/thingsboard.conf
找到以下配置块:
1
2
3
# License secret obtained from ThingsBoard License Portal (https://license.thingsboard.io)
# UNCOMMENT NEXT LINE AND PUT YOUR LICENSE SECRET:
# export TB_LICENSE_SECRET=
然后填入您的许可证密钥。请不要忘记取消export语句的注释。参见以下示例:
1
2
3
# License secret obtained from ThingsBoard License Portal (https://license.thingsboard.io)
# UNCOMMENT NEXT LINE AND PUT YOUR LICENSE SECRET:
export TB_LICENSE_SECRET=YOUR_LICENSE_SECRET_HERE
步骤6. 启动ThingsBoard服务
执行以下命令启动ThingsBoard:
1
sudo service thingsboard start
Please allow up to 120 seconds for the Web UI to start. This is applicable only for slow machines with 1-2 CPUs or 1-2 GB RAM.
步骤7. 连接到ThingsBoard UI
现在您可以在浏览器中打开以下链接:
- http://PUBLIC_IP_ADDRESS/login
本示例中:
- http://40.121.179.240/login
使用以下账号以系统管理员身份登录
- sysadmin@thingsboard.org
系统管理员的默认密码为:
- sysadmin
现在您可以继续进行下一步。
安装后步骤
配置HAProxy以启用HTTPS
- 步骤1. 为实例的外部IP地址分配有效的域名系统(DNS)记录。
- 步骤2. 使用上述说明通过SSH或PuTTY连接到您的实例。
- 步骤3. 执行以下命令:
1
2
 sudo certbot-certonly --domain smth.yourcompany.com --email support@yourcompany.com
 sudo haproxy-refresh
其中 smth.yourcompany.com 是您在第二步中设置的DNS名称, support@yourcompany.com 是您用于接收certbot通知的电子邮件。