
- Hardware type: Sensors
- Connectivity: WIFI, Bluetooth
- Industry: Smart Cities, Agriculture, Industrial Manufacturing, Smart Buildings, Energy Management, Environmental Monitoring
- Use cases: Smart Energy, Environment Monitoring, Smart Retail, Smart Farming, Air Quality Monitoring
- Platforms: Community Edition, Professional Edition, Cloud
概述
Sensy32 是一款面向传感器爱好者、开发者与物联网创客的IoT板。
基于ESP32-S3,集成多种传感器,可实现数据的监测、分析与可视化。
Sensy32支持Wi-Fi与Bluetooth,配备两个USB Type-C口,用于充电供电、程序与固件上传、数据通信、外设连接及为传感器等外部设备供电。
Sensy32板载组件与传感器包括:
- 紫外线传感器
- 红外运动与人体存在传感器
- 温湿度传感器
- 高度与气压传感器
- 九轴姿态IMU(加速度计/磁力计/陀螺仪)
- 微控制器(ESP32-S3 Wi-Fi与Bluetooth)
- 32 Mb Nor Flash
- USB转串口
- 光照强度传感器
- 电池充电器
- RGB LED
- MEMS麦克风
- 内置LCD屏,支持实时监测与控制
本指南将介绍如何在ThingsBoard创建设备、安装所需库和工具,修改代码并上传至设备,使用导入的仪表板在ThingsBoard上查看数据。
前置条件
继续本指南前需准备以下内容:
- Editor Arduino IDE
- CP210xVCP Driver
- Sensy32 board (you can get it from Tindie or Elecrow)
- ThingsBoard 账户
安装所需库和工具
打开 Arduino IDE并安装开发板包:
1. 进入File > Preferences,在Additional Boards Manager URLs字段中添加以下URL:
1
https://dl.espressif.com/dl/package_esp32_index.json
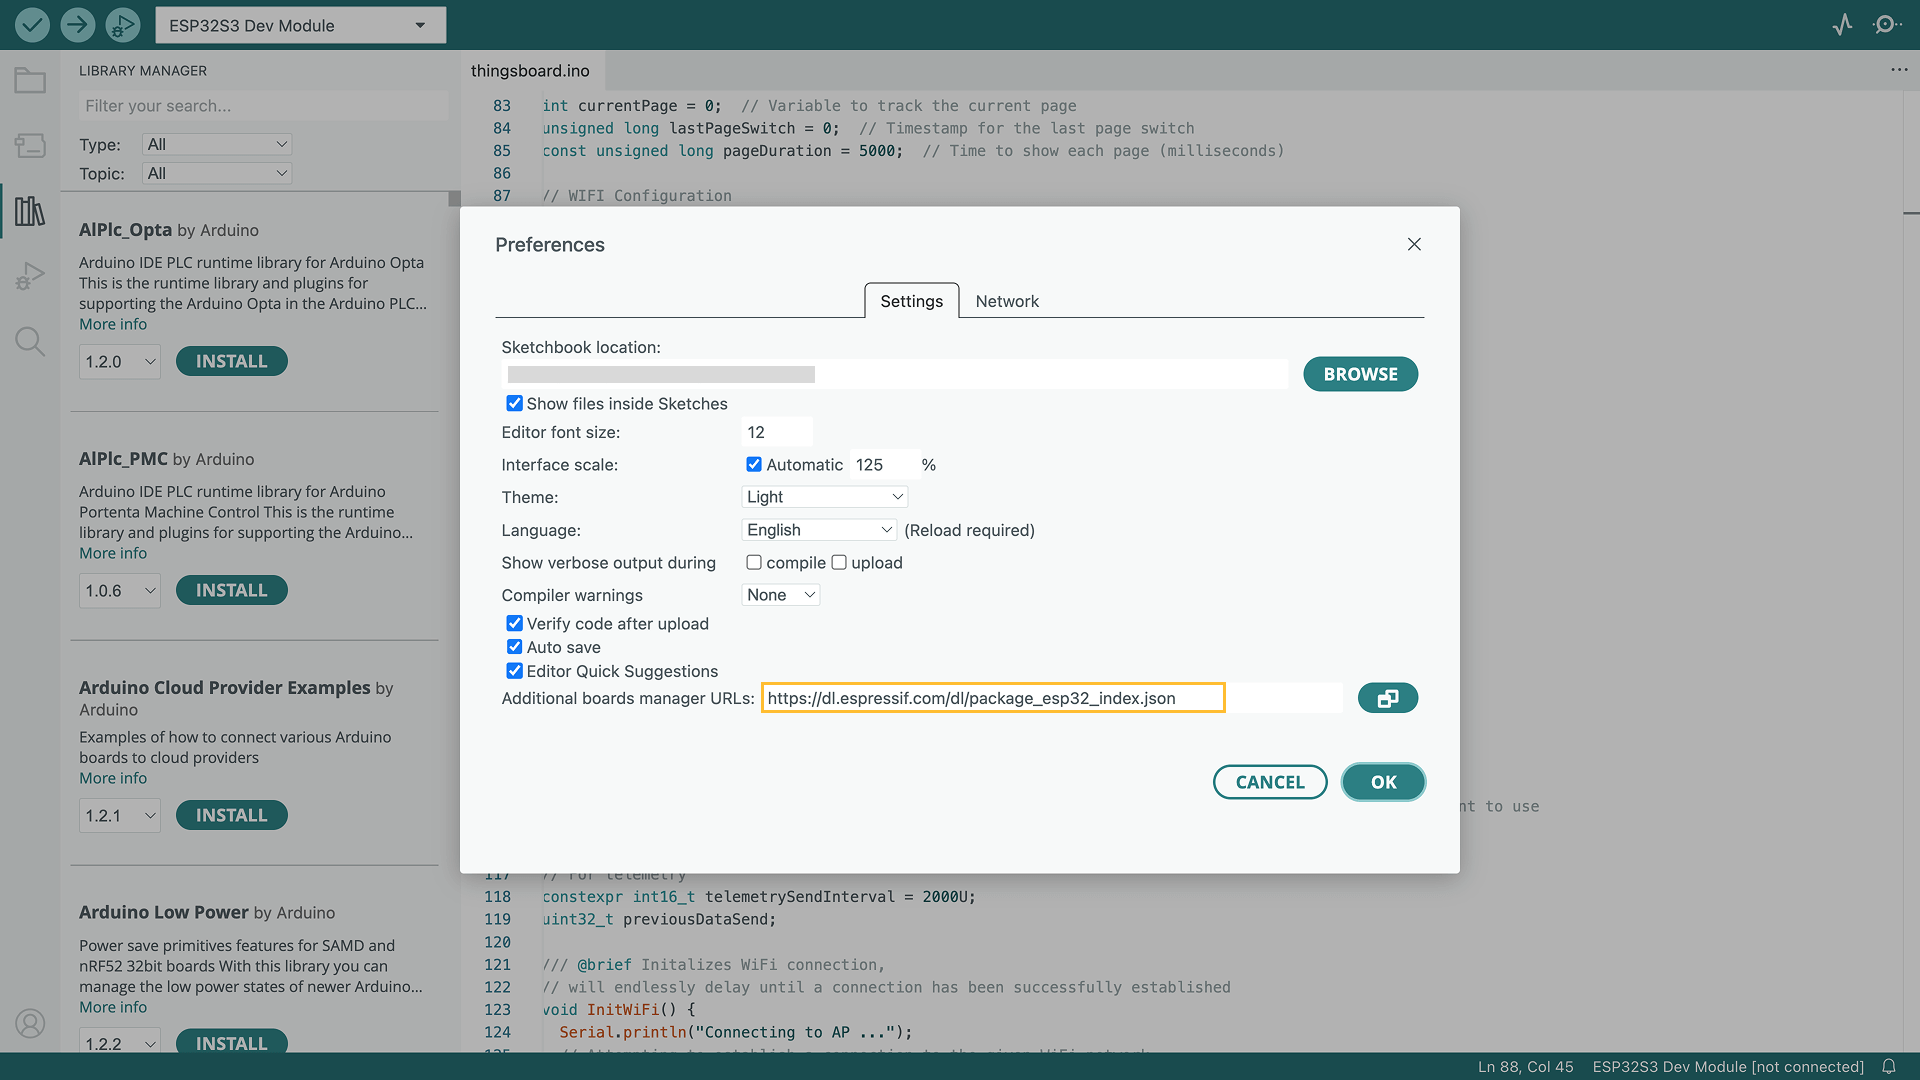
Go to File > Preferences and add the following URL to the Additional Boards Manager URLs field: https://dl.espressif.com/dl/package_esp32_index.json
2. 进入Tools > Board > Board Manager并安装ESP32 by Espressif Systems开发板。

Then go to Tools > Board > Board Manager and install the ESP32 by Espressif Systems board.
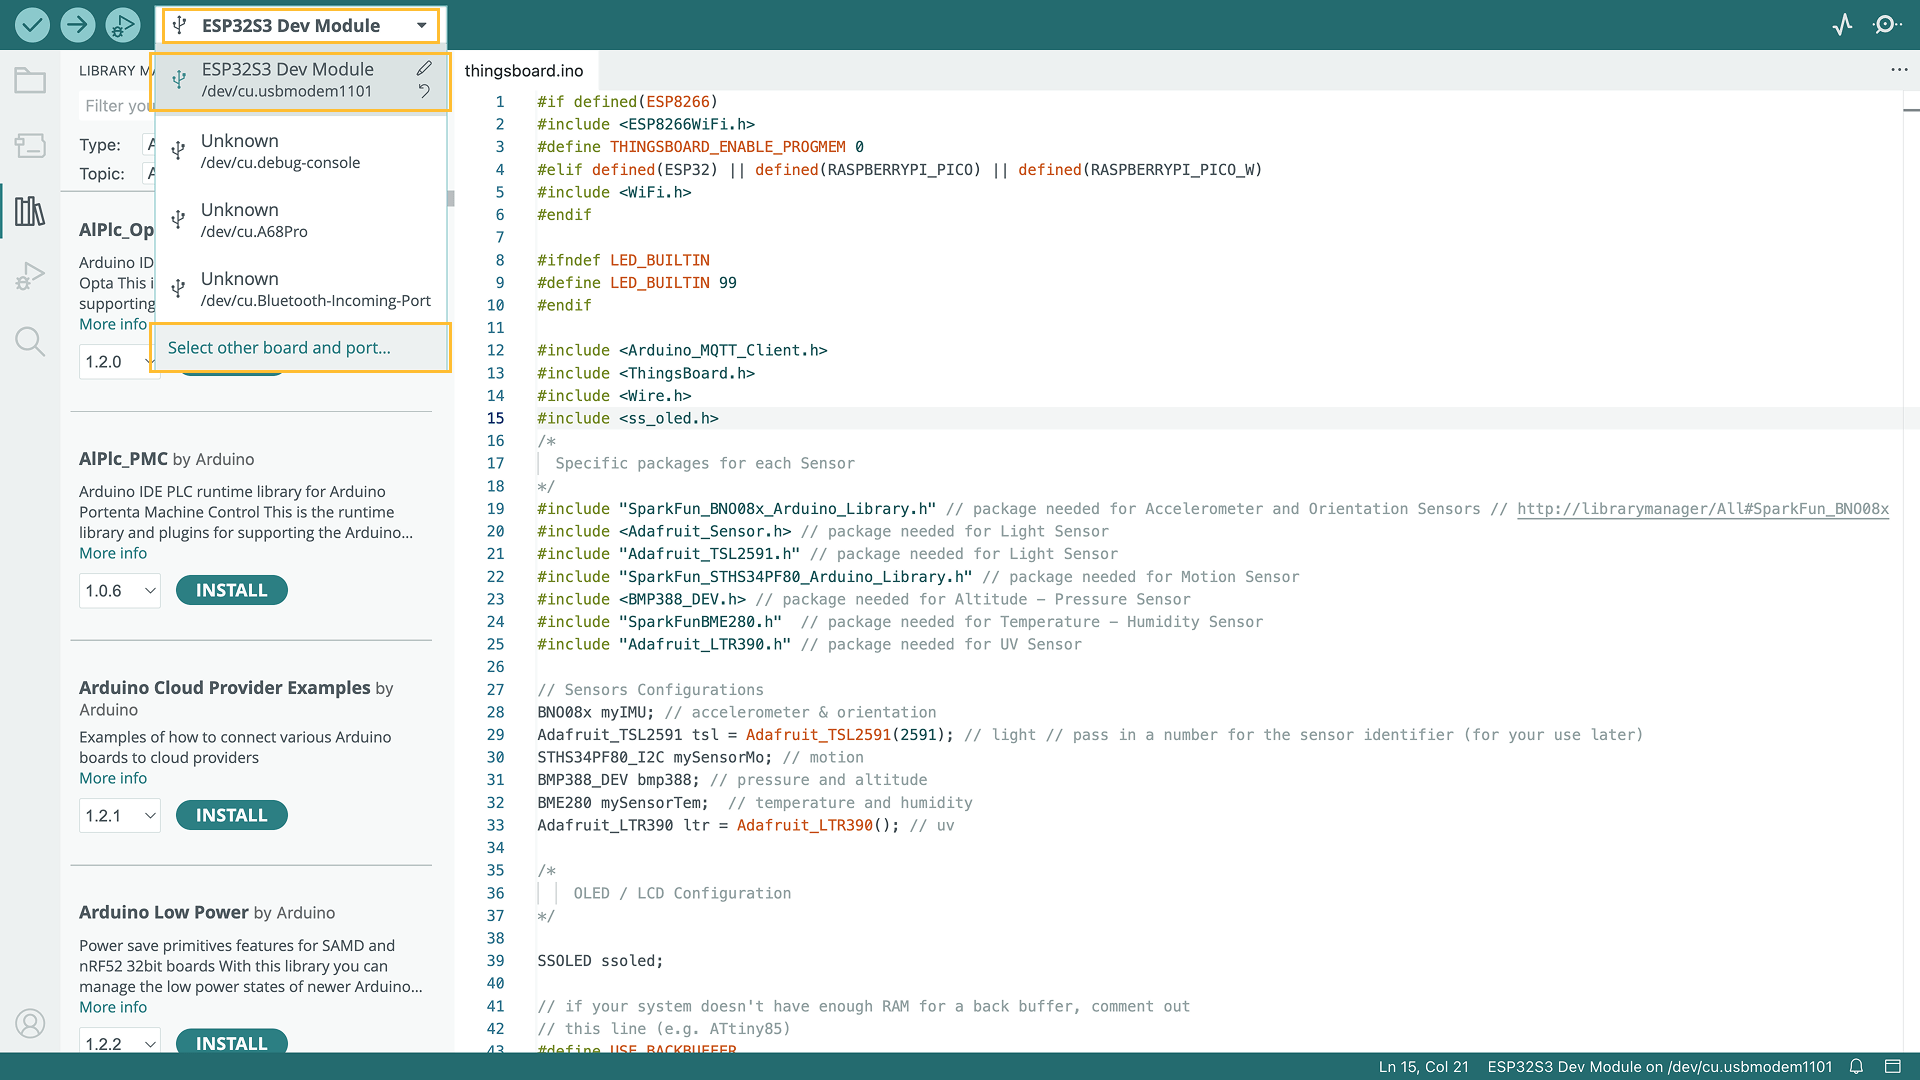
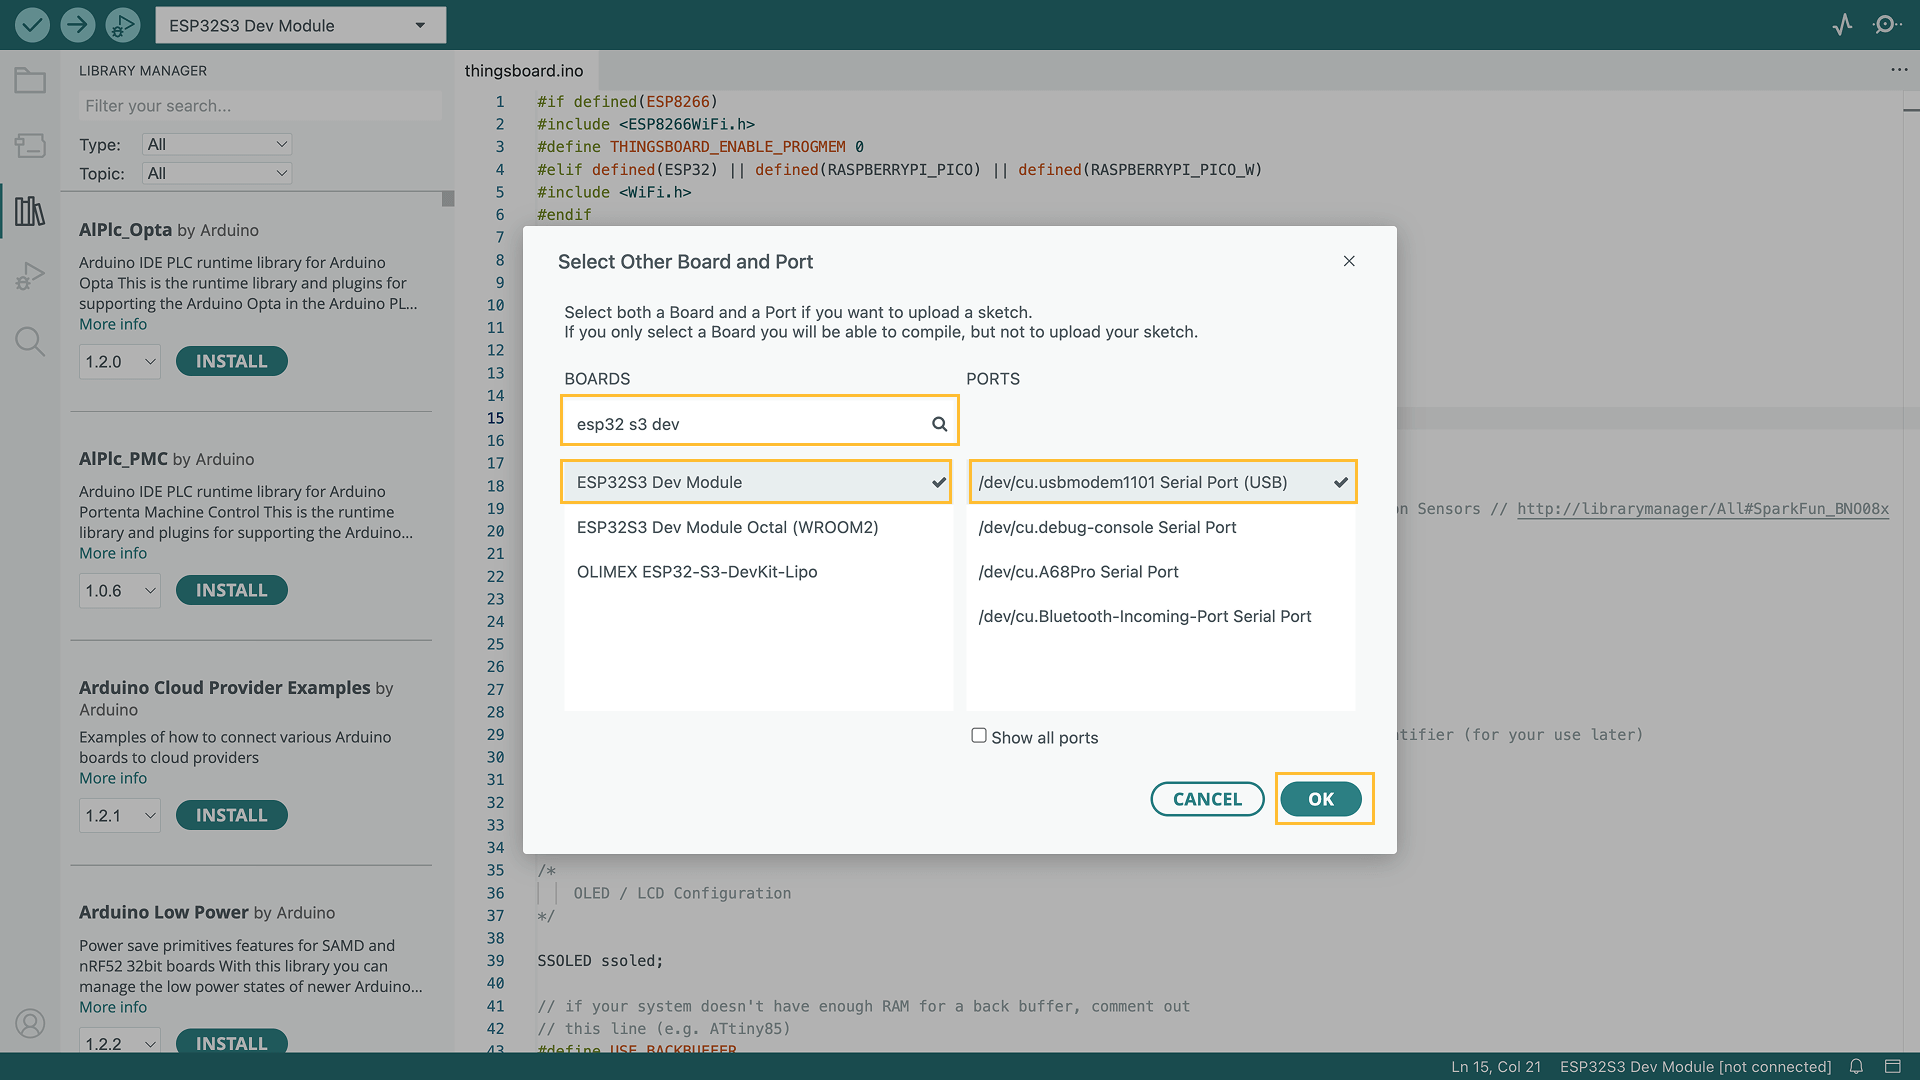
3. 安装完成后,通过Board菜单选择开发板:Tools > Board > ESP32 > ESP32S3 Dev Module。
使用USB线缆将Sensy32开发板连接到计算机,并选择设备端口:Tools > Port > /dev/ttyUSB0。
端口取决于操作系统,可能不同:
- Linux为 /dev/ttyUSBX
- MacOS为usb.serialX.. 或usb.modemX..
-
Windows为COMX
- 其中X是系统分配的编号。
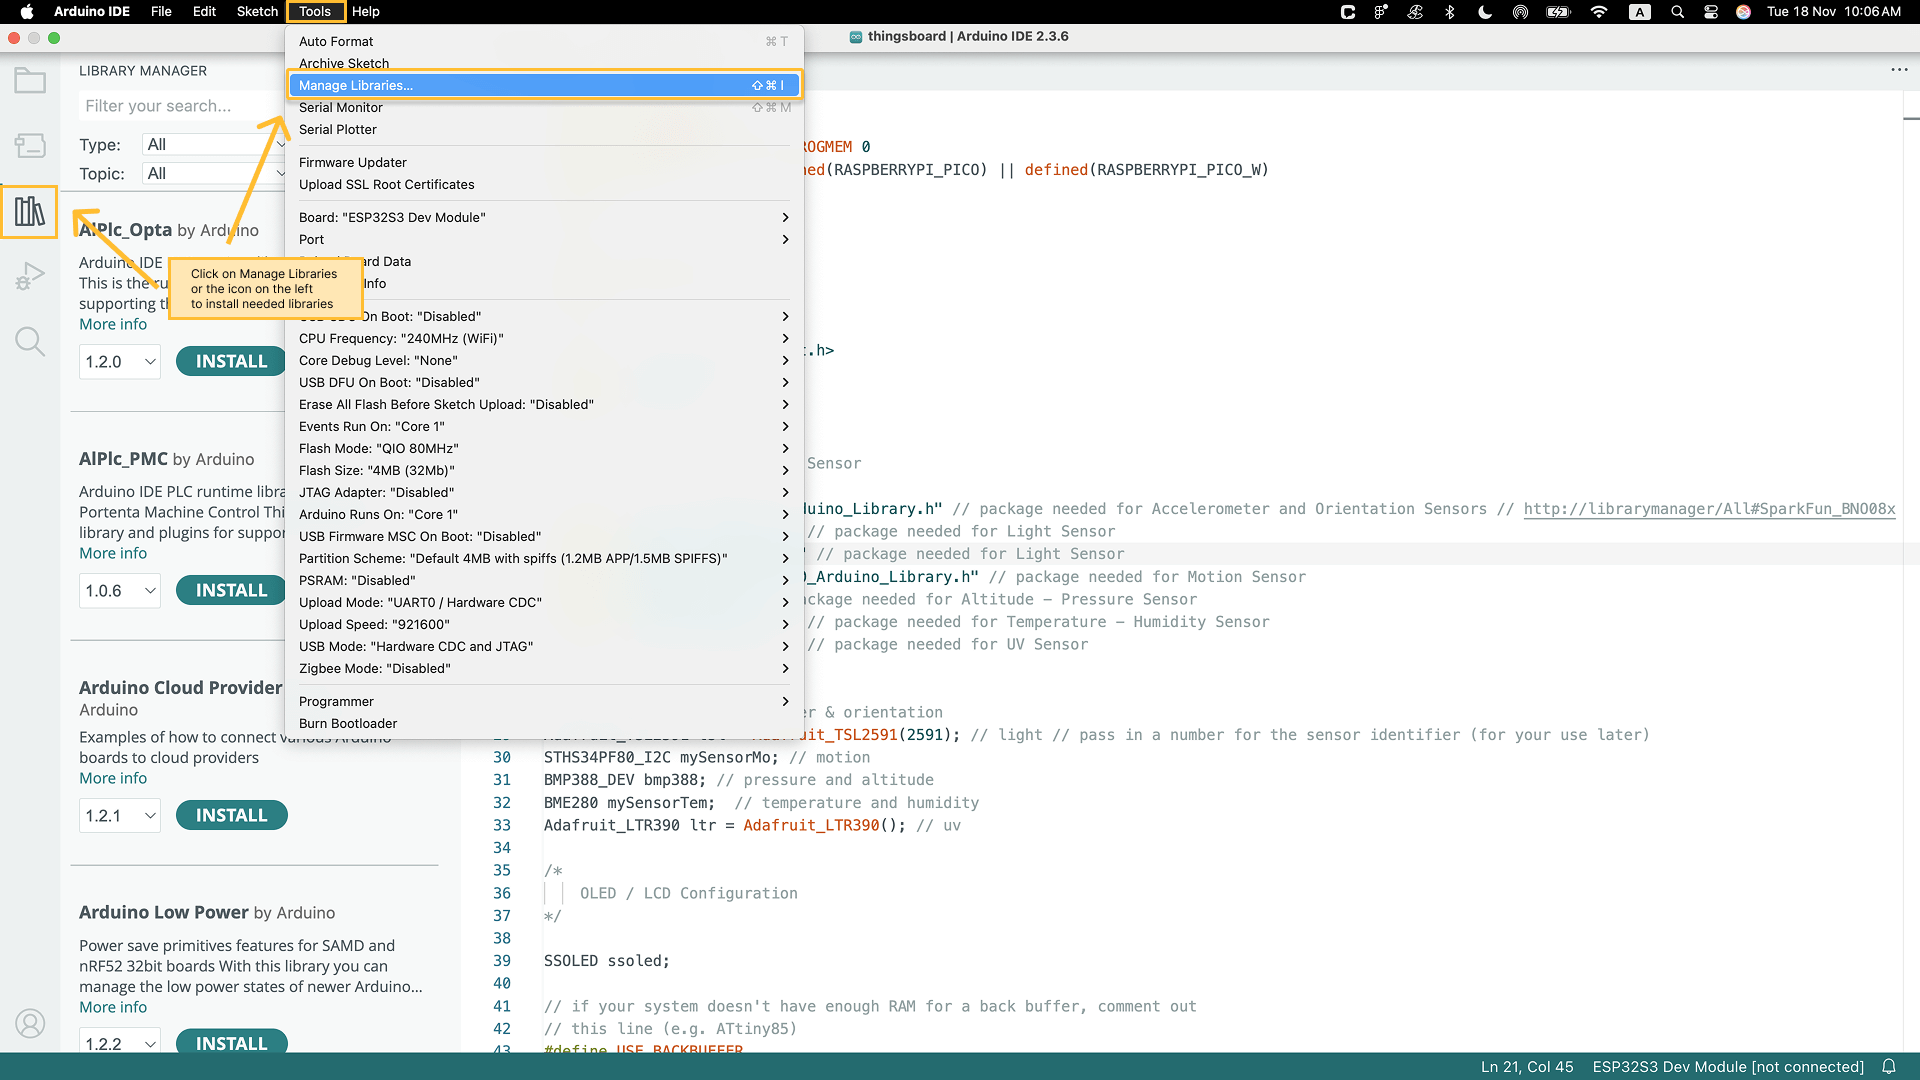
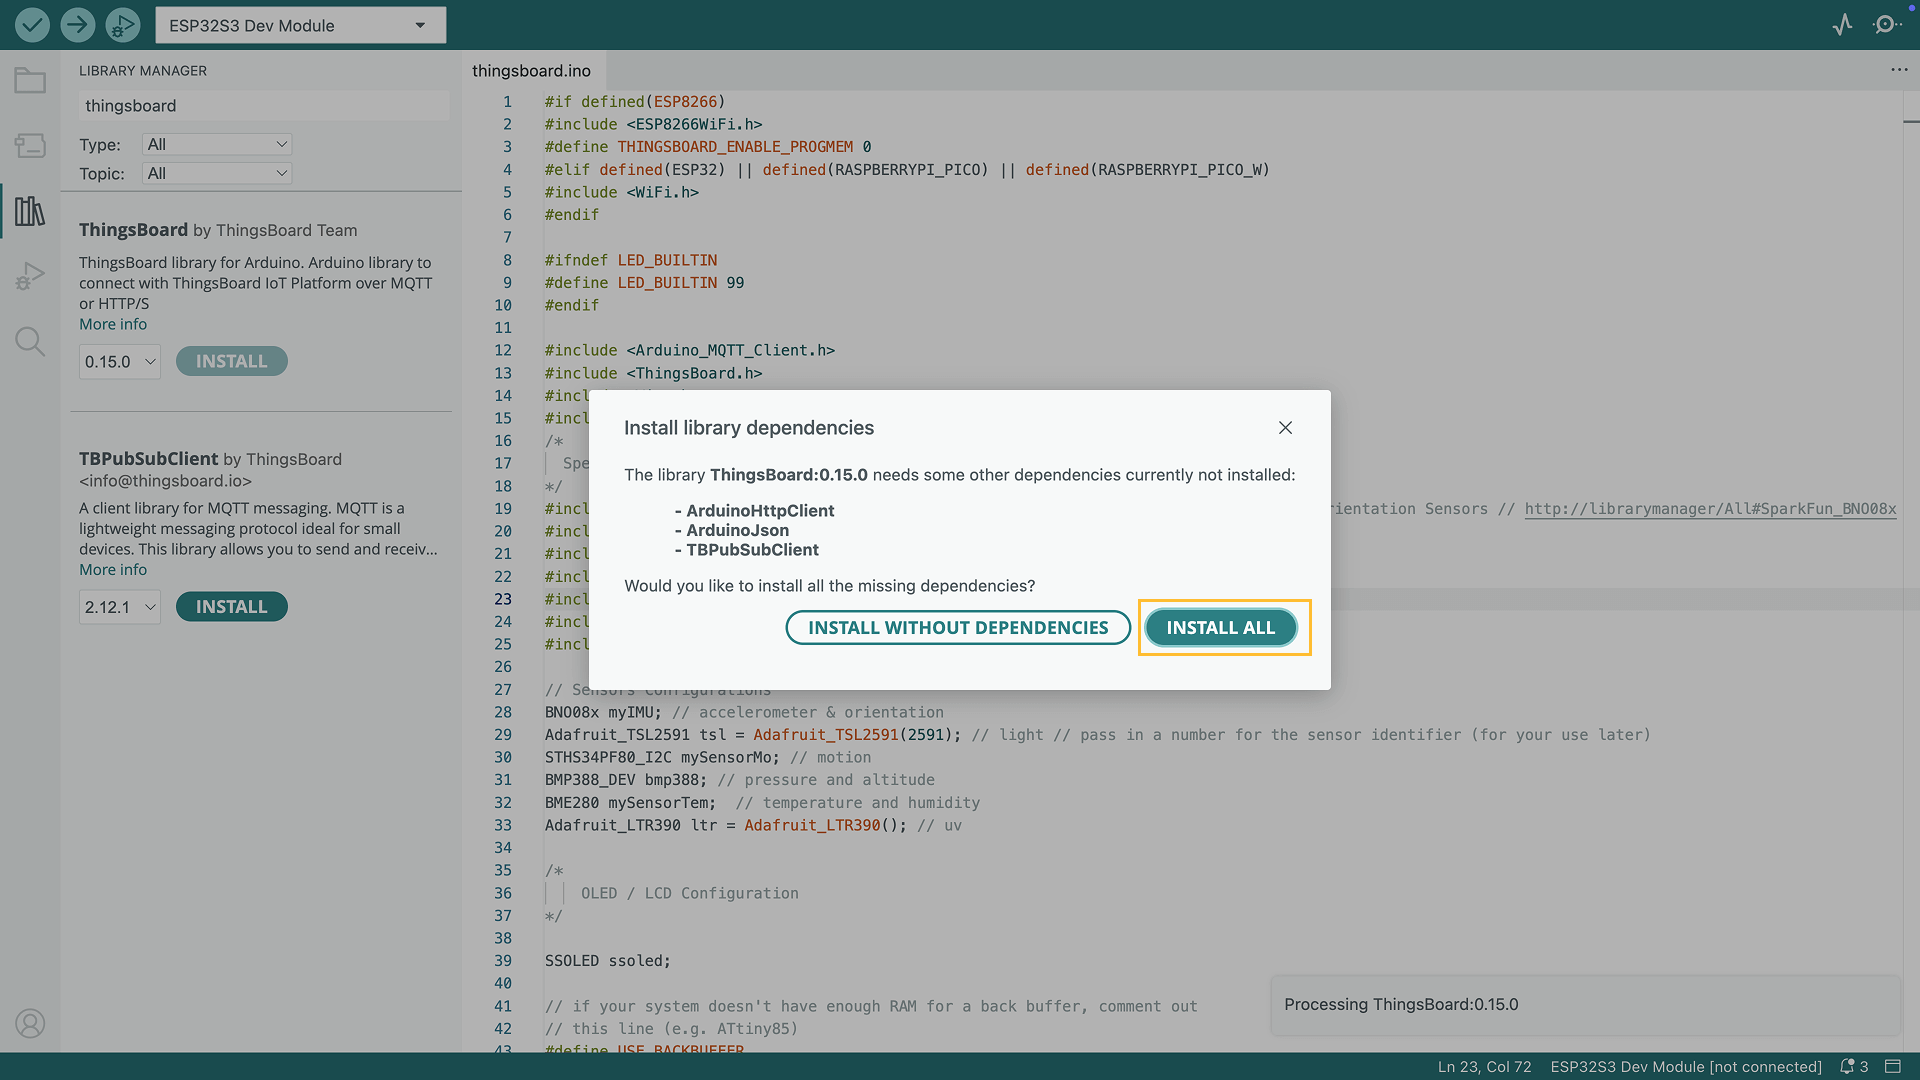
4. 要安装所需的库,需执行以下步骤:
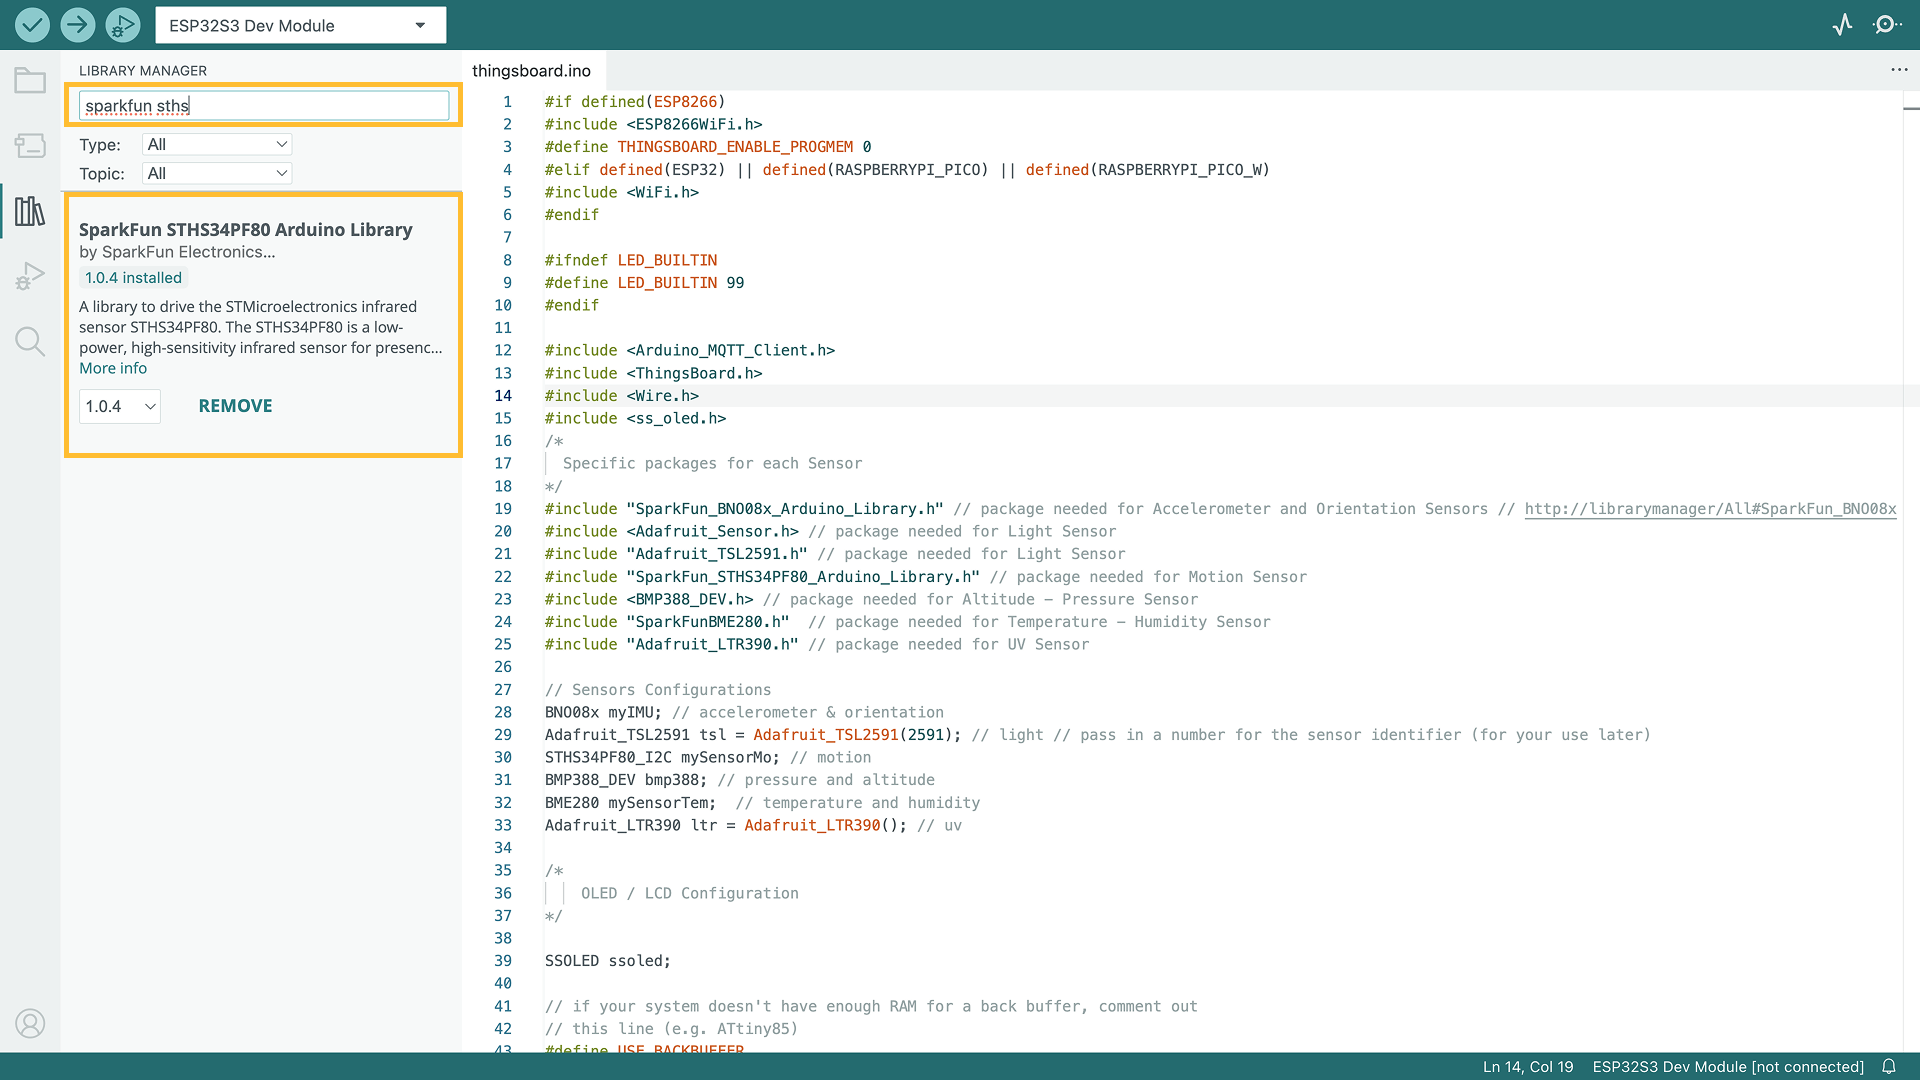
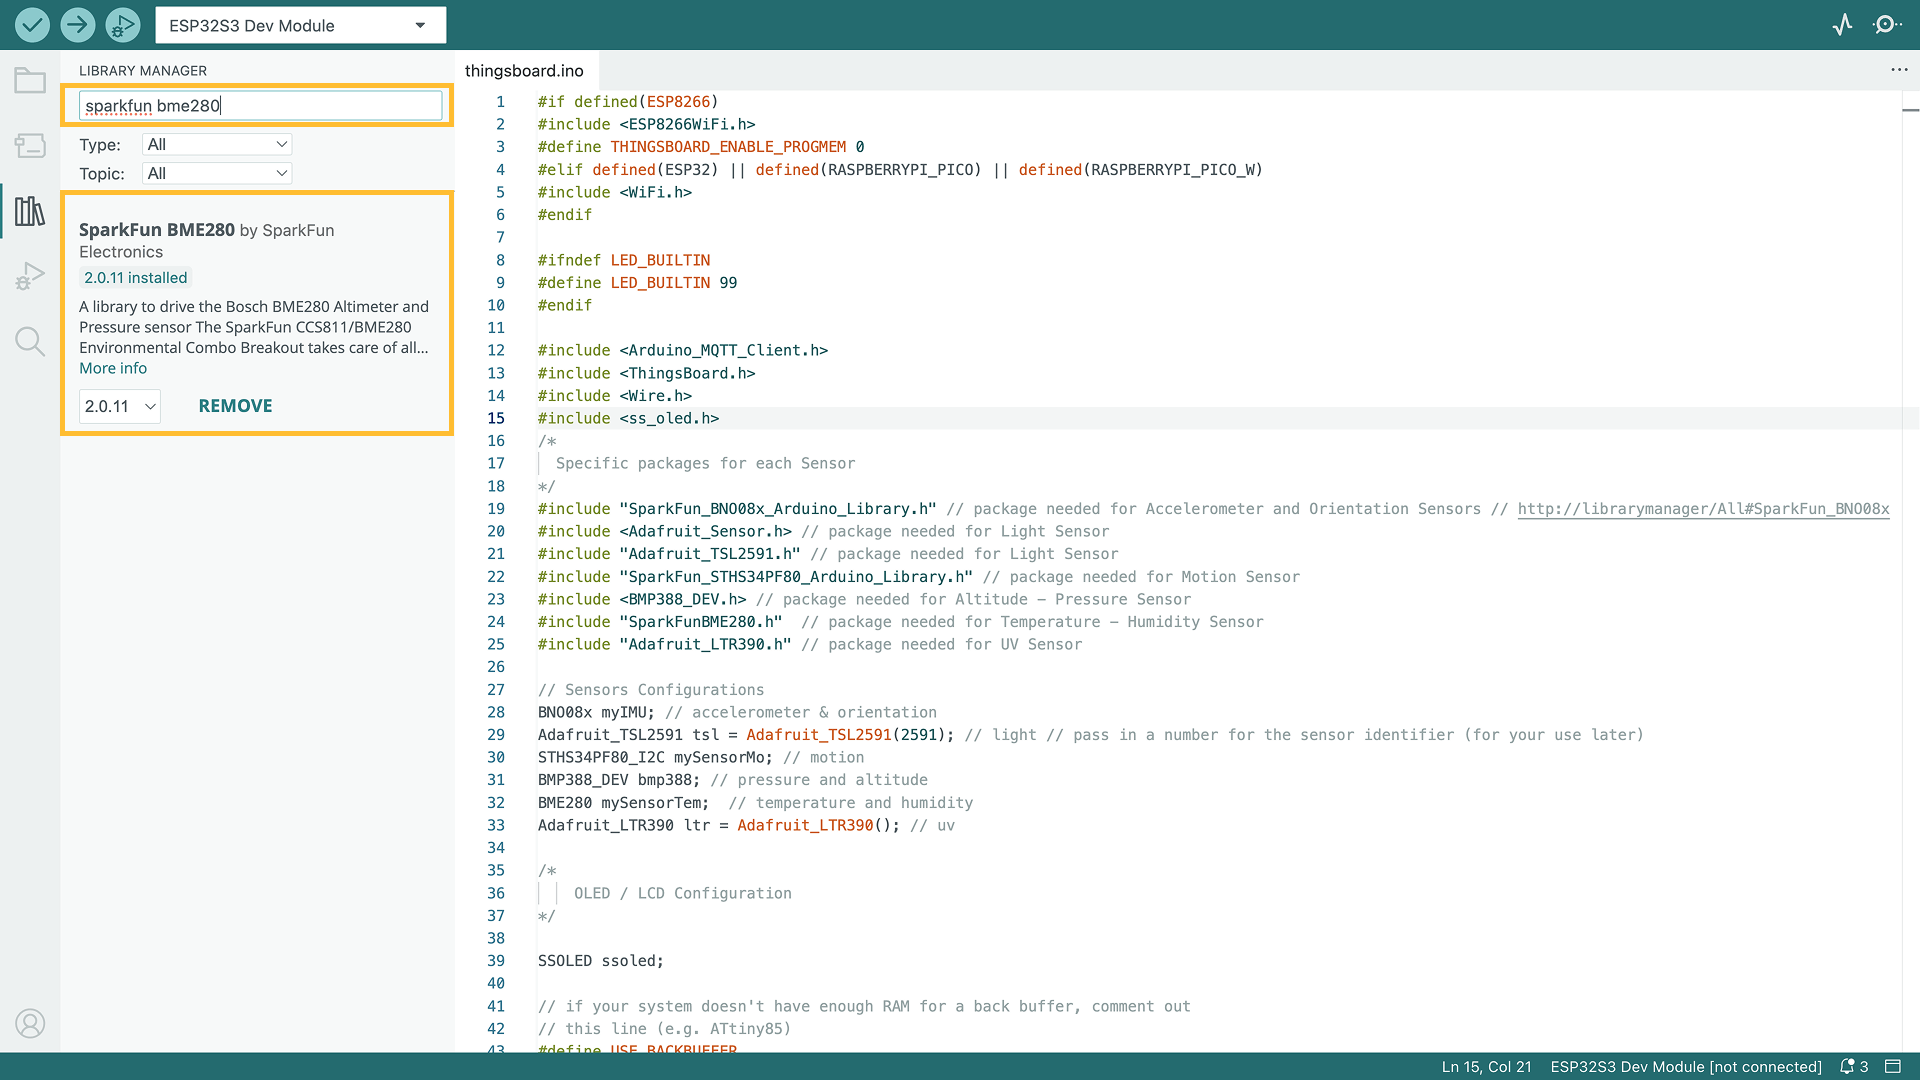
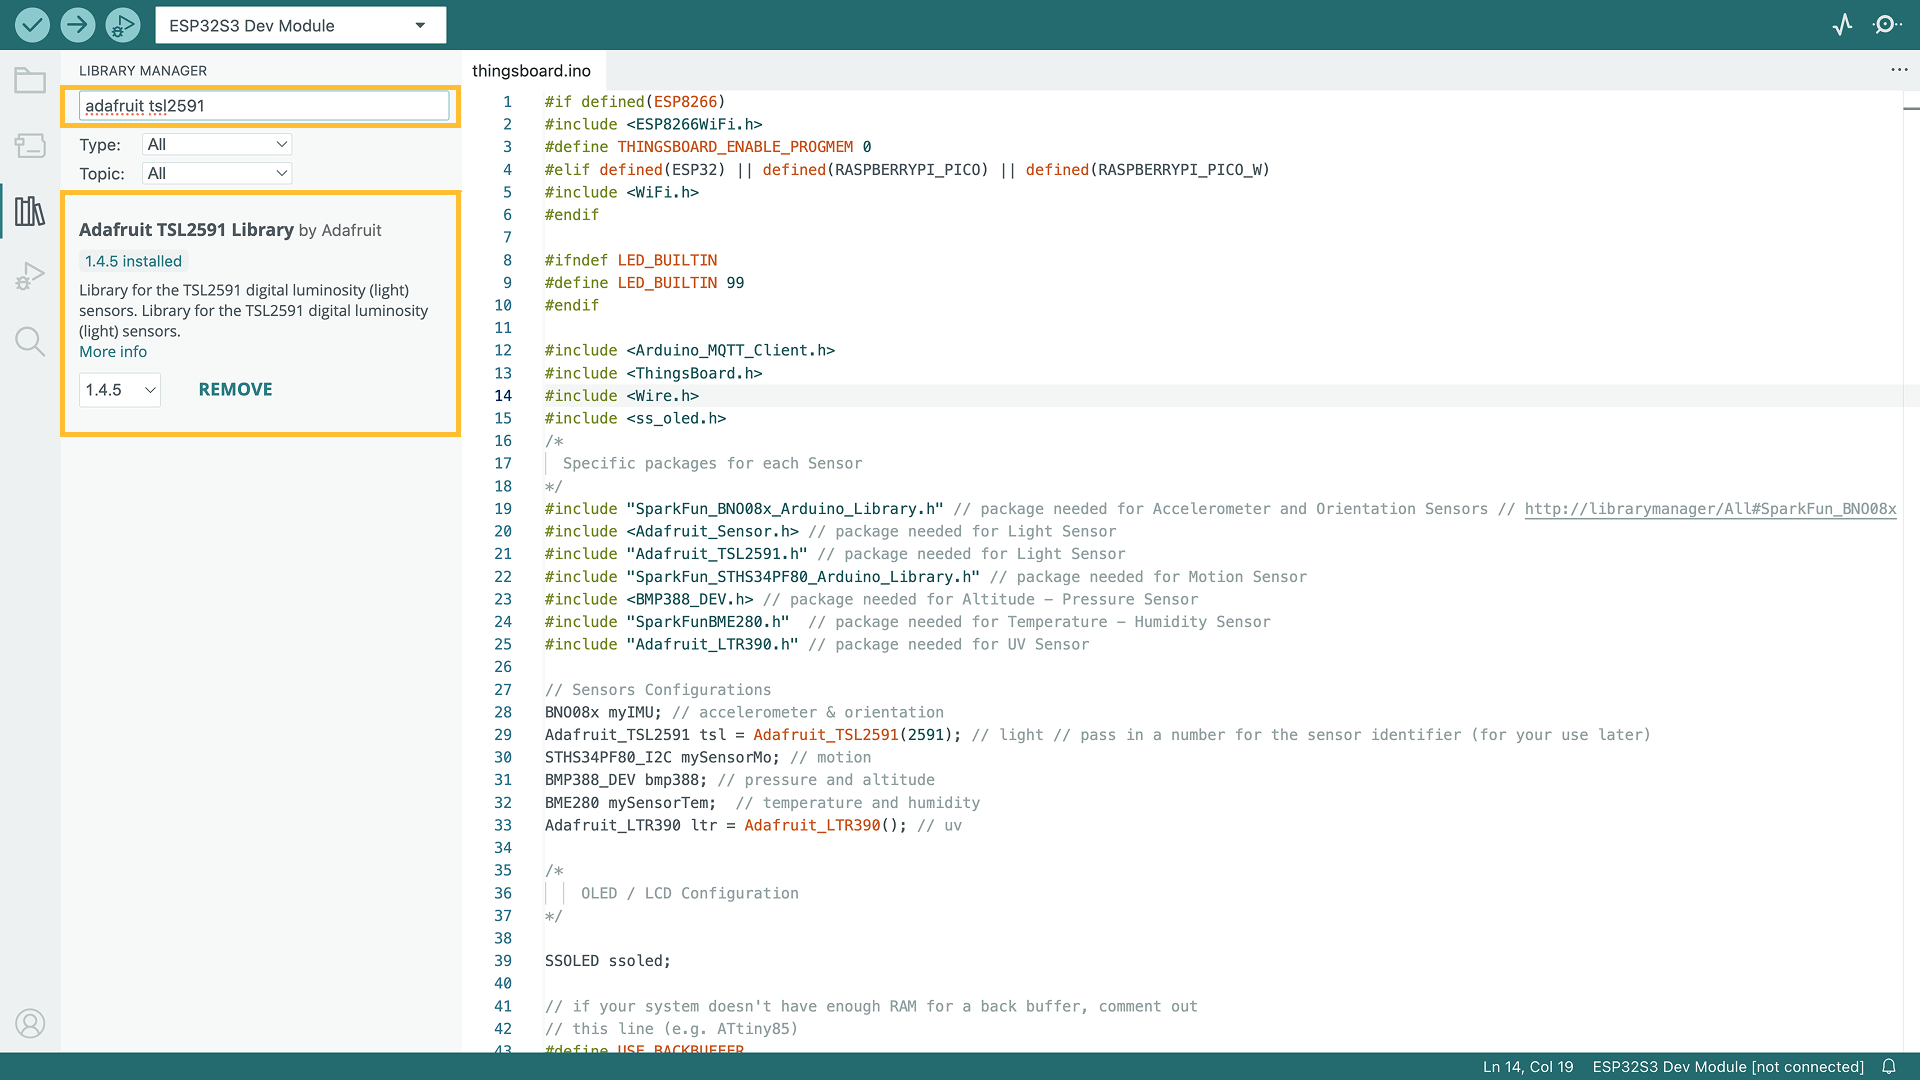
- 进入Tools选项卡,点击Manage libraries。
- 在搜索栏中输入以下库名称并点击INSTALL:”ThingsBoard”, “ss_oled”, “Adafruit TSL259”, “SparkFun BNO08x”, “SparkFun STHS34PF80”, “BMP388_DEV”, “SparkFun BME280”, “Adafruit LTR390 Library”。
- 如果提示安装库依赖项,直接点击Install All确保安装所有必要的库。
Go to the Tools tab and click on Manage libraries.
If prompted to install library dependencies, simply click Install All to ensure all necessary libraries are installed.
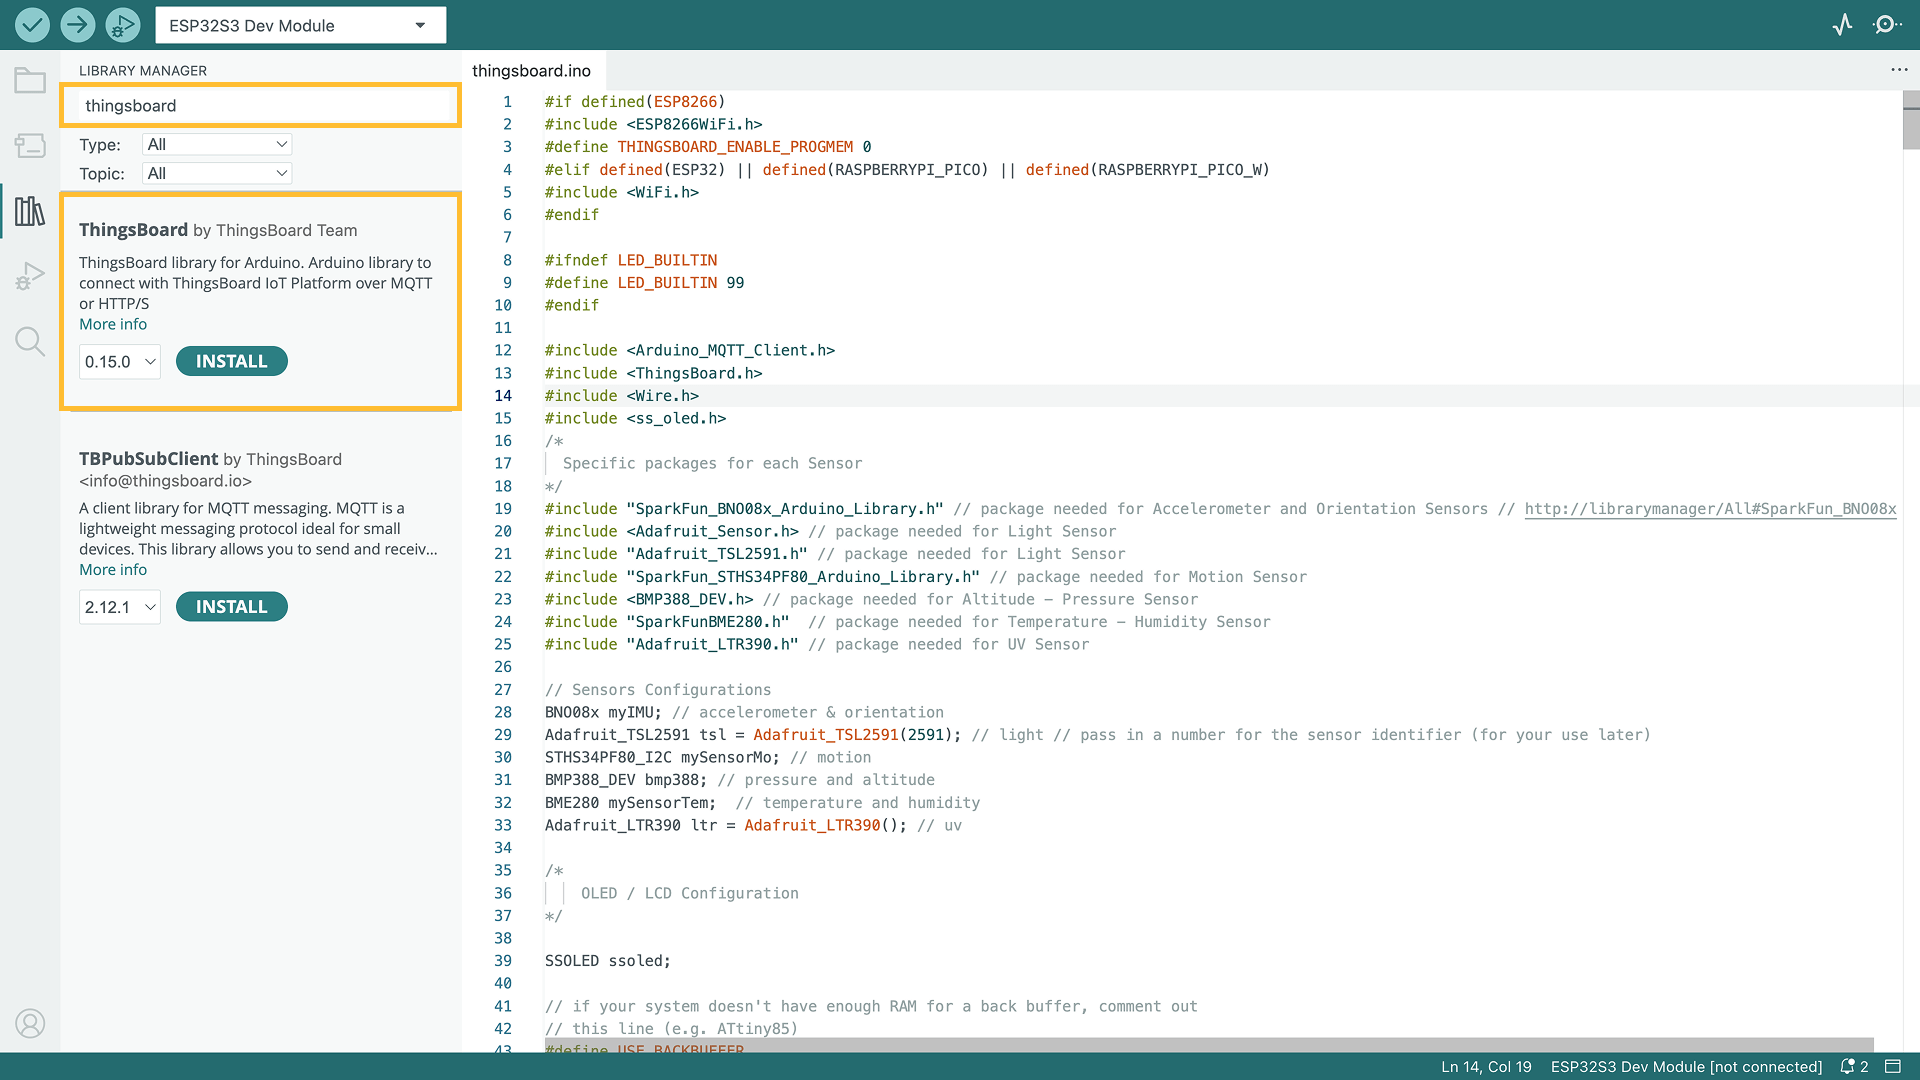
ThingsBoard: This is the ThingsBoard Arduino SDK, used to connect with the ThingsBoard Platform.
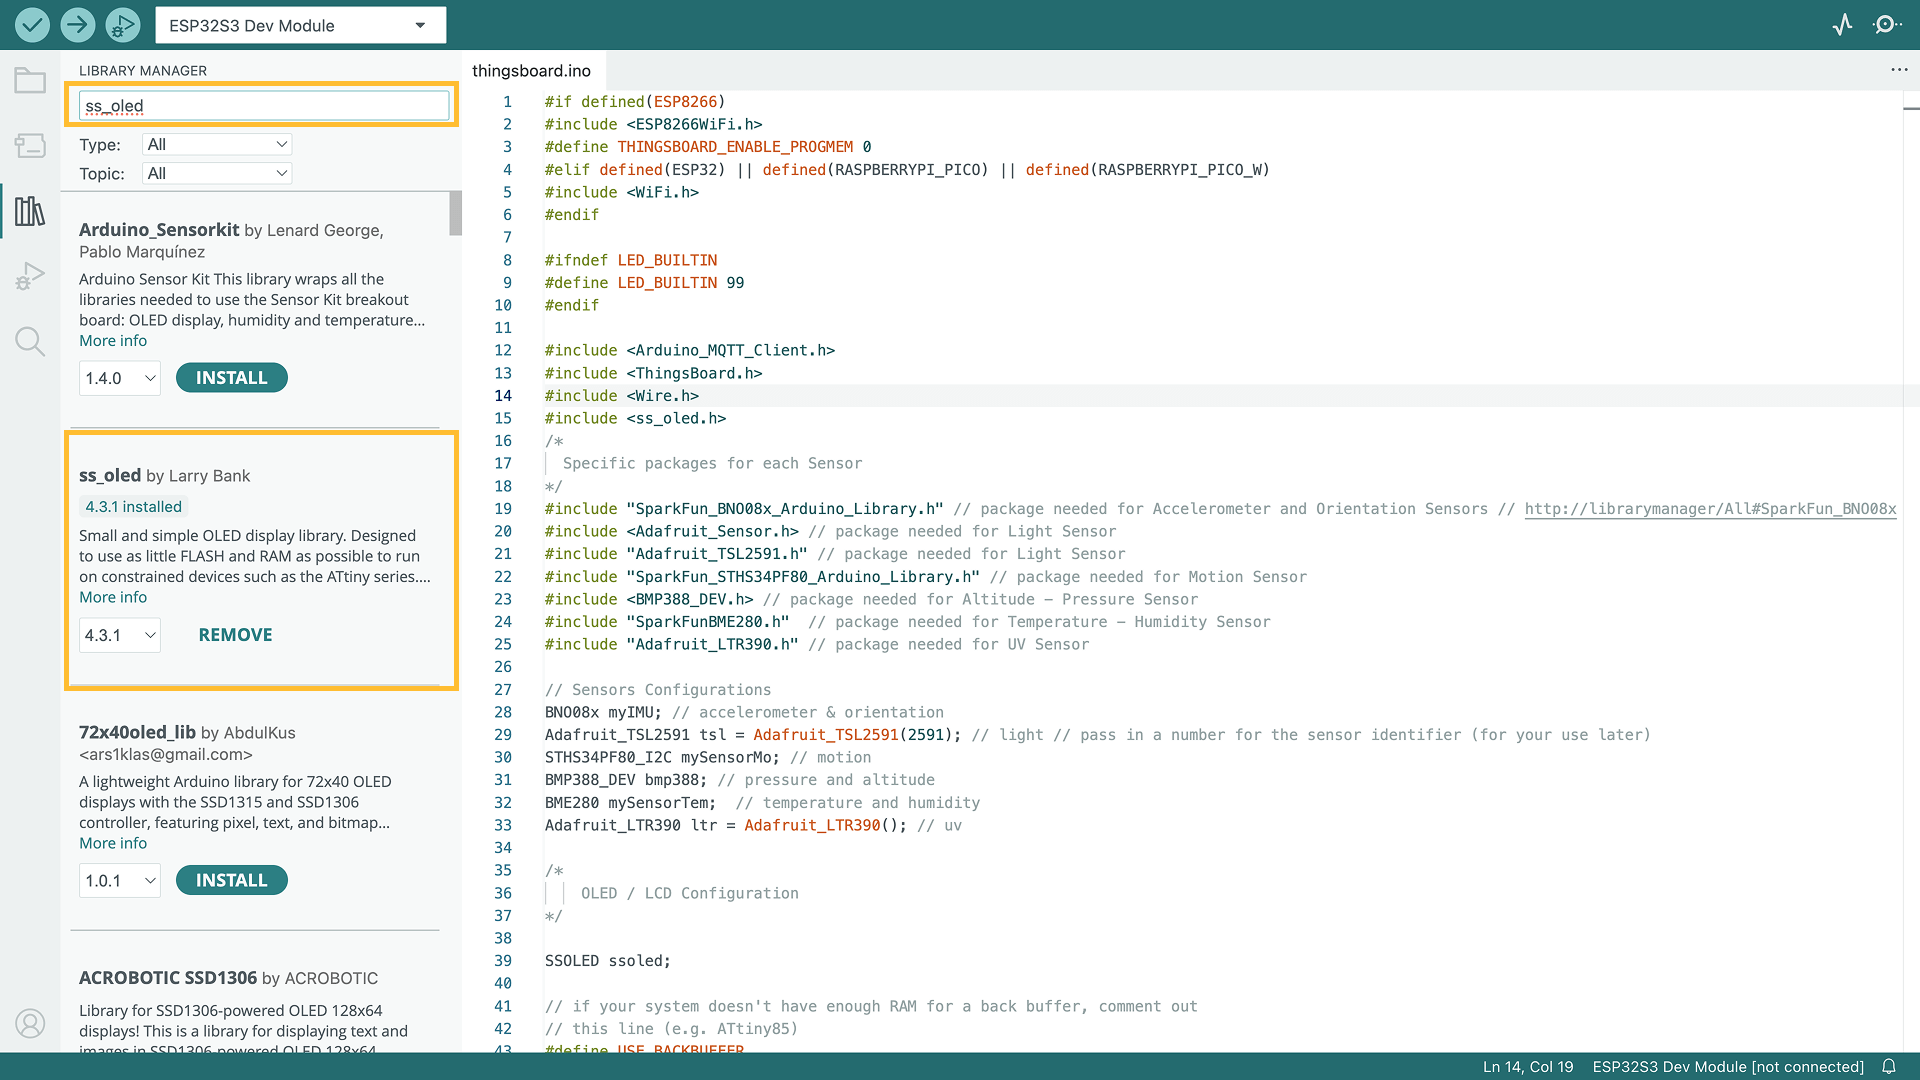
ss_oled.h: This library is used to configure and display data on the LCD screen.

Adafruit_LTR390.h: A library for communicating with the Adafruit_LTR390 UV sensor.
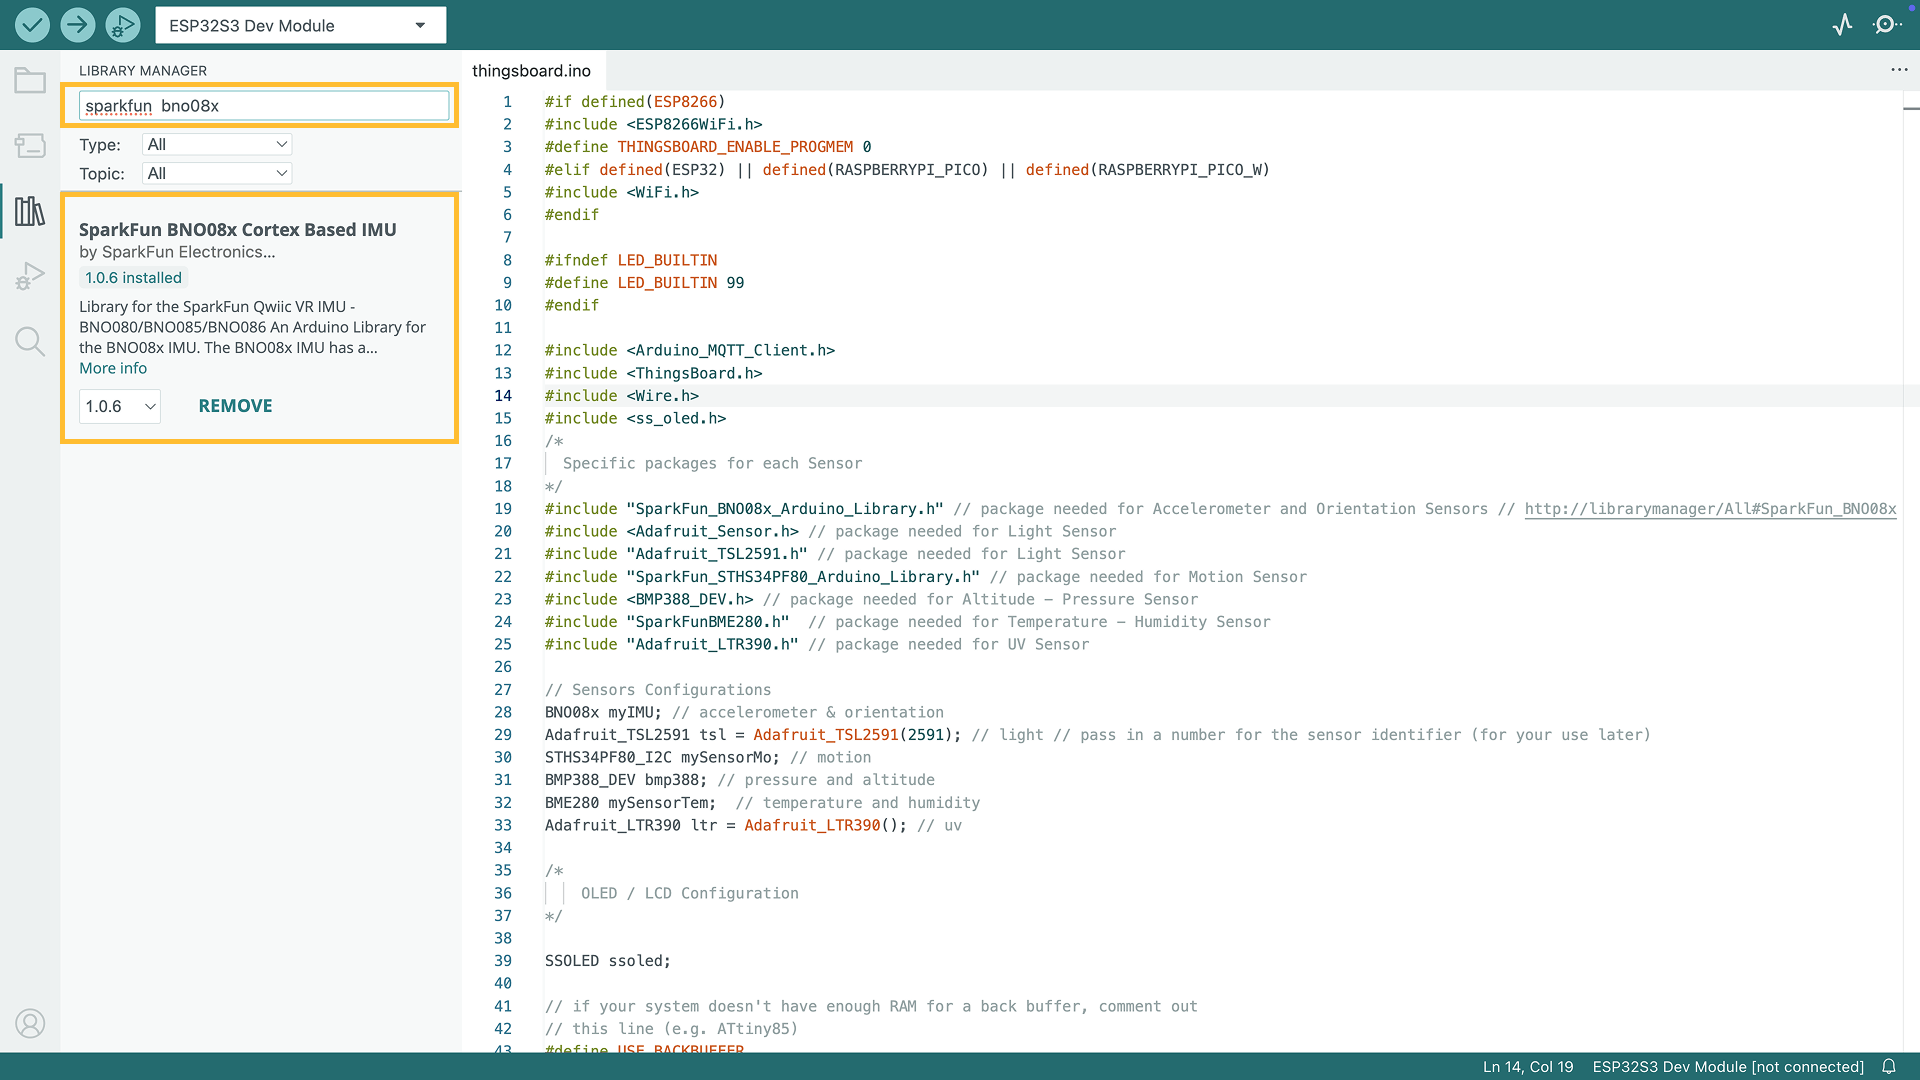
SparkFun_BNO08x_Arduino_Library.h: Simplifies interfacing with BNO08x series sensors in Arduino projects.
SparkFun_STHS34PF80_Arduino_Library.h: Simplifies interfacing with the STHS34PF80 sensor in Arduino projects.

BMP388_DEV.h: This library facilitates interaction with the BMP388 sensor module.
SparkFunBME280.h: This library helps work with the SparkFun BME280 sensor, allowing you to read temperature, humidity, and pressure data.
Adafruit_TSL2591.h: A library for communicating with the Adafruit_TSL2591 Light sensor.
下面深入了解这些库的用途:
- ThingsBoard:ThingsBoard Arduino SDK,用于连接ThingsBoard平台。
- ss_oled.h:用于配置和显示LCD屏幕数据的库。
- SparkFunBME280.h:用于SparkFun BME280传感器,可读取温度、湿度和气压数据。
- BMP388_DEV.h:用于BMP388传感器模块交互的库。
- Adafruit_LTR390.h:用于Adafruit LTR390 UV传感器通信的库。
- Adafruit_TSL2591.h:用于Adafruit TSL2591光照传感器通信的库。
- Adafruit_Sensor.h:提供传感器公共功能,简化传感器集成。
- SparkFun_BNO08x_Arduino_Library.h:简化BNO08x系列传感器在Arduino项目中的接口对接。
- SparkFun_STHS34PF80_Arduino_Library.h:简化STHS34PF80传感器在Arduino项目中的接口对接。
Please note: All provided code examples require ThingsBoard Library version 0.14.0
至此,所有所需的库和工具已安装完毕。
在ThingsBoard中创建设备
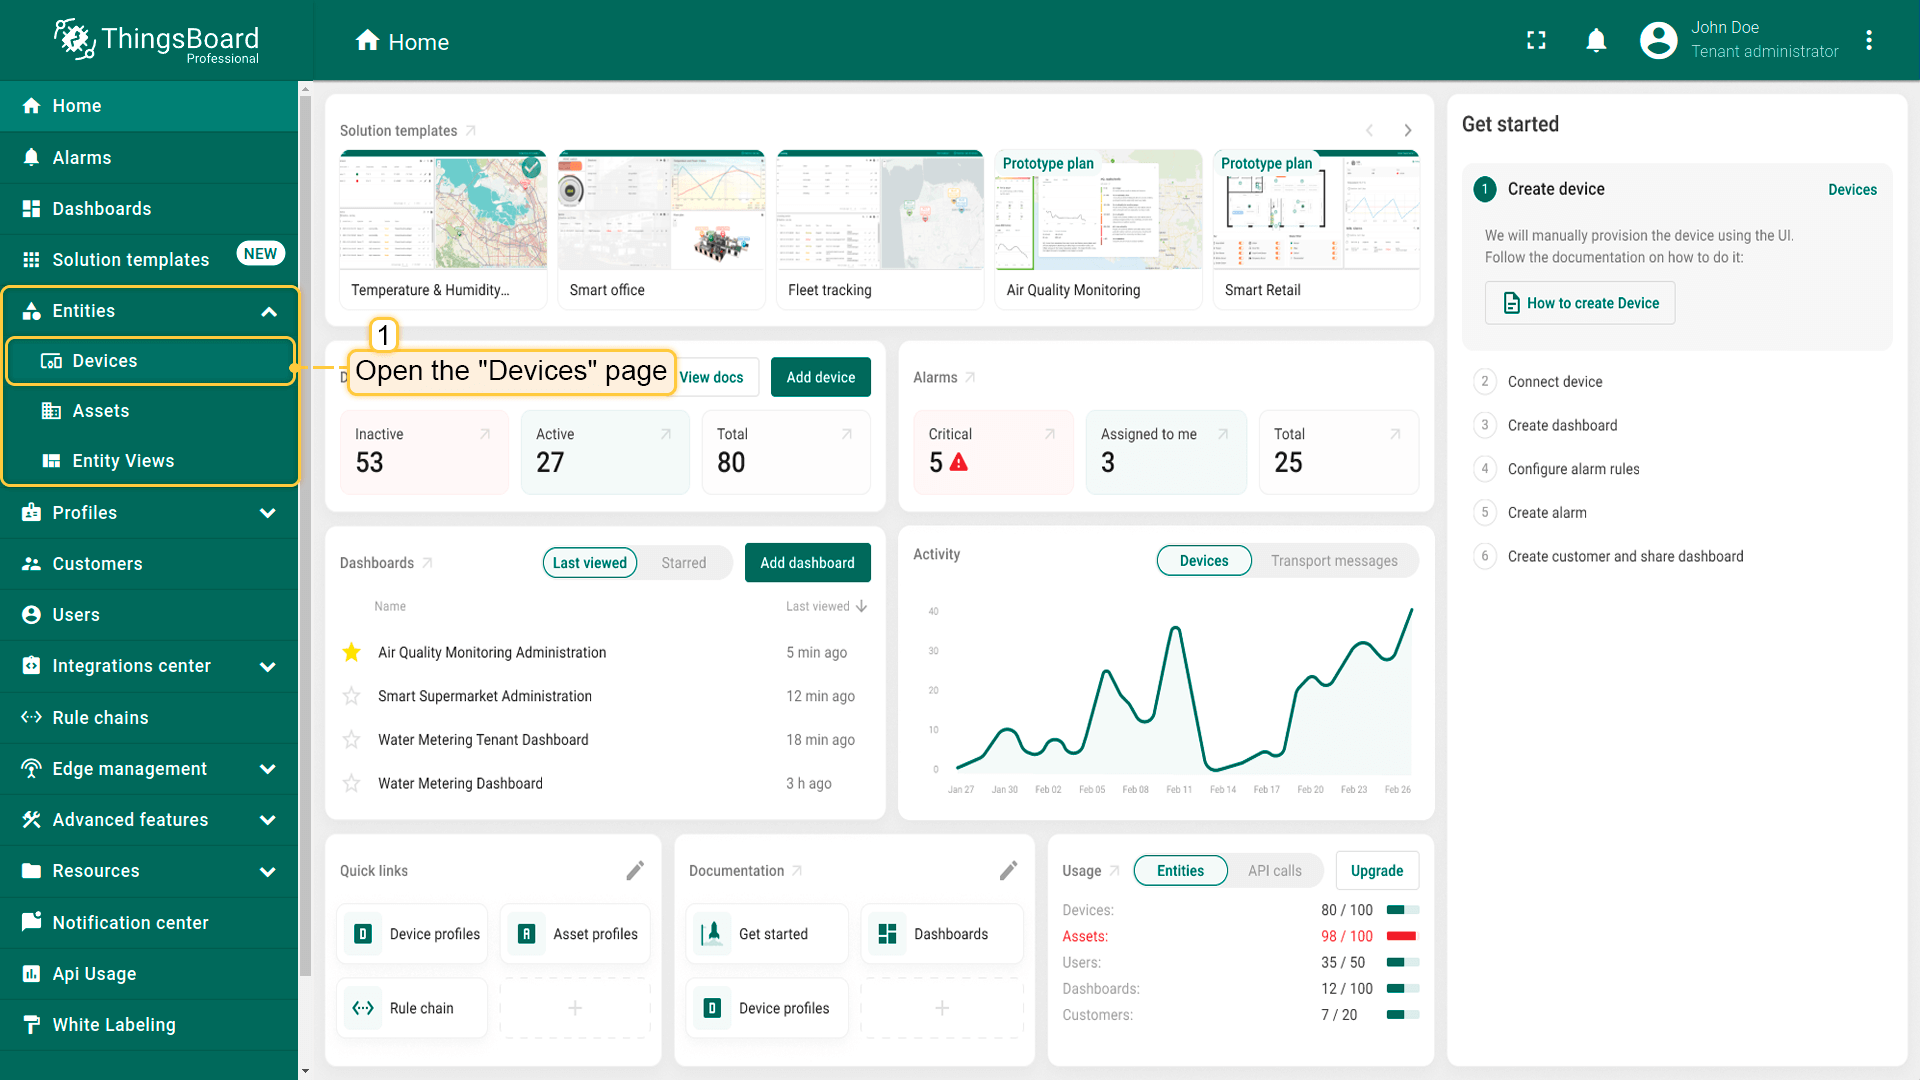
为简单起见,我们将通过UI手动创建设备。
-
Log in to your ThingsBoard instance and go to the Entities > Devices section.
-
Click the “+” button in the top-right corner and select Add new device.
-
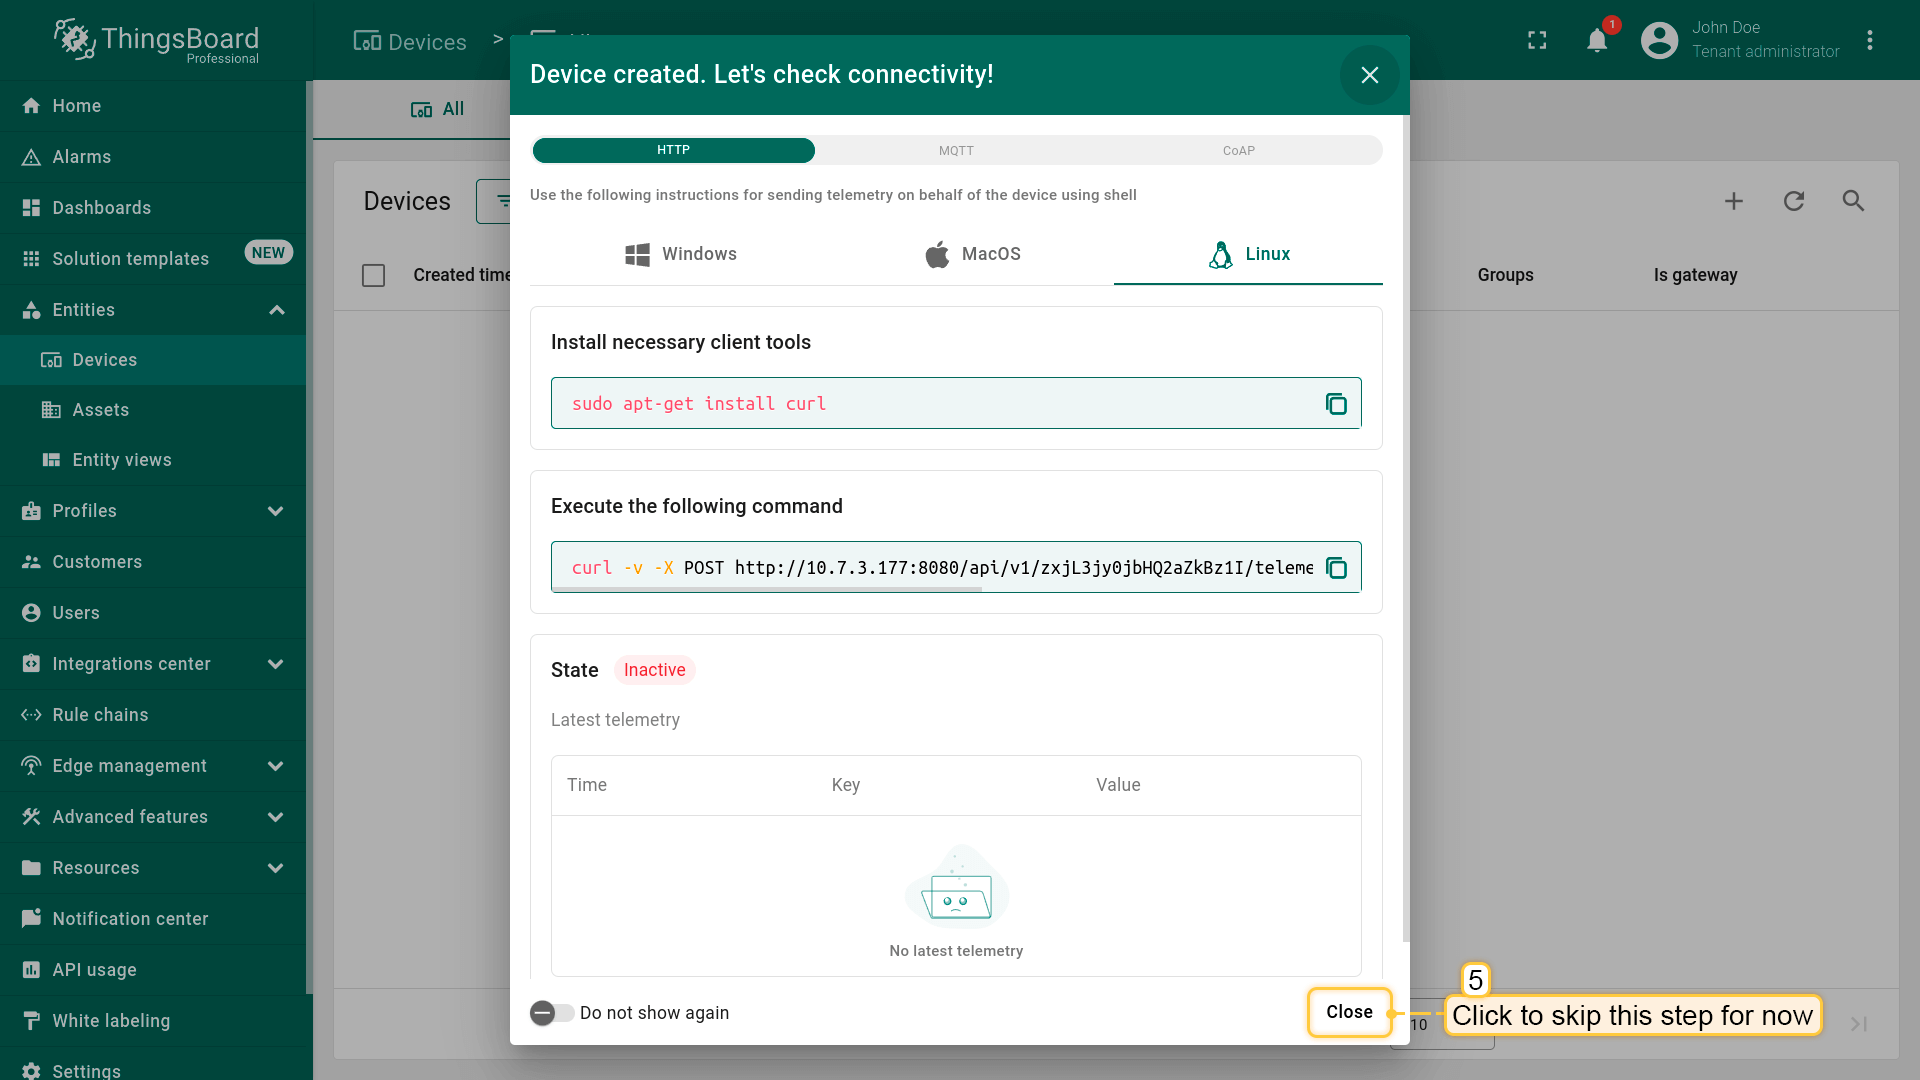
Enter a device name, for example “My New Device”. You can leave all other fields with their default values. Click Add to add the device.
-
Your first device has been added.
Log in to your ThingsBoard instance and go to the Entities > Devices section.
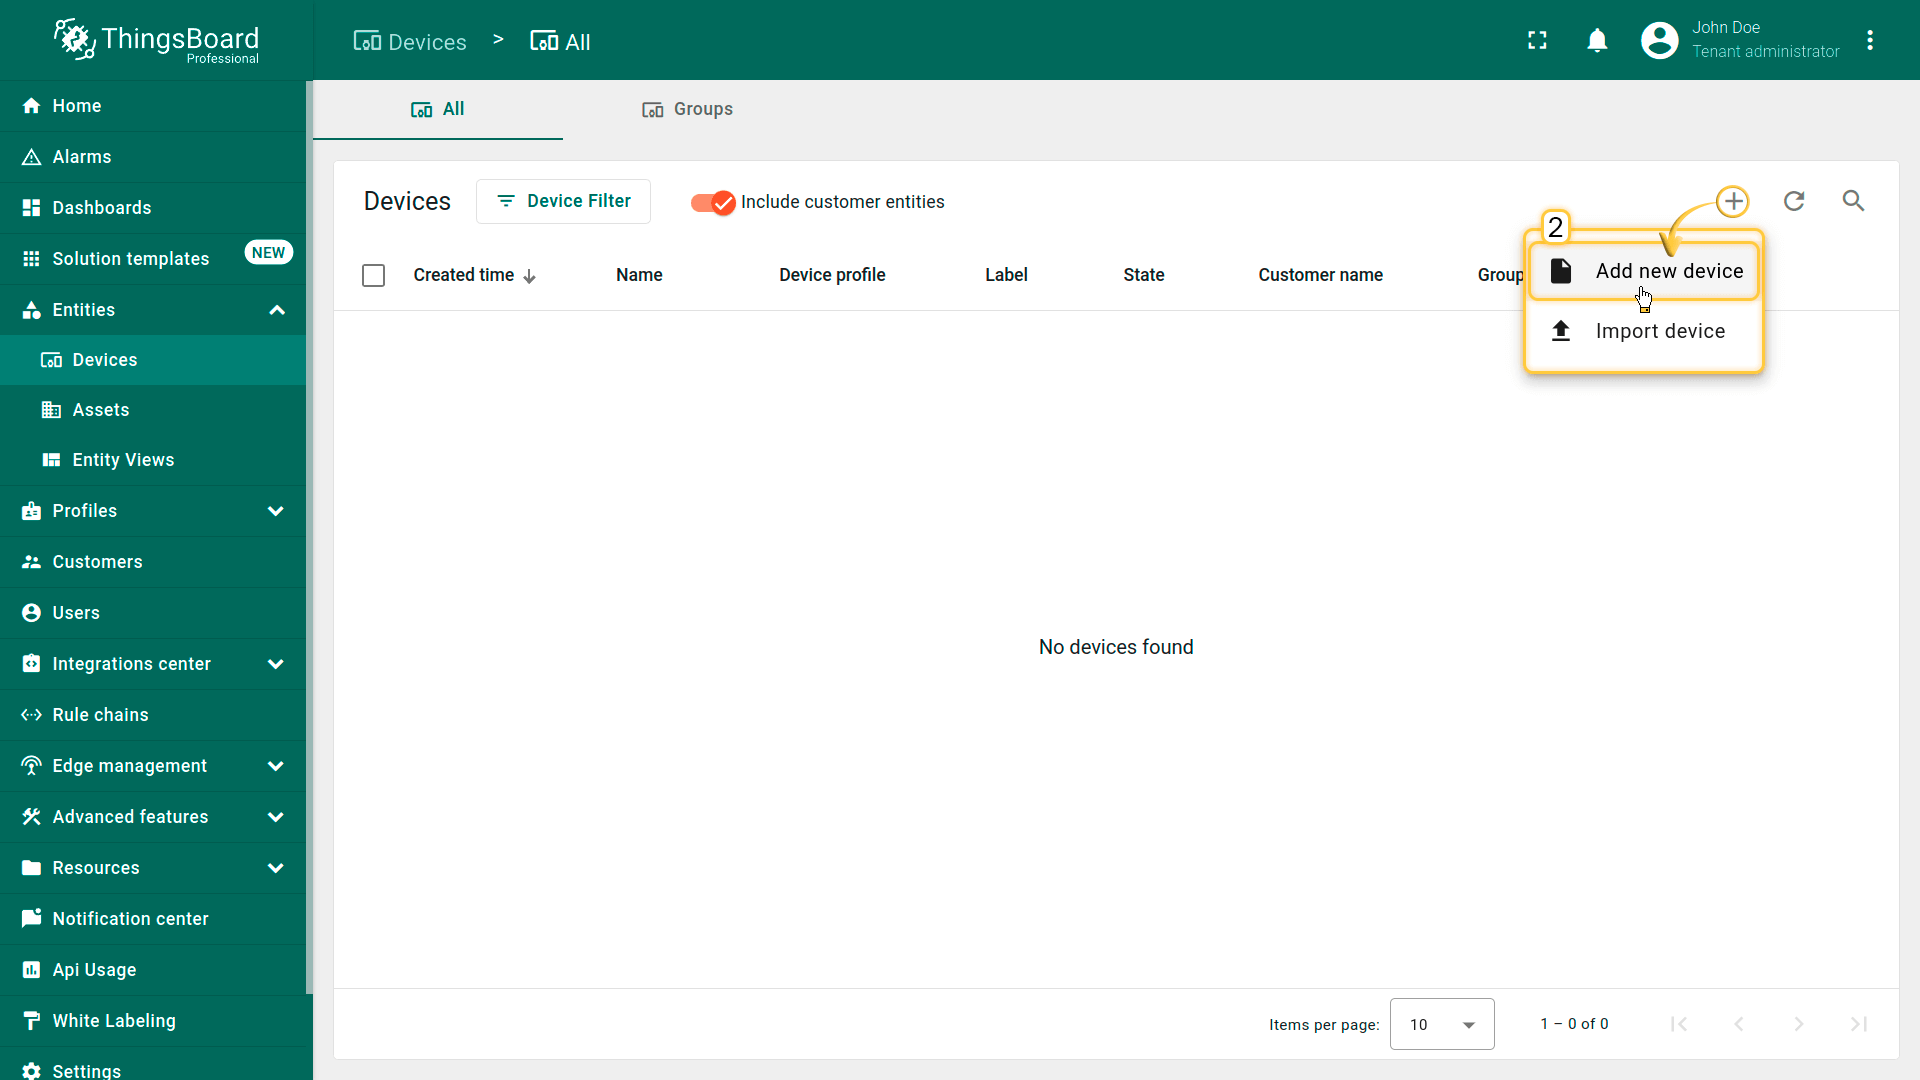
Click the “+” button in the top-right corner and select Add new device.

Enter a device name, for example “My New Device”. You can leave all other fields with their default values. Click Add to add the device.
Your first device has been added.
连接设备到ThingsBoard
要连接设备,首先需要获取其凭据。ThingsBoard支持多种设备凭据,本指南使用默认自动生成的凭据,即访问令牌。
-
Click on the device row in the table to open device details.
-
Click Copy access token. The token will be copied to your clipboard. Please save it in a safe place.
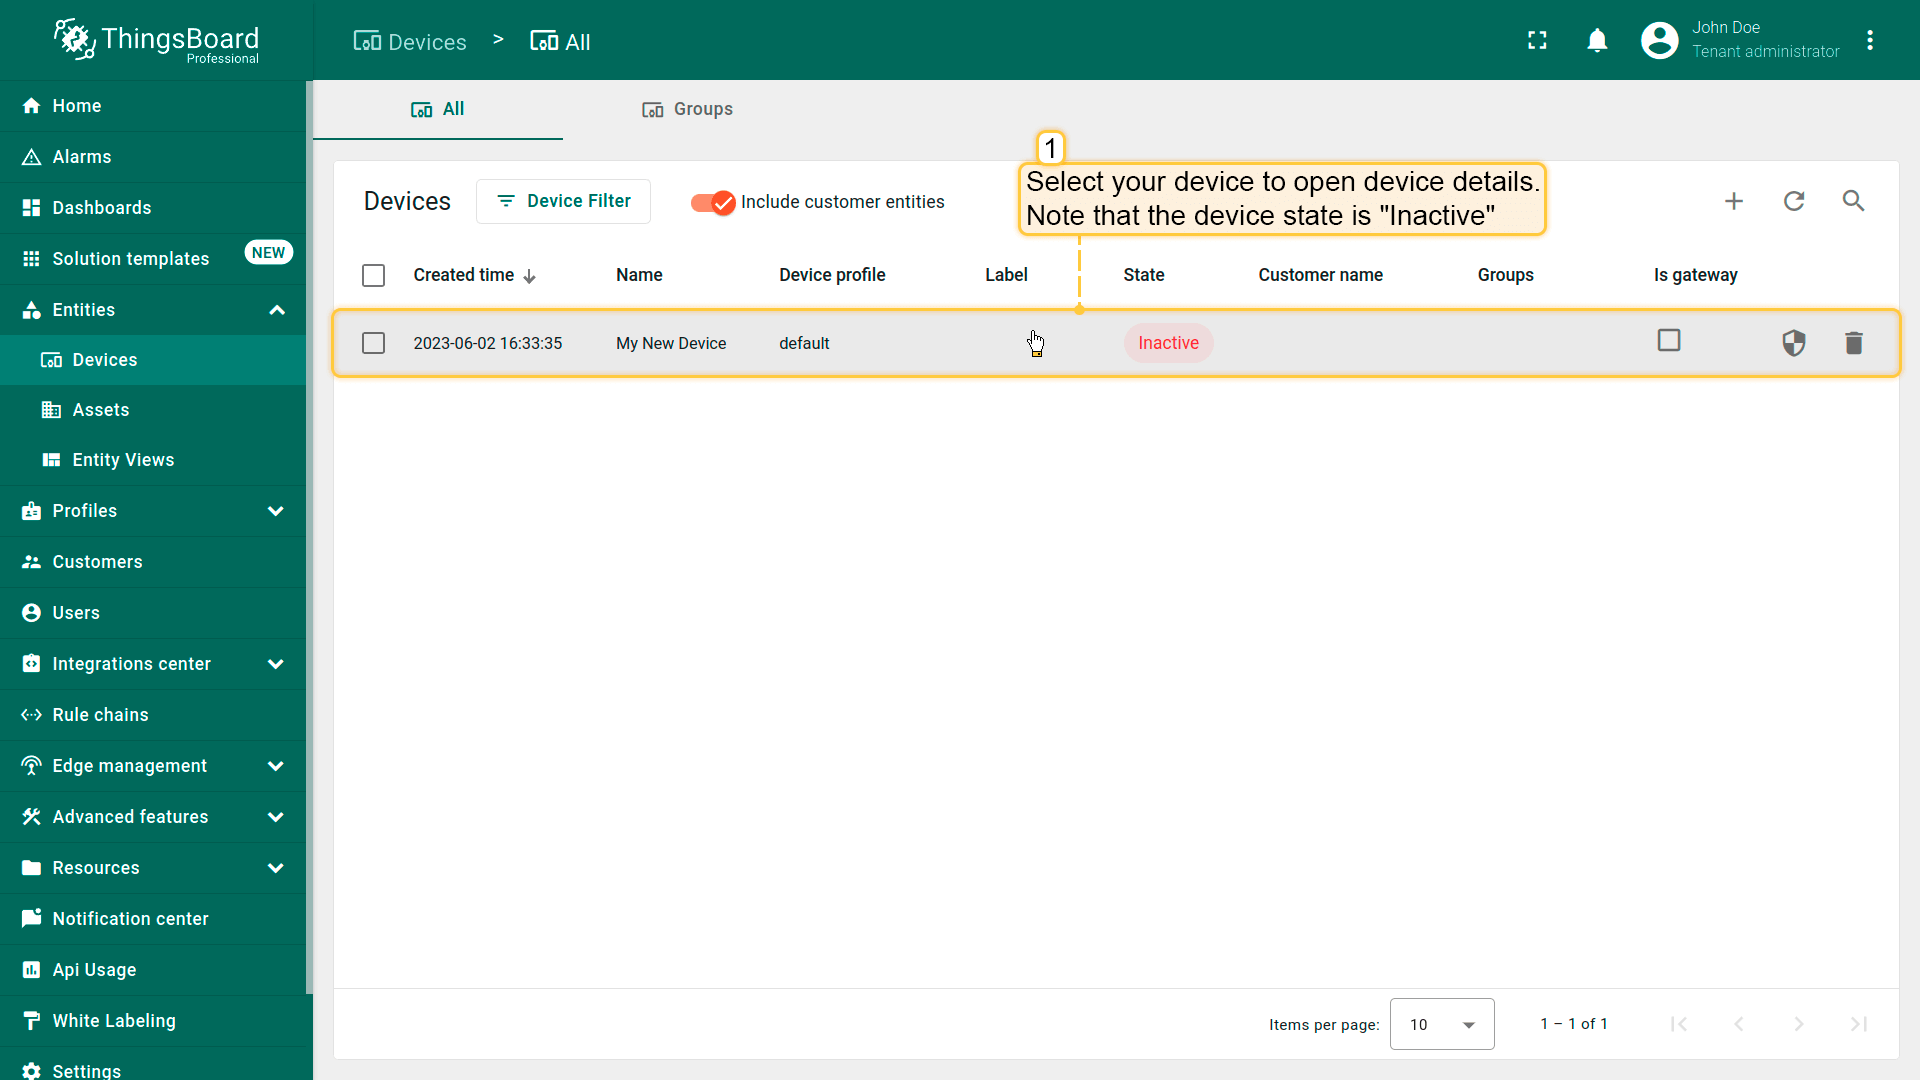
Click on the device row in the table to open device details.
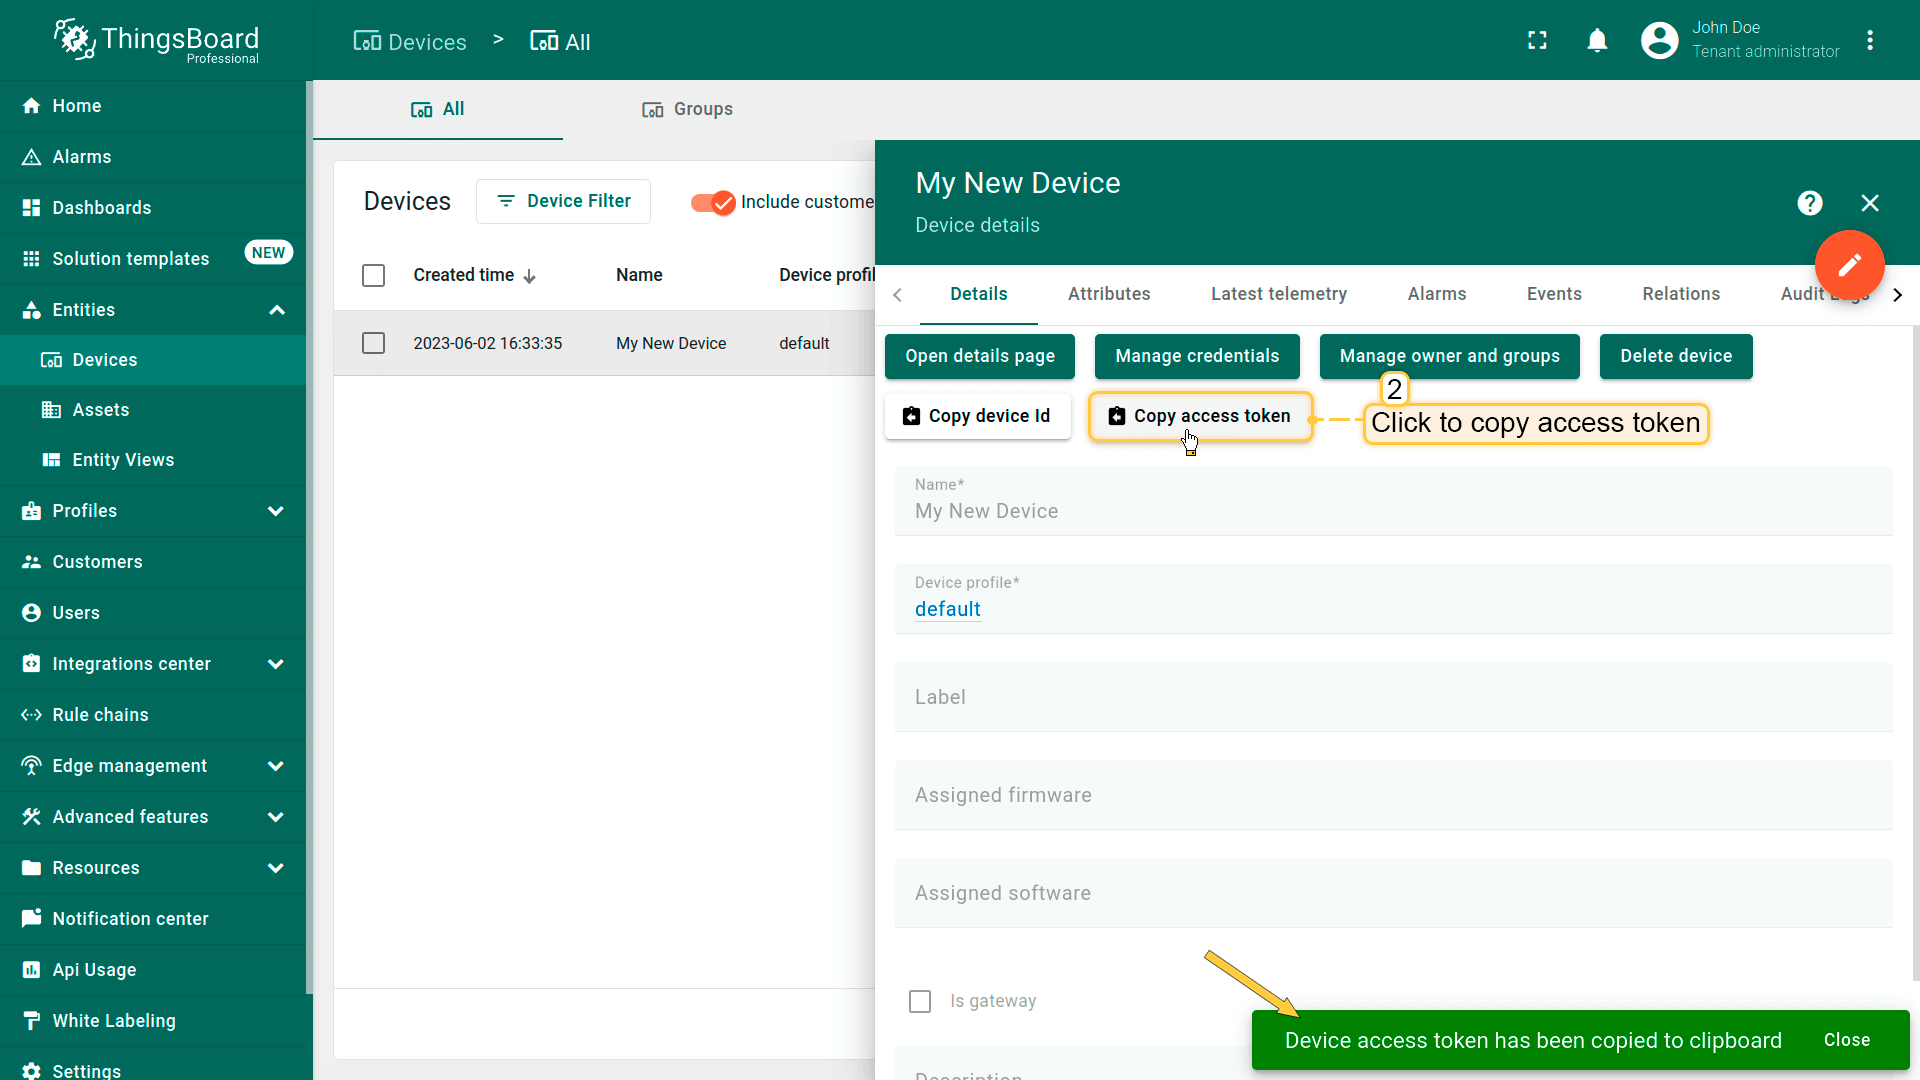
Click Copy access token. The token will be copied to your clipboard. Please save it in a safe place.
现在可以对开发板进行编程,读取数据、在Sensy开发板LCD屏幕上显示,并连接到ThingsBoard。
为此,可以使用以下代码。它包含本指南所需的全部功能。
Click to download the source code: thingsboard.ino
⚠️ Don’t forget to replace placeholders with your real WiFi network SSID, password, ThingsBoard device access token.
1
2
3
4
5
constexpr char WIFI_SSID[] = "YOUR_WIFI_SSID";

constexpr char WIFI_PASSWORD[] = "YOUR_WIFI_PASSWORD";

constexpr char TOKEN[] = "YOUR_ACCESS_TOKEN";
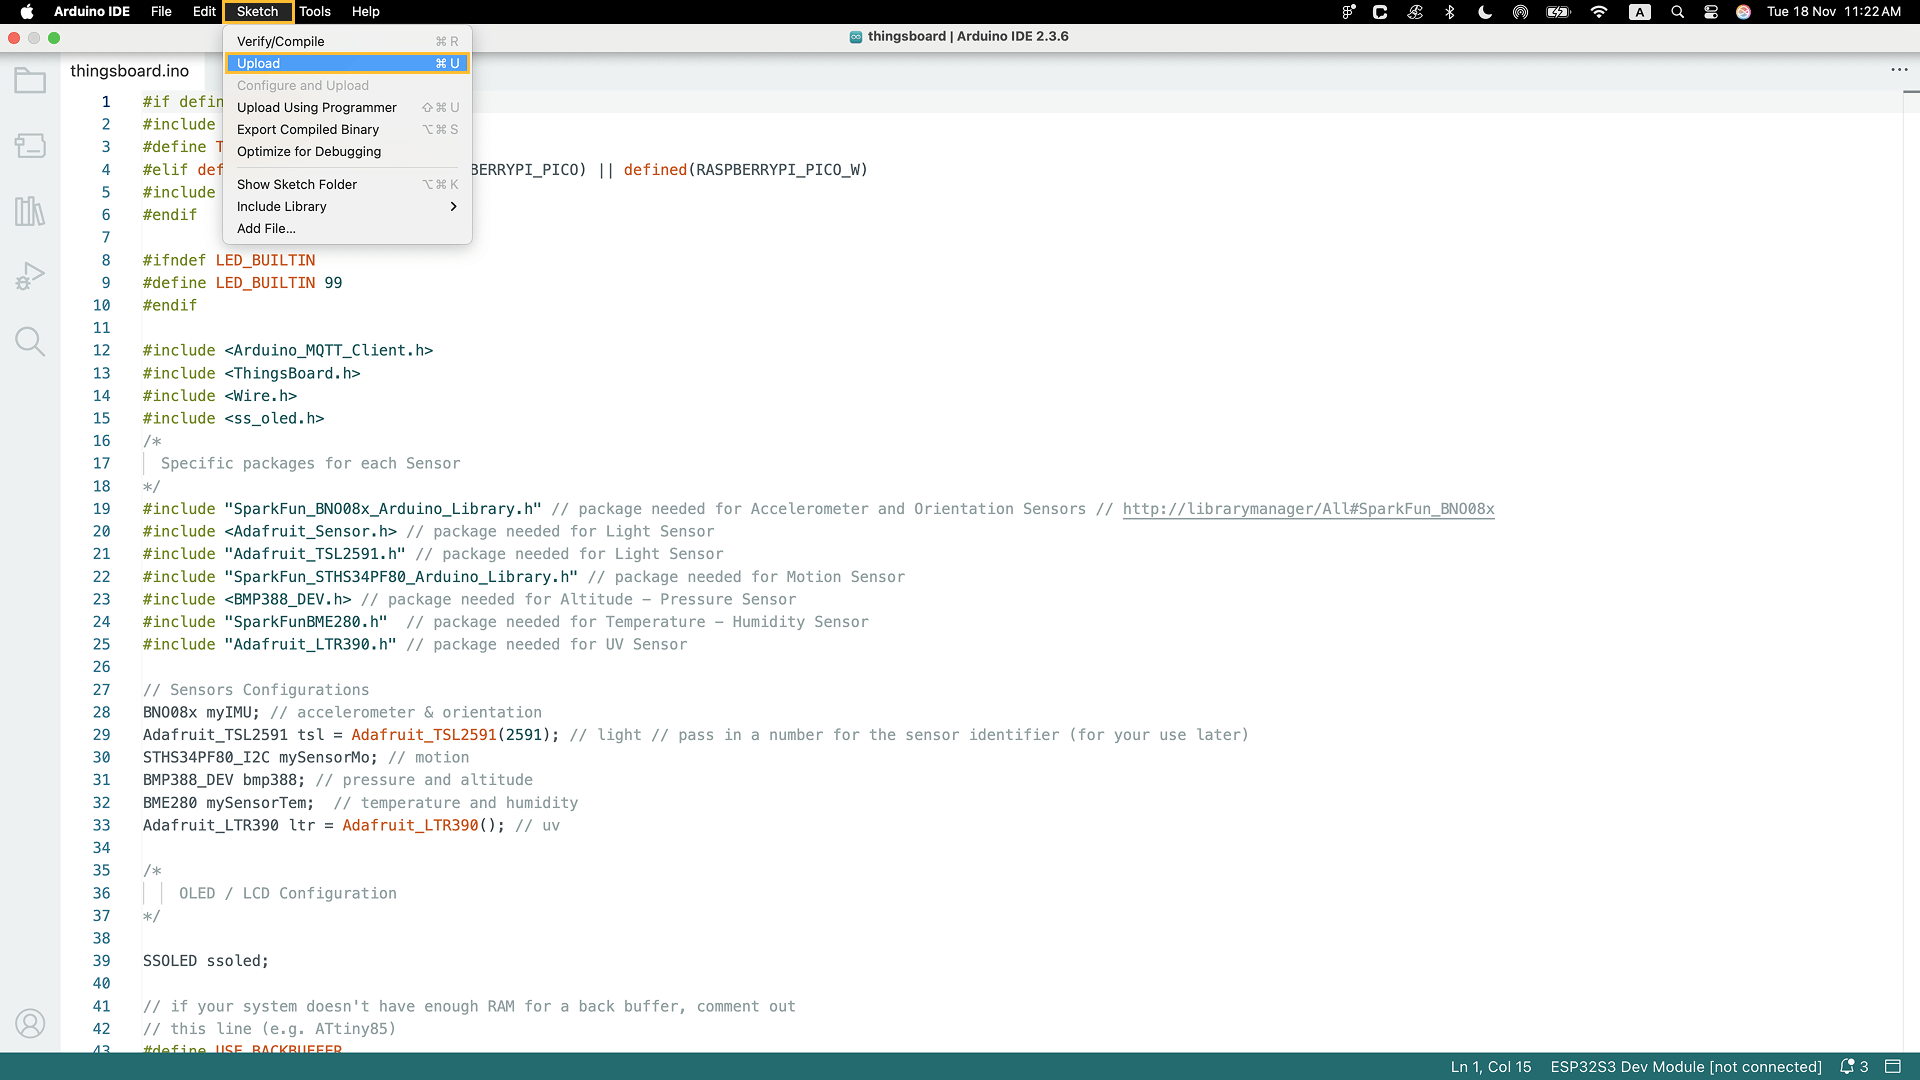
然后点击Upload按钮或使用快捷键Ctrl+U将代码上传到设备。
如果无法上传代码并收到错误:Property 'upload.tool.serial' is undefined,可以执行以下操作:
-
Go to Tools > Programmer and select Esptool as a programmer.
-
Go to Sketch > Upload Using Programmer.
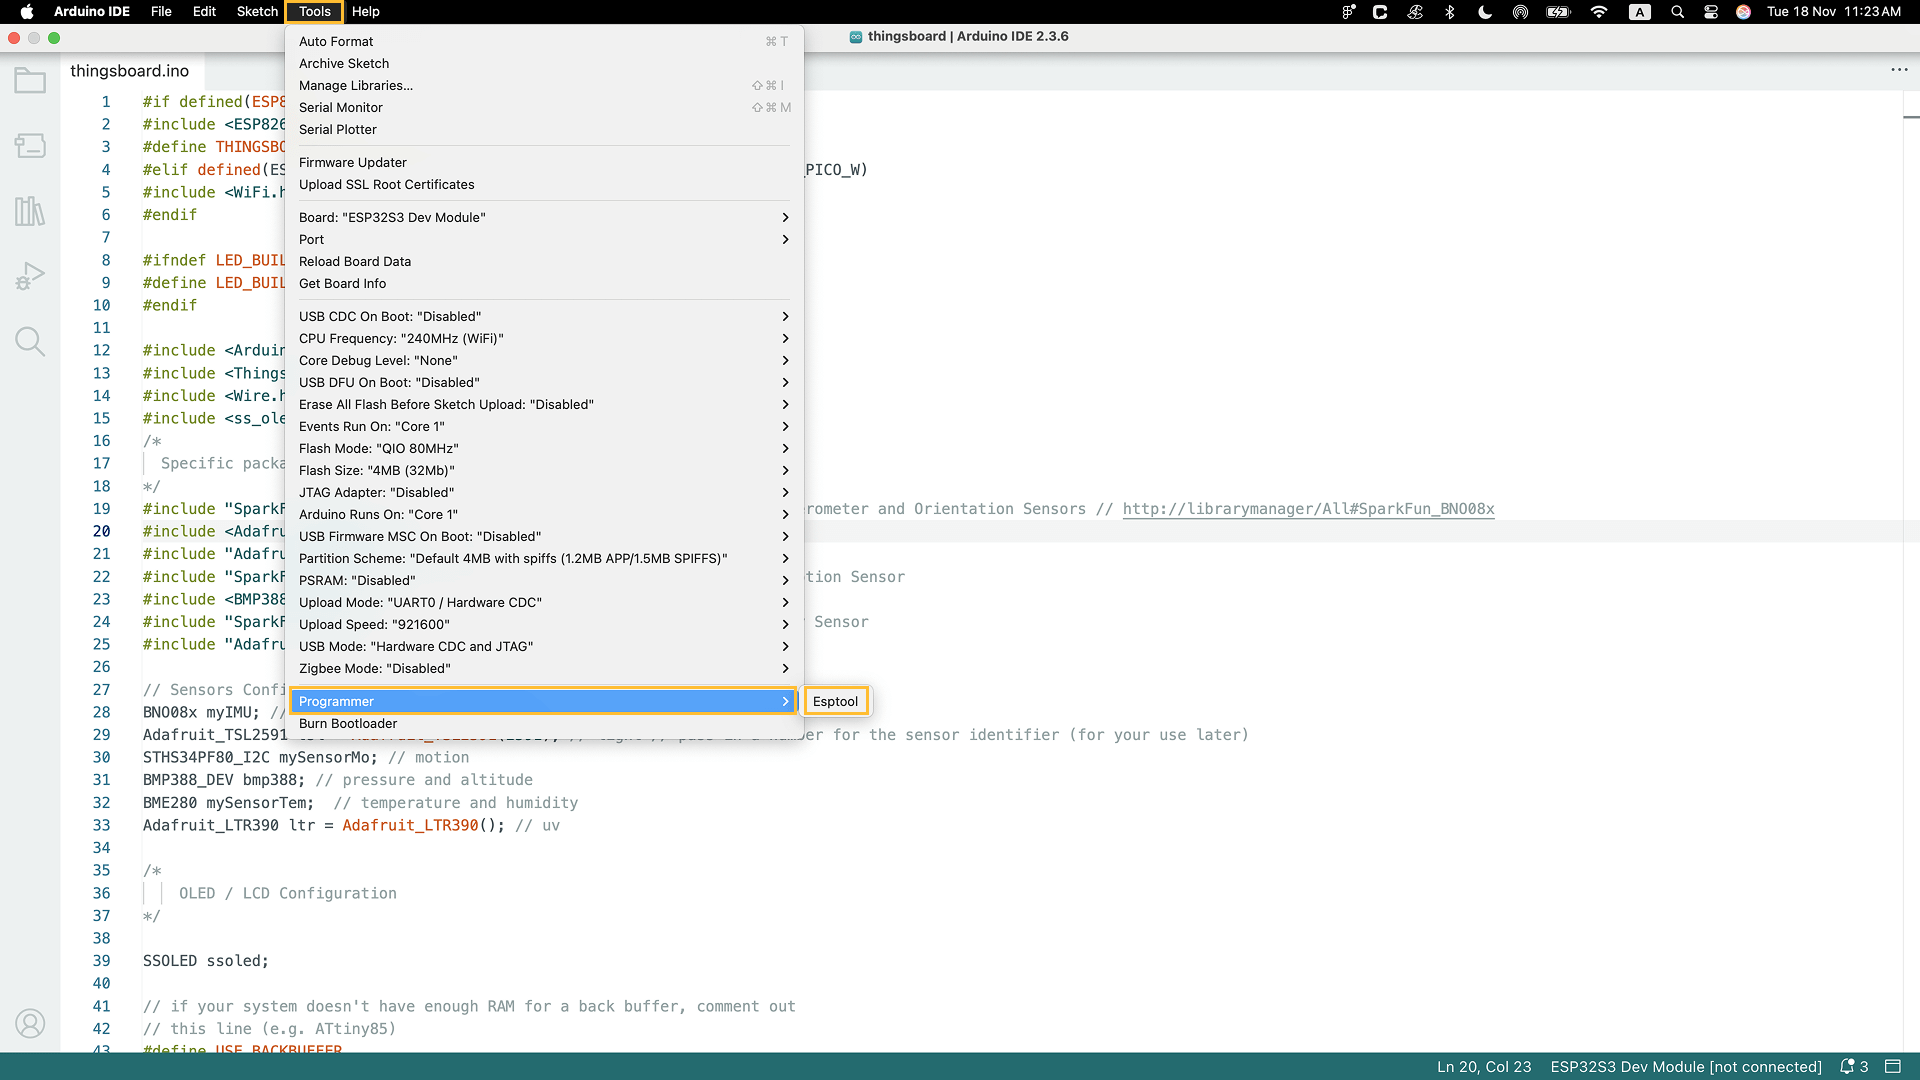
Go to Tools > Programmer and select Esptool as a programmer.
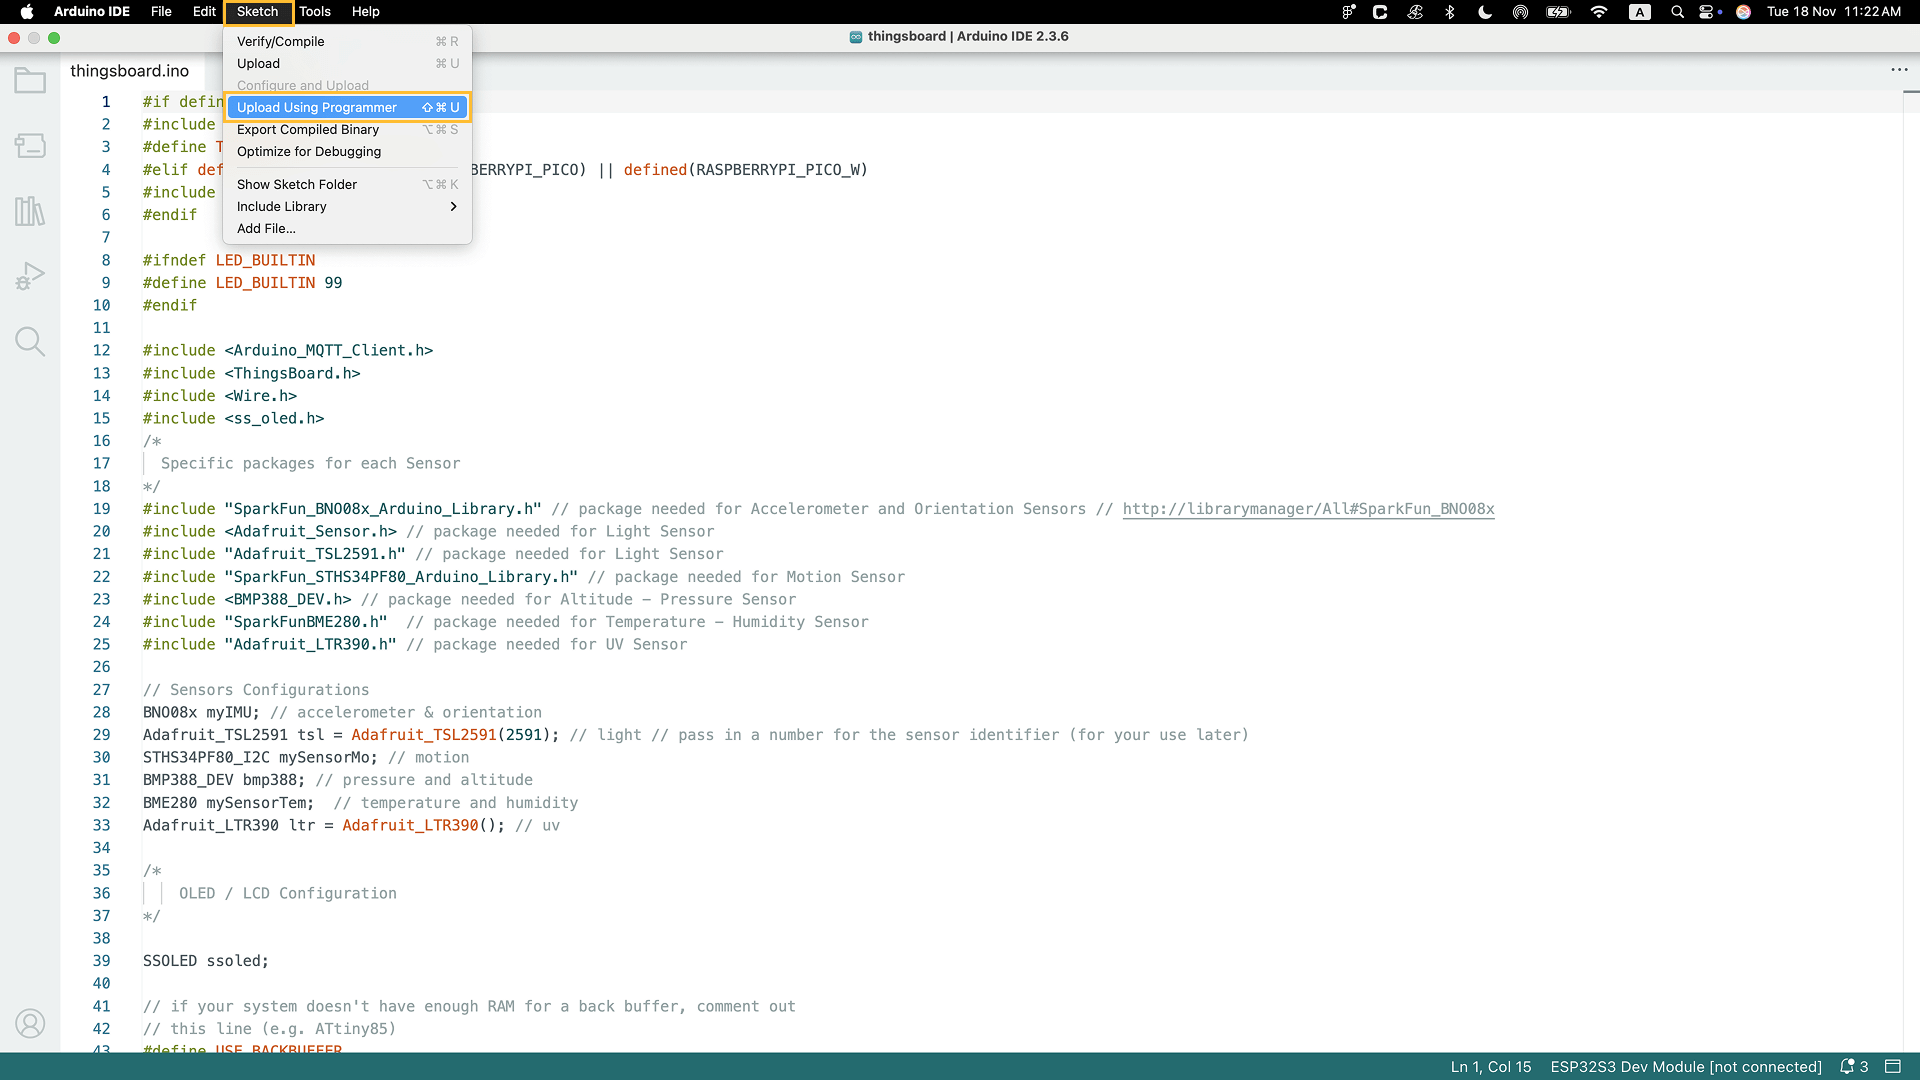
Go to Sketch > Upload Using Programmer.
在ThingsBoard上查看数据
ThingsBoard提供了创建和自定义交互式可视化(仪表板)的能力,用于监控和管理数据与设备。
通过ThingsBoard仪表板,您可以高效管理和监控IoT设备与数据。接下来我们将为设备创建仪表板。
您可以使用自定义部件创建自己的仪表板,或者导入现成的仪表板。
本示例中我们将上传一个开箱即用的仪表板。您也可以对其进行自定义或创建自己的仪表板。
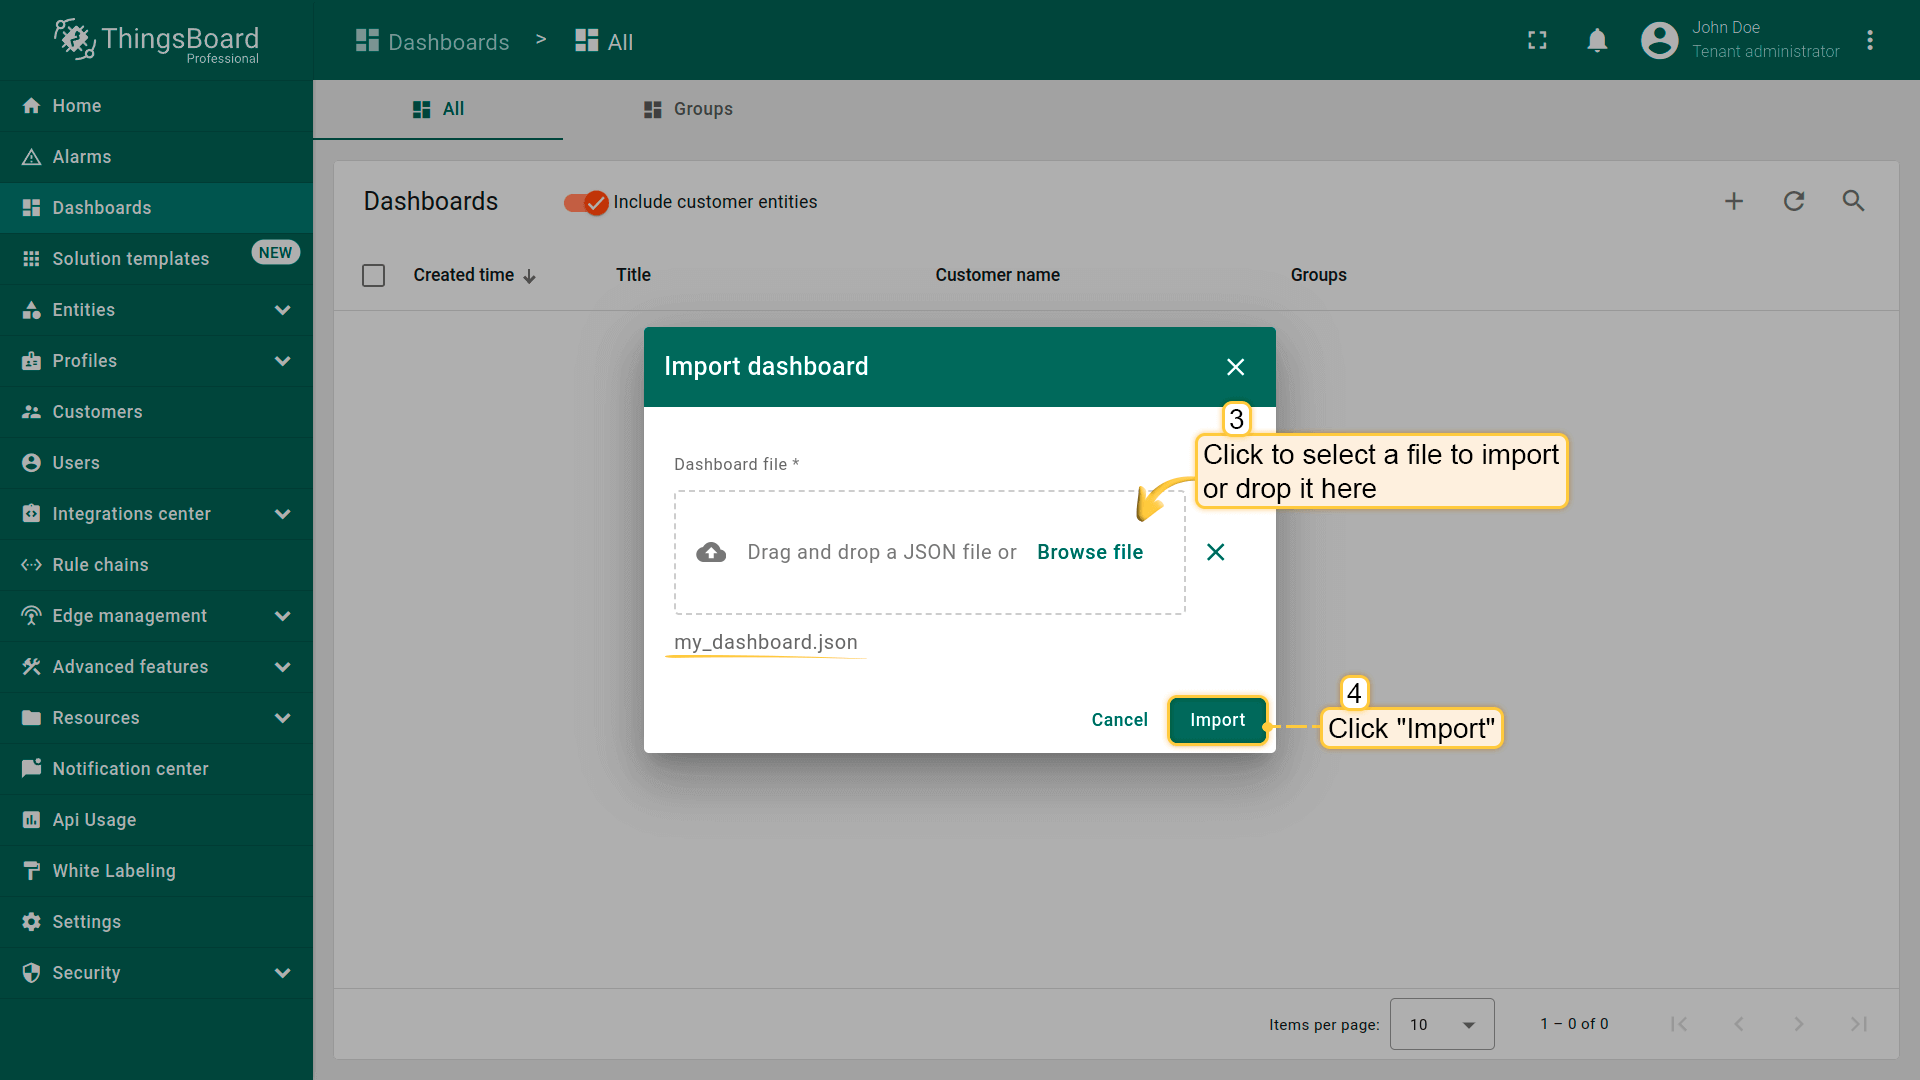
要导入现成的仪表板,请按以下步骤操作:
- 首先下载 My Dashboard 文件。
-
Navigate to the Dashboards page. Click on the “+” icon in the top right corner. Select Import dashboard.
-
In the dashboard import window, upload the JSON file and click the Import button.
-
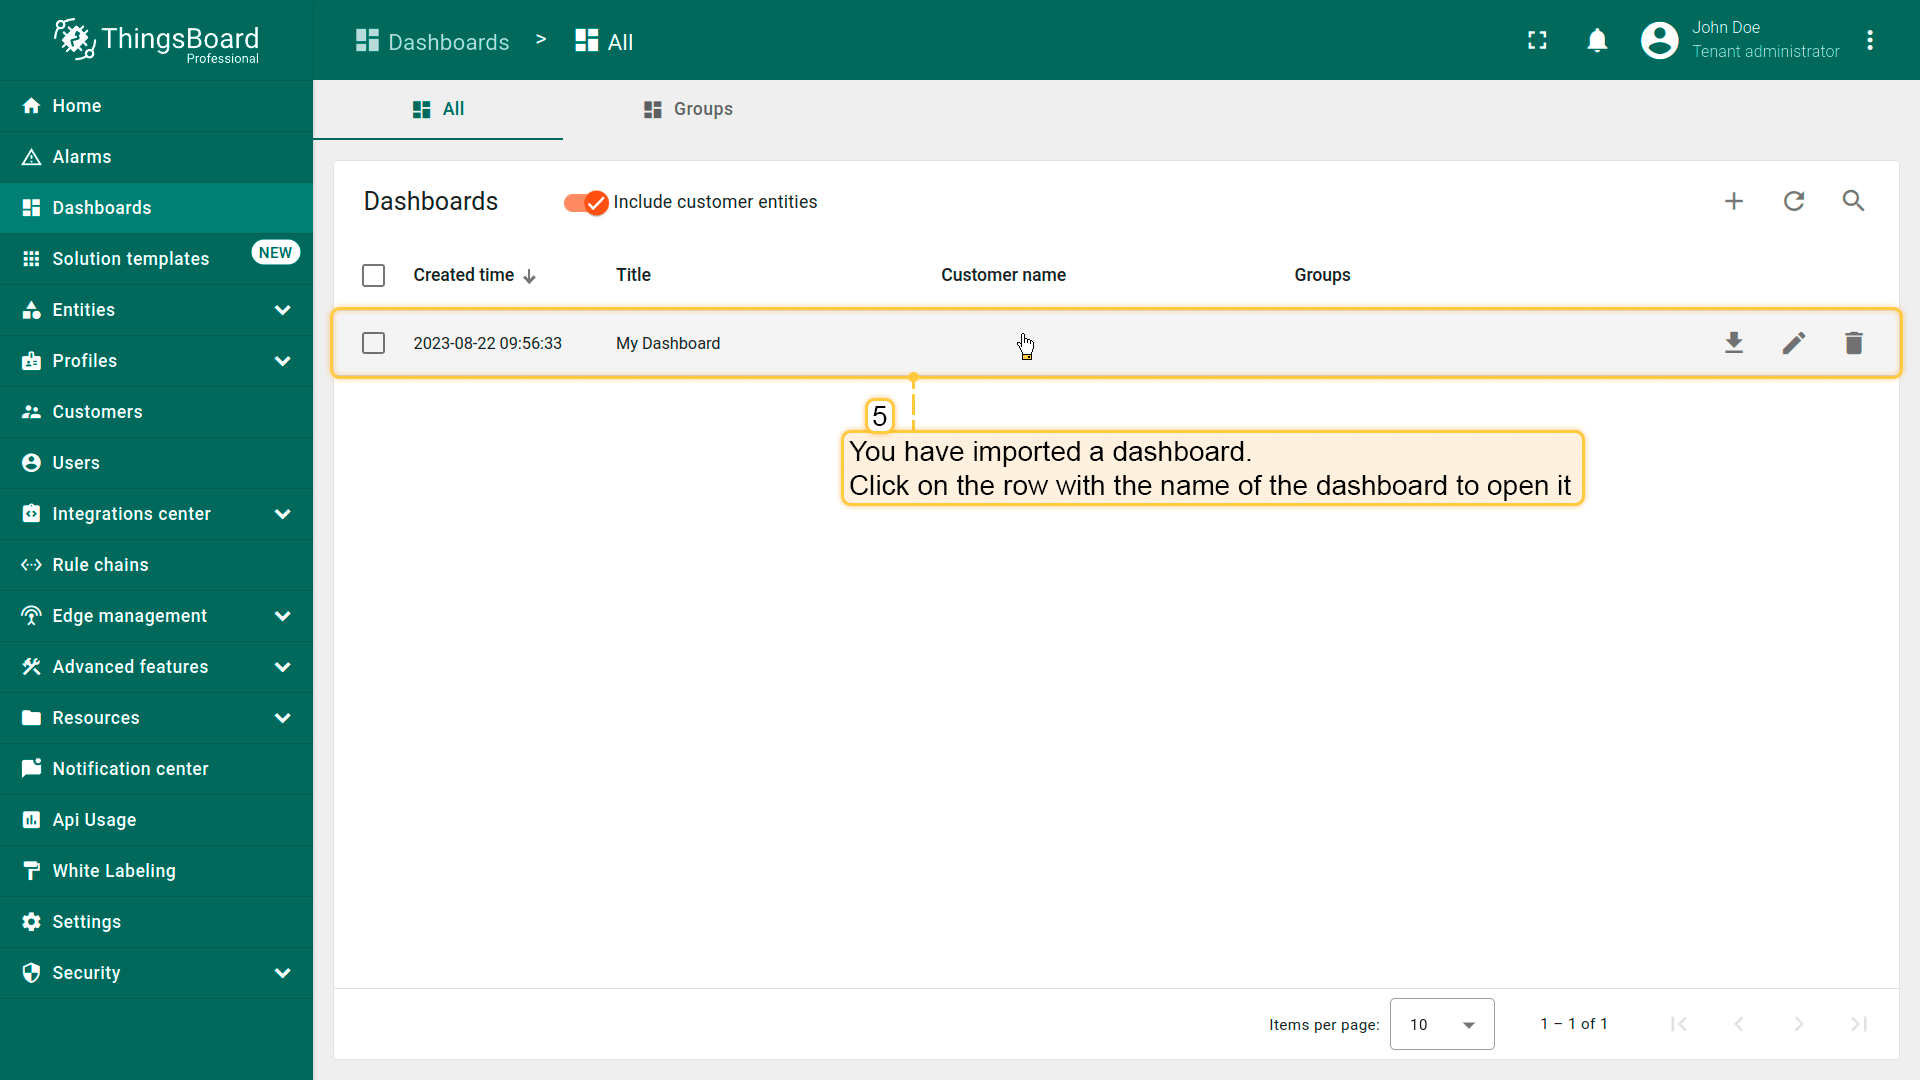
Dashboard has been imported.

Navigate to the Dashboards page. Click on the “+” icon in the top right corner. Select Import dashboard.
In the dashboard import window, upload the JSON file and click the Import button.
Dashboard has been imported.
“sensy32-demo-dashboard”结构:
- 要查看设备数据,需在表格中点击打开已导入的仪表板。
- “sensy32-demo-dashboard”视图包含以下遥测值的部件:temperature, humidity, altitude, pressure, motion, uv, accelerometer (valX, valY, valZ), orientation (quatI, quatJ, quatK, quatReal, quatRadianAccuracy), light (ir, full, visible, lux)。
- 您也可以添加部件以展示设备与Wi-Fi信息。

总结
现在您可以轻松地连接Sensy32并开始向ThingsBoard发送数据。
要深入了解,请探索 ThingsBoard文档,了解更多关键功能,例如创建仪表板以可视化遥测数据,或设置告警规则以实时监控设备行为。